
Working with Delay Node
Tags:
developers
Updated:
What is Delay Node
DELAY node is used to delay or stop an execution flow for a specific period (in terms of seconds).
For example: If the user has an API which accepts only one request per second. So before calling the
API for POST or GET operation, user can implement the delay node which will hold up the execution of
GET or POST node for the specified amount of time.
Prerequisites for Implementing Delay Node
- User needs to have valid credentials of APPSeCONNECT Portal.
- Needs to Advanced Workflow before implementing Delay.
Steps to implement the Delay node in Advanced Workflow
- Login to the APPSeCONNECT Portal and Navigate to the Advance Workflow Module.
- Edit an existing workflow where the user needs to implement the workflow. User can also create a new workflow as per the requirement.
- Drag and the drop the Delay node from the Process Property folder. The Delay Node Configuration window opens.
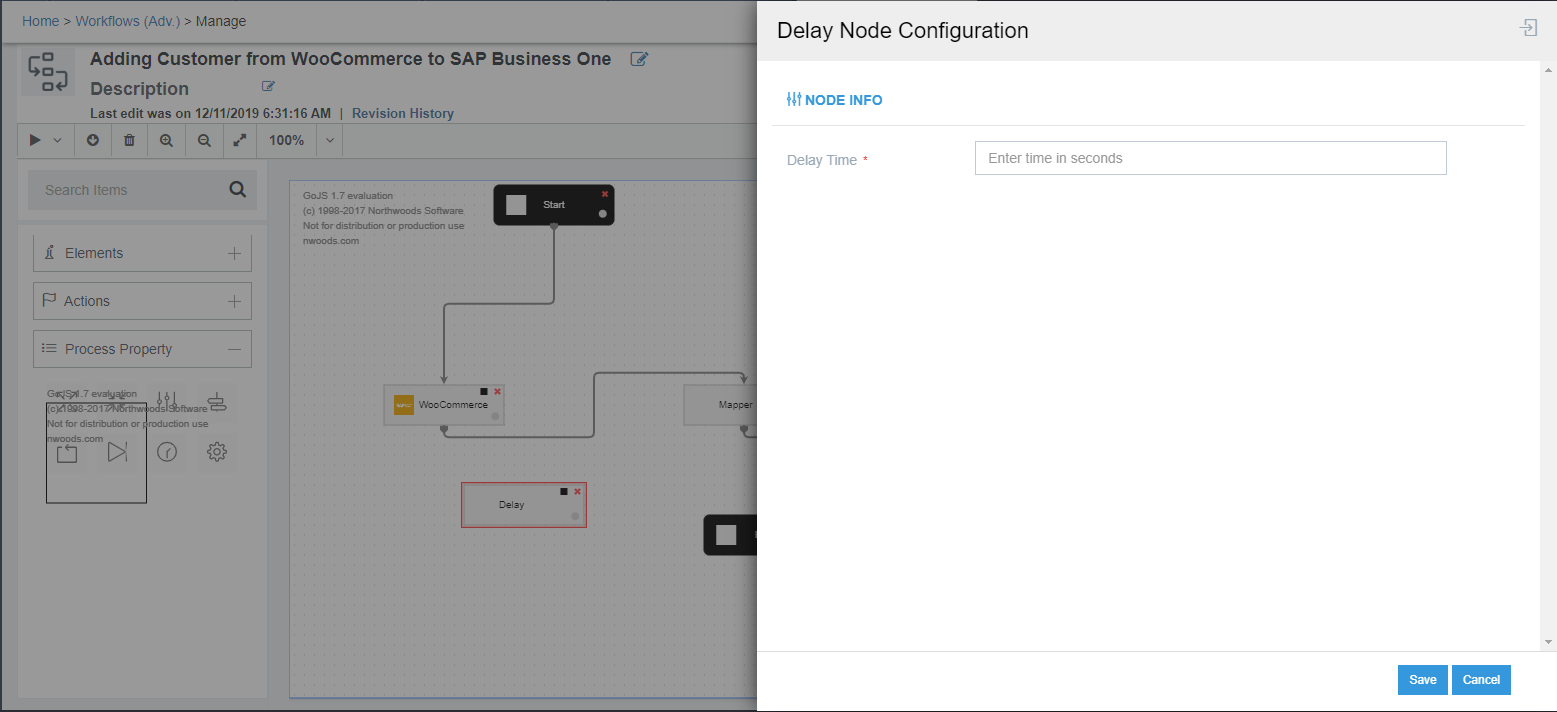
- User needs to specify the time (in Seconds) for the defining the hold up time.
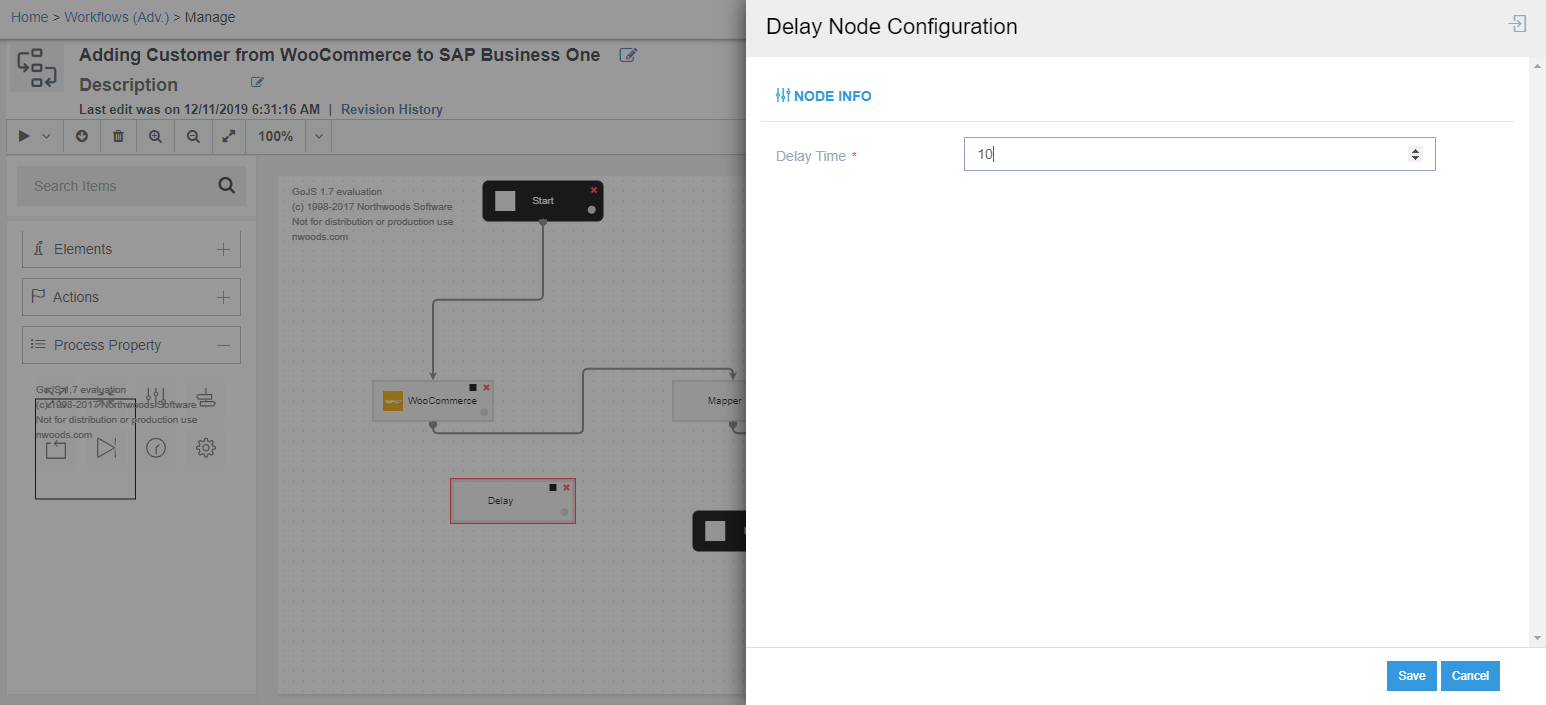
- After specifying the time, click on the Save Button.
After saving the configuration window, user needs to attach the node with the other nodes as per the delay position Get/Post.

