Designing & Executing Advance Workflow
Updated:
This section provides the functionality to implement your business scenario by designing the workflow. On clicking
the Create Workflow button in the Workflow listing page, APPSeCONNECT portal redirects it to the Workflow design
panel where users and implementers can design the business specific workflow for the integration purpose.
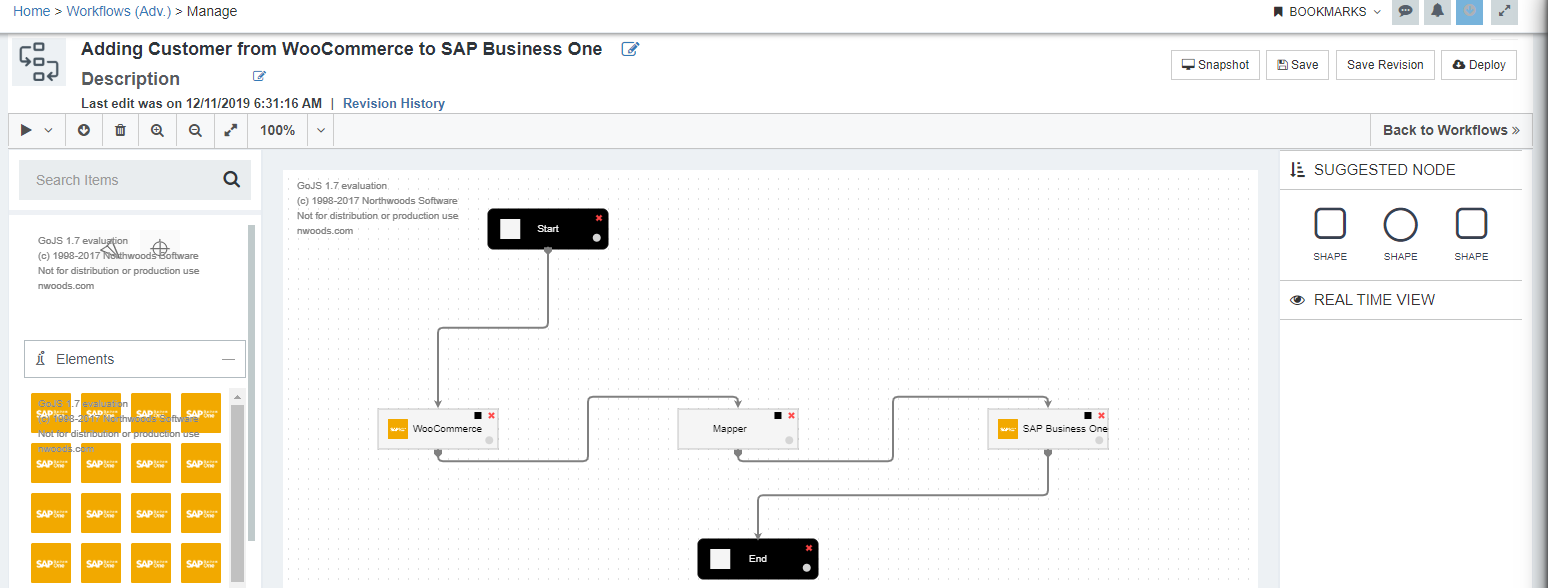
The page is mainly divided into 4 sections that are static for every workflow. The following sections are:
- Workflow Header panel
- Workflow Left Panel
- Workflow Designer View
- Workflow Right Panel
(A) Workflow Header Panel
This panel allows the user to provide name to the workflow and edit the workflow name. Here you can view the revision history saved previously. User/Implementers will be able to view the following buttons in the header panel.

Below the Workflow name, user get the option to add description to the workflow.
- Play button: The play button will available will allow the user to execute the designed workflow.
- Tracker: Users will be able to view the status, messages, value of a node/object, Variables, XML Files, contextual data, etc. generated during the workflow execution process by clicking on the Show Tracker button.
- Delete: Clicking on this button will delete the workflow. User will get a confirmation pop-up for the delete operation of the workflow. Click on yes in the pop-up will delete the workflow from associated group/folder.
- Zoom in: User/Implementer can zoom in the Workflow for better viewing purpose.
- Zoom out: User/Implementer can zoom out the workflow for better user experience. Users can also resize the screen accordingly. For now, users can fit the screen to 100%, 50% & 25%
- Revision History: User will be able to view the Revision History button only when the workflow has been saved for revision. Workflows available in Revision History can be restored by user as per the requirement.
- Snapshot: User can view Snapshot details of the workflow, executed.
- Save: Once the workflow is designed, user can save the following workflow for later use. After the saving of the workflow, any changes done here after will be auto-saved every 30 seconds automatically.
- Save Revision: User can now maintain the history of changes done for the workflows. Users/implementers can restore the saved history anytime as per the need. On saving a new revision of a workflow, users will get an option to add comments for the changes made in that revision.
- Deploy: The designed workflow will be deployed to the primary environment for the execution purpose.
Users/Implementers can view the Back to Workflows button that will navigate back to the listing page.
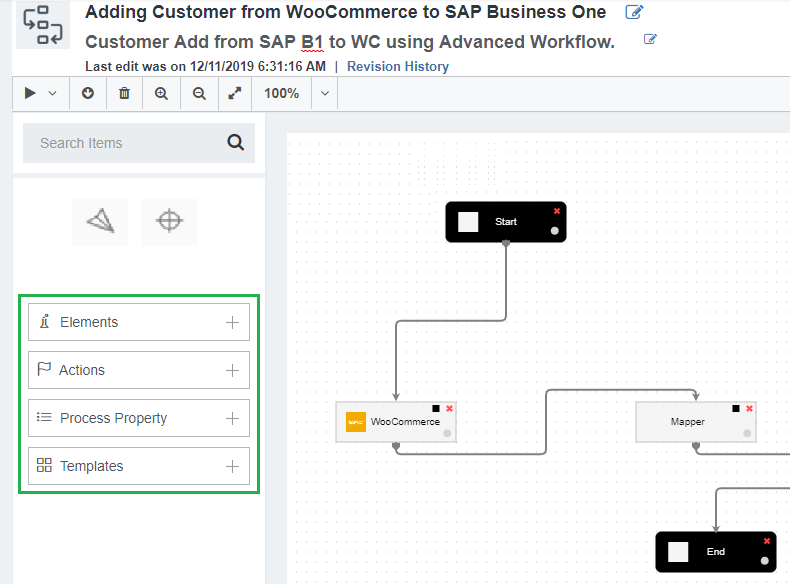
(B) Workflow Left Panel
This panel allows the user to add workflow nodes in the workflow design panel. The nodes can be dragged and dropped in the design panel for configuring the workflow needed for the integration process. User can utilize any node for utilizing the workflow based on the Business requirement. User/Implementers will be able to view the following tabs and menus in the left workflow panel.
- Start
- End
- Elements
- Actions
- Process Property
- Templates
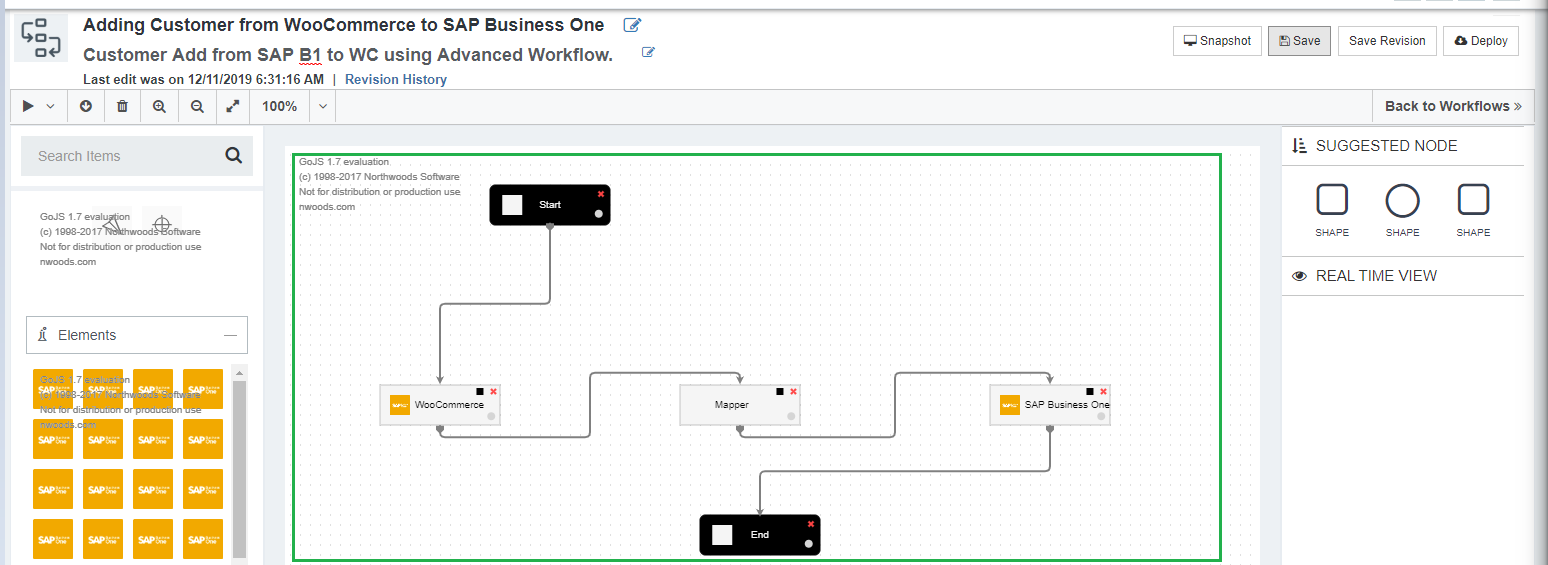
(C) Workflow Designer View
This panel of the design and execute page will have the space for designing the workflow as per the business scenario. The nodes available inside the menus, present in the left panel needs to be dragged and drop to the designer panel for designing and creating the workflow.
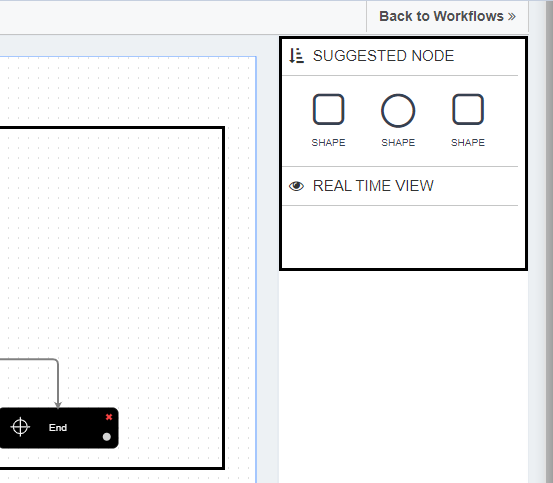
(D) Workflow Right Panel
The right panel of the Workflow Designing & Executing page will have the following sections:
- Suggested Node: Users will drag a node into the Workflow designer view, Suggested Node will display the nodes which can relate with the chosen node.
- Real Time View: The designed workflow will be displayed in real-time mode which will displayed in the Real Time View Section.