
Start Node
Updated:
What is Start Node?
Start Node signifies the Start process and Trigger Type of the ProcessFlow. Based upon your Start node, your designed processflow will initiate its Trigger Type.
On dragging the Start node to the designer panel, the Start Node Configuration window opens that consists the following Trigger Type :
- Polling : This is the default selection and this trigger type defines the normal execution of the ProcessFlow either in Manual or Scheduled Mode.
- Event : This type defines the RealTime Trigger of your ProcessFlow using API proxy Register URL.
Working Principle
1) Drag the Start Node to the designer panel. The Start Node configuration panel opens.
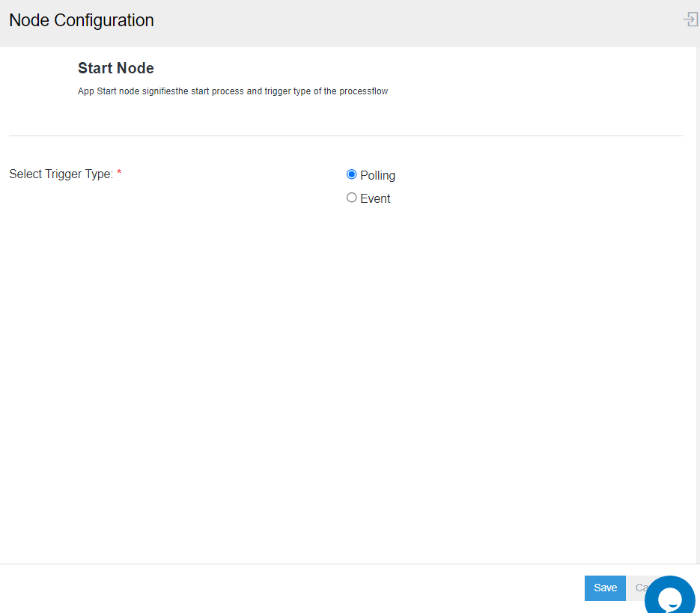
2) You will get the following 2 Trigger Type :
- Polling
- Event
By default, the Polling type would be selected.
Trigger Type - Polling
a) Selection of Polling Type will allow your processflow to trigger a normal sync process either manually or if scheduled. Click on the SAVE button after selecting the Radio button for POLLING Type.
b) Design and Deploy your ProcessFlow to your choice of environment.
c) Execute ProcessFlow by clicking on the PLAY button on your designer page.
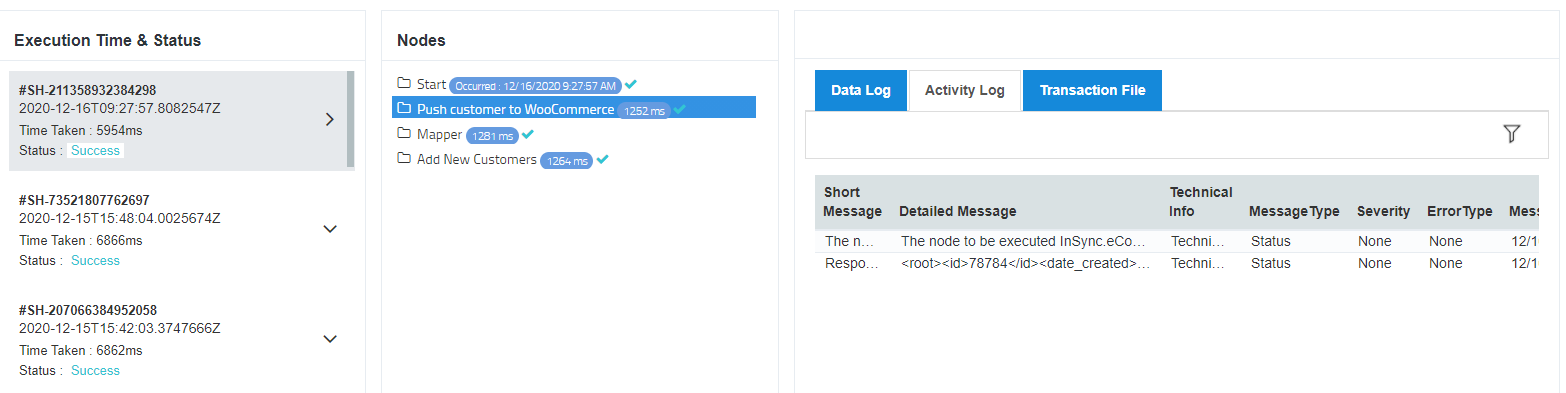
d) You can anytime check your snapshot for the execution status and data survey for both Trigger Types. For more details on Snapshot, Click Here.
Trigger Type - Event
a) On selecting the Trigger Type as Event, the following field would appear : Enter Register URL. Provide the details for the field.
Enter Register URL : You will have to provide your Organisation name as the sub-domain that would be merged with the APPseCONNECT Domain.
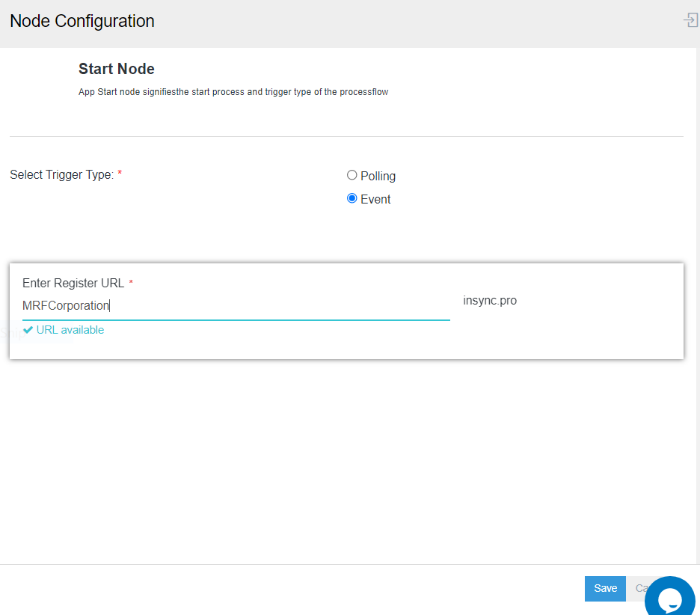
For Example: MRFCorporation.appseconnectapi.com where MRFCorporation is the sub-domain name of the organisation. The rest is the domain name.
This field for registering URL will appear only when you haven’t registered any URL for your organisation. The URL will be displayed in the Regsiter URL field in Read-Only mode, if its already registered on your organisation.
b) Once you are done with the configurations, click on the SAVE button. On saving the Registered URL, you will get a toaster message confirming that your configurations has been saved successfully.
You can also view your registered URL on your APIs Section. Navigate: Manage > APIs > Register URL.
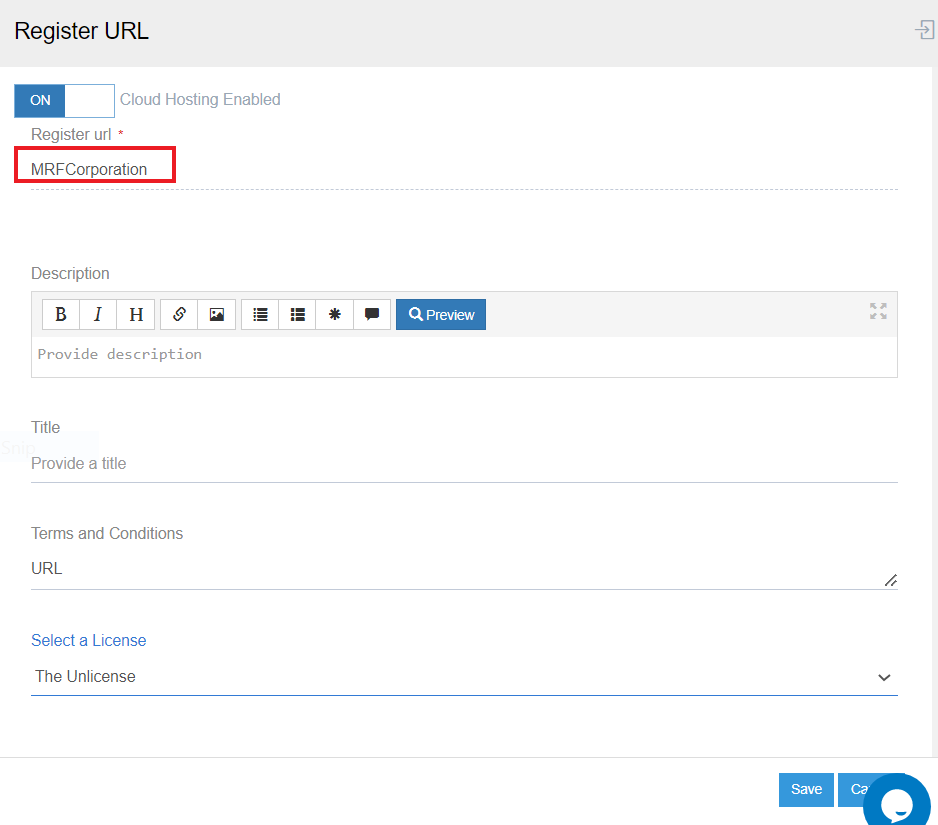
Note : You cannot alter a registered URL for any processflow, once SAVED in your organisation.
d) Design your processflow to integrate your chosen apps. Click Here to know more on ProcessFlow creation.
e) Deploy your designed processflow to your required environment. For Trigger Type Event, the deployment will not have the Sync & Retry step. Click Here for more details ProcessFlow Deployment.
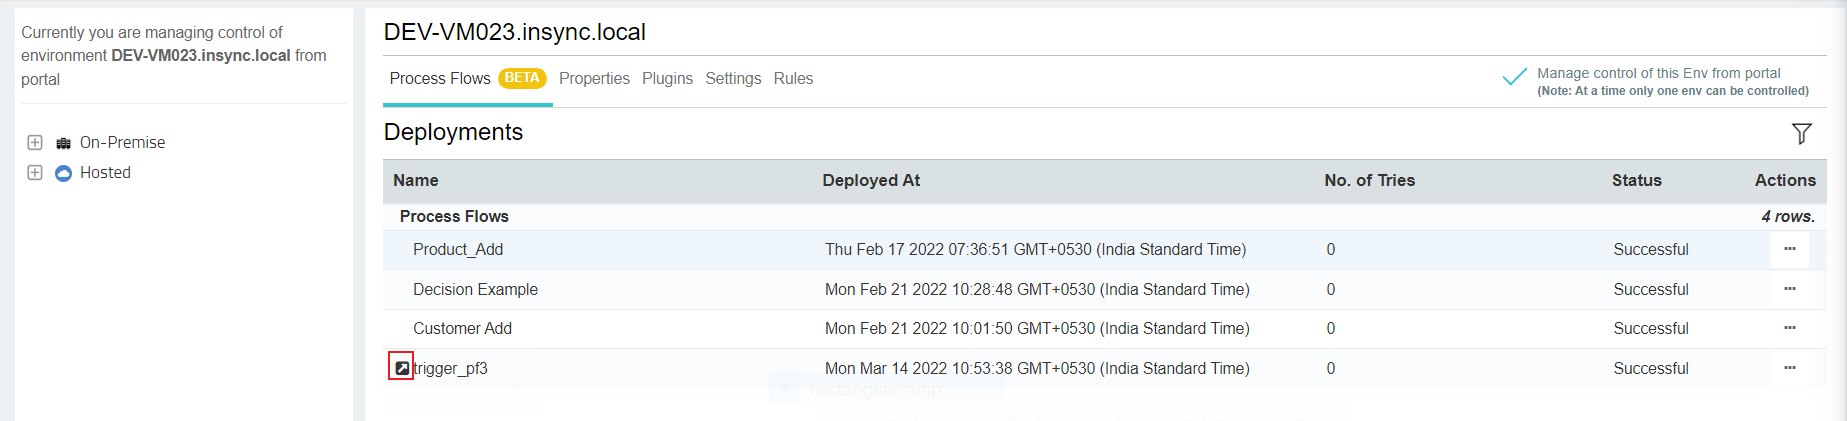
f) The deployed processflows with Trigger Type EVENT will represent with a Black Icon in the ProcessFlow tab in environment section.
g) The ProcessFlows needs to be executed once the deployment is over. For Event Type, the execution will on REALTIME basis. The RUN button in the designer page will be disabled for EVENT Trigger.
h) You can anytime check your snapshot for the execution status and data survey for both Trigger Types. For more details on Snapshot, Click Here.
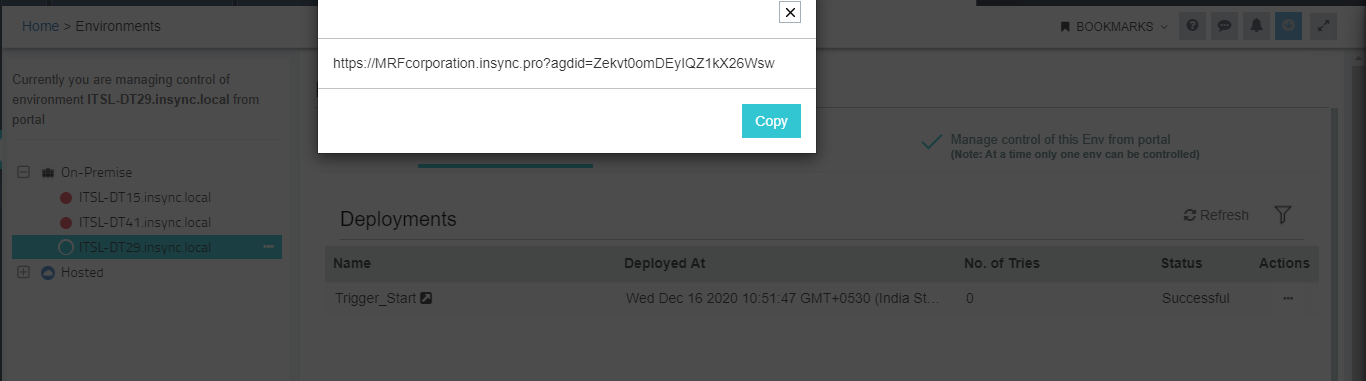
i) You can also view your Triggered EVENT URL, from Environment Section. Navigate: Deploy > Environments > Processflow Tab > Processflow URL (in the context menu).
Following the above process you can successfully configure and execute Start Nodes with both the Trigger Types.
Note
- You cannot edit or modify the sub domain of the URL, once SAVED.
- Your Sub-Domain name can be upto 100 characters.
- Registered URL will be displayed on Read-Only mode.
- You can anytime convert a normal Processflow to a Triggered Processflow, by updating START node Configurations.
- For the Trigger Type
EVENT, the SYNC & RETRY section will not be available during its deployment process. - The RUN button in the designer page will be disabled for Trigger Type EVENT.

