
Organizing ProcessFlow
Updated:
This section provides the option of creating folders for organizing the ProcessFlows with respect to the business requirements for any organizations. ProcessFlow Home section helps users to organize & manage all the processflows in folder structure such that user can maintain an easy usability as per their requirement.
To know more about the modules that would help creating ProcessFlows from the ProcessFlow Home Page, Navigate to the Quickstart section.
ProcessFlow Home
- Click on the ProcessFlow folder or any other folder. The Home page for the selected folder is displayed on the right side of the page. The Processflow Home page will list all the processflows that are created in the selected folder.
- For each processflows, the following details will be displayed.
- Name : Displays the name of the ProcessFlows.
- Description : Displays the description of the ProcessFlows.
- Action : Clicking the three horizontal dots against each processflow, user gets the options to Edit, Copy, Delete & Generate mapping document for existing ProcessFlows.
-
a. Click Edit Button, the Designer page opens for the selected ProcessFlow for editing.
b. Click Copy Button, you’ll be able to select the desired folder and sub-folder to duplicate your processflow and save them. Click here to get details steps to perform duplication.
c. You can download the mapping document directly from the Portal to get information about the transformation logic.
d. Click Delete button, the selected ProcessFlow is moved to the Trash folder.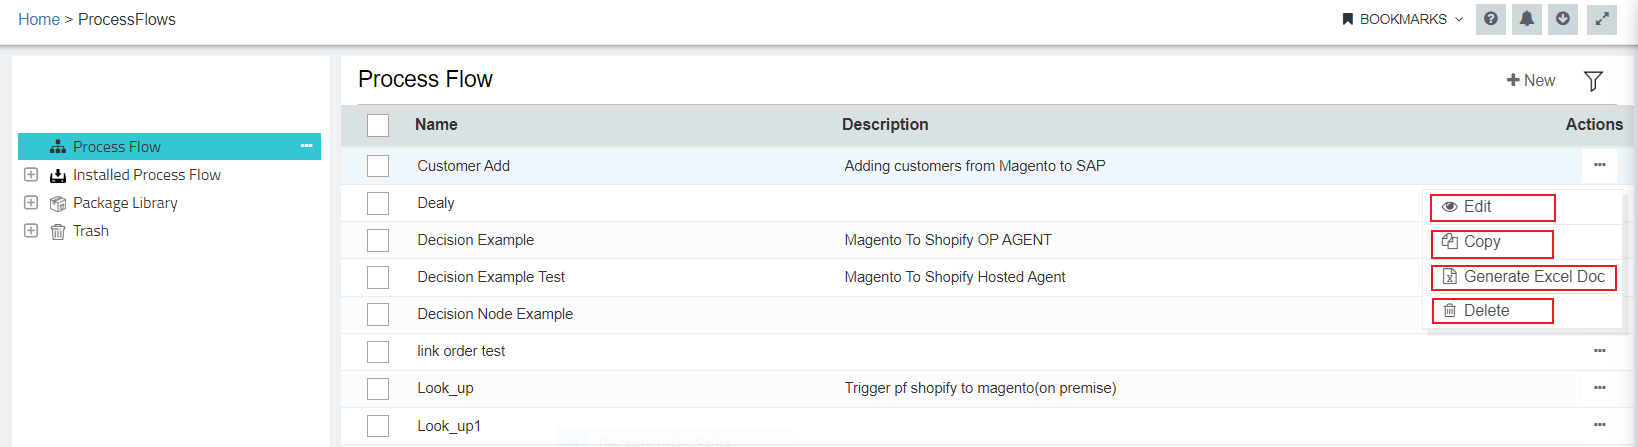
-
The ProcessFlow Home page will have a NEW button on the top right corner of the page for creating a new processflow, if no processflow has already been created in your selected folder. Clicking on the NEW button, you will be navigated to the ProcessFlow Designer.
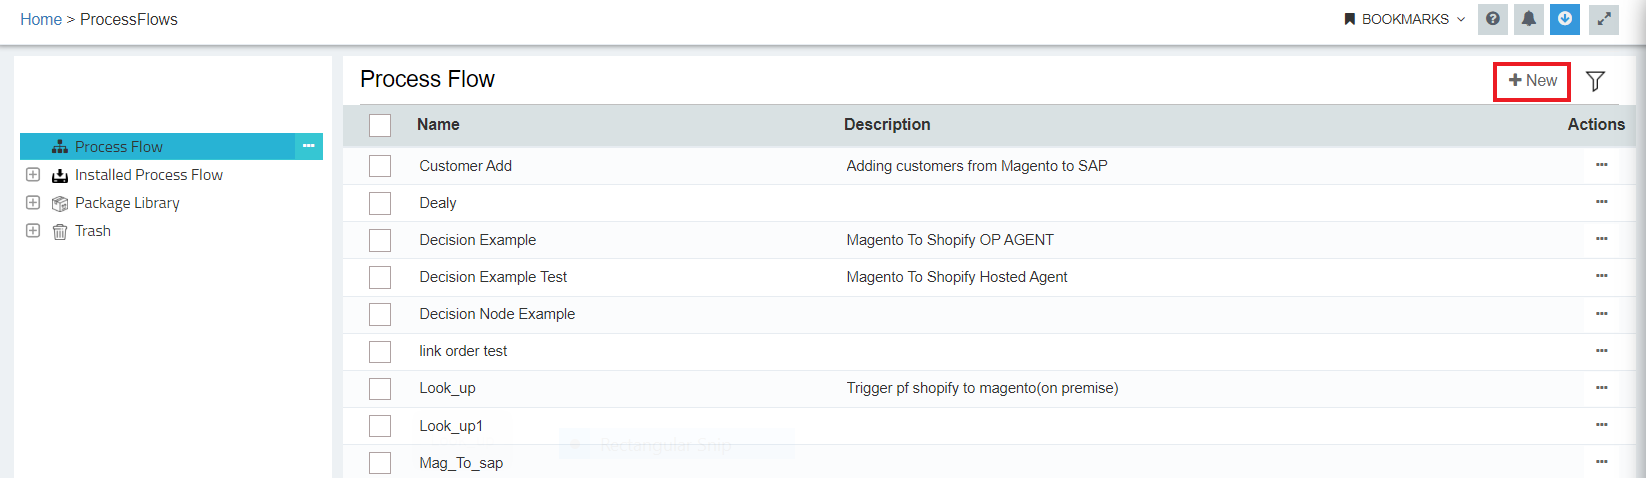
- The FILTER button is available beside the NEW button. Click on the button, you can filter processflows using search functionality, from the list.
ProcessFlow Folder
On visiting the ProcessFlow Home page, you can view the Home folder which is already selected. This is a default folder and every organisation within APPSeCONNECT would contain the Home folder for the ProcessFlow Home page.
-
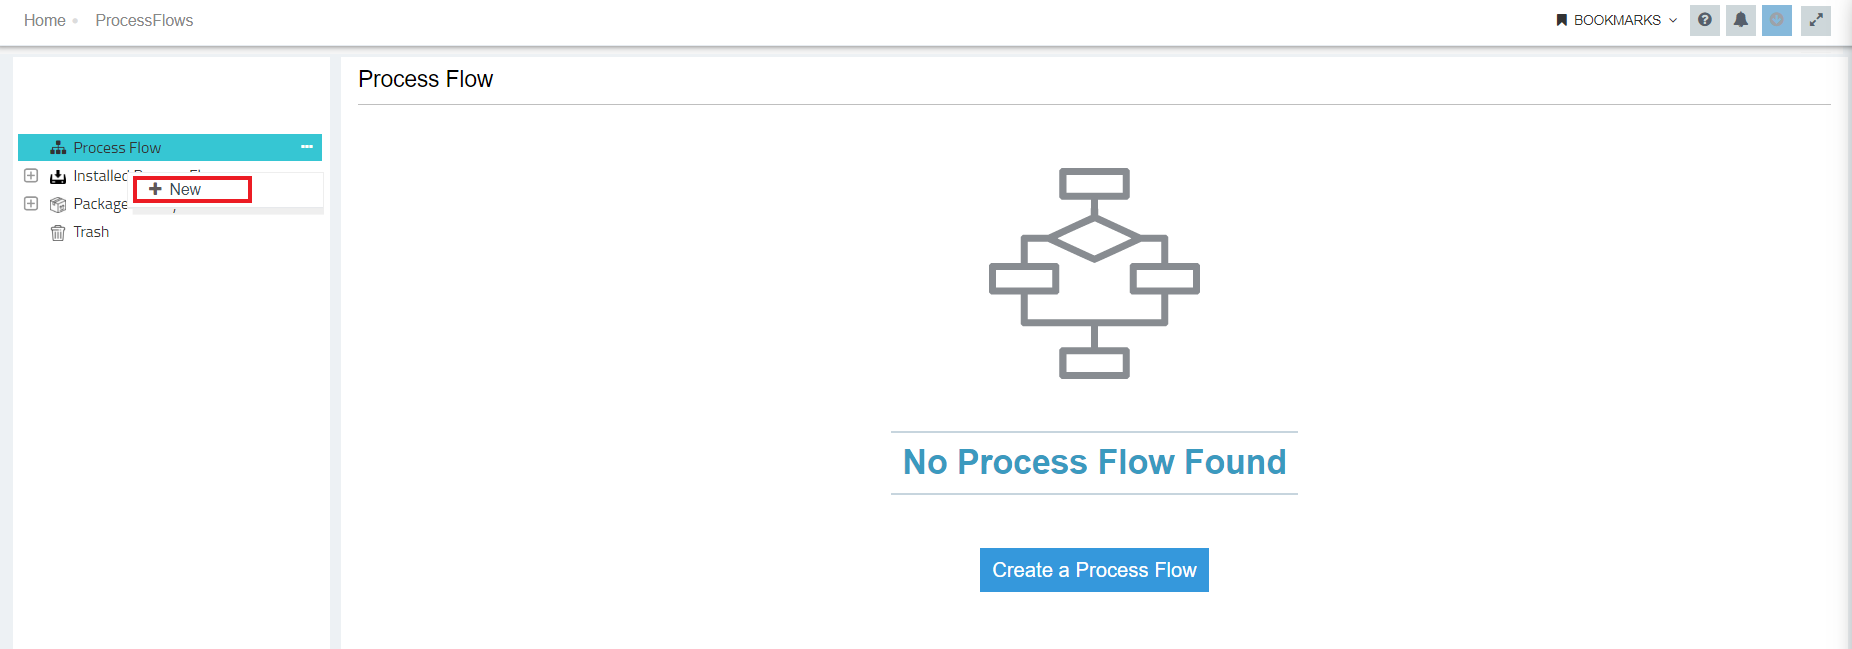
Click on the three horizontal dots of Home folder, you can view a NEW button in the drop down that would enable the user to create a child folder of the selected folder.
- You can create multiple child folders under the Home Folder. Users can create maximum of 50 folders for processflow for an organization.
- Click on the Home folder, the processflow listing page appears on the
Right side of the page. Empty folder will have the view as given below.
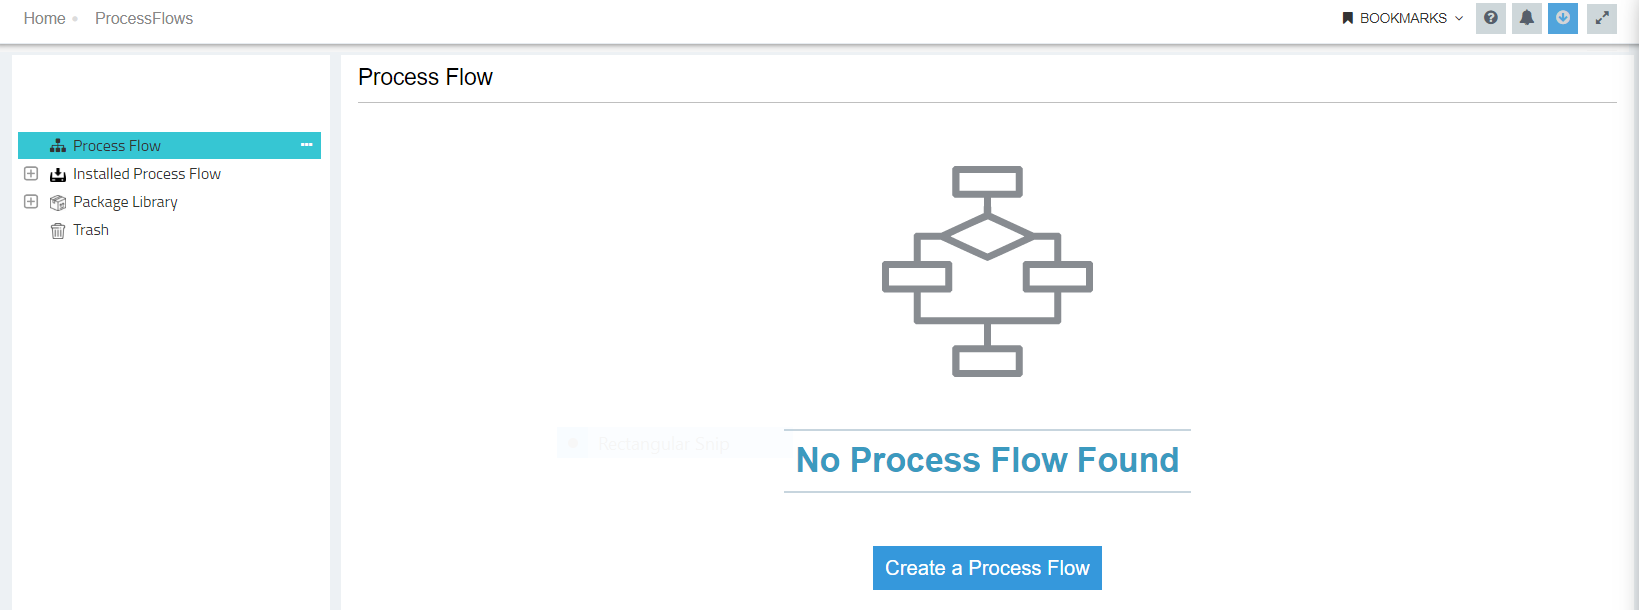
- Now Click on Create a ProcessFlow button, the ProcessFlow Designer page opens.
Usability for the SUB/CHILD Folder
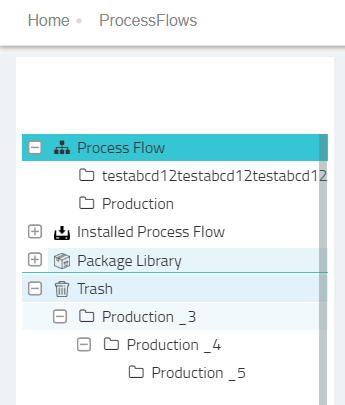
- Only Process Flow folder will have three horizontal dots (…) that will enable the you to create new child folders.
- Name of a folder cannot be same if created on same level. However, folder name can remain same if created on different level.
Steps to create Child Folders inside Process Flow Folder
a. Click on the ellipsis (…)of the home folder, you can view a NEW button.
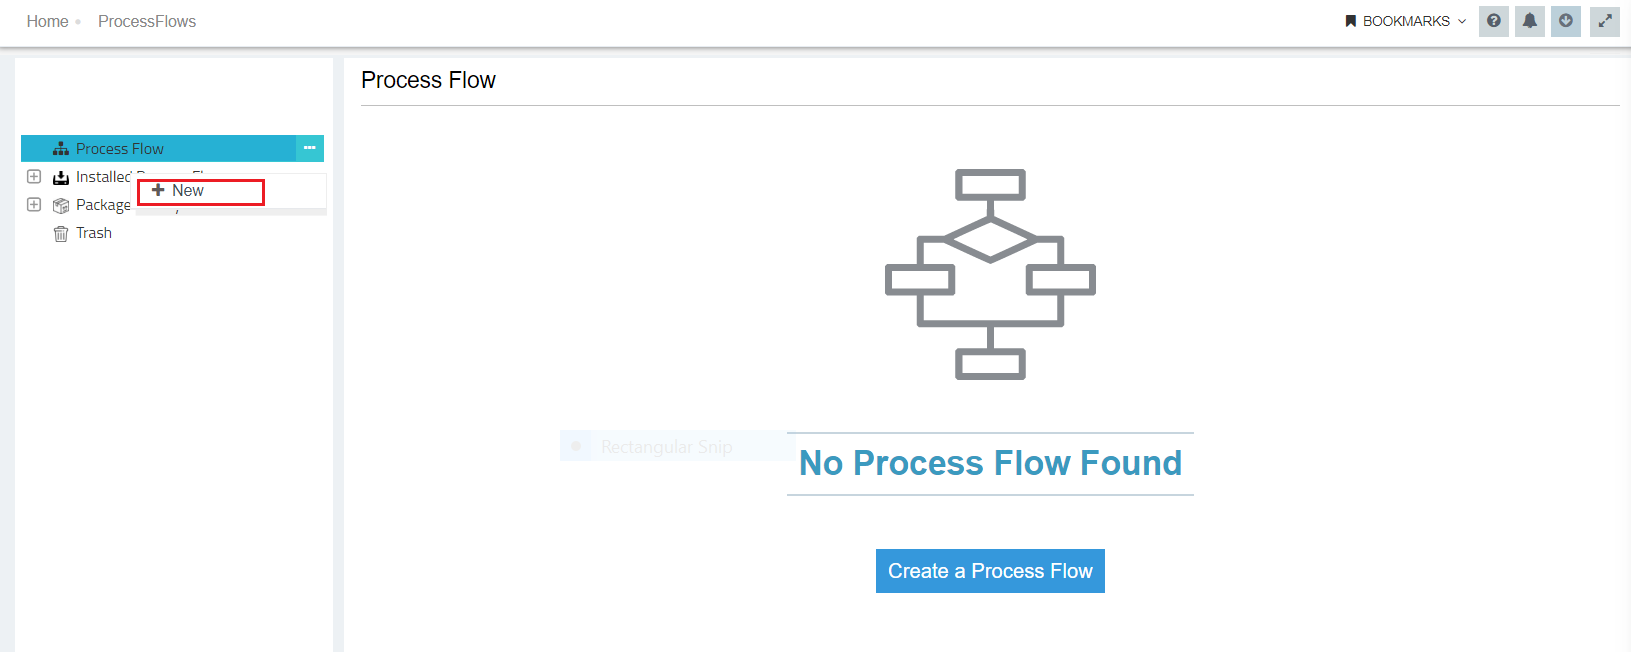
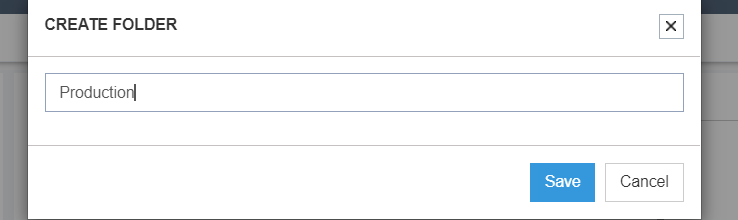
b. Click the new button, you will get the window for adding a new child folder. Enter the name of the folder and click on the Save button. You get a success message.
c. You can view the created folder in the processflow listing page upon expanding the Home folder.
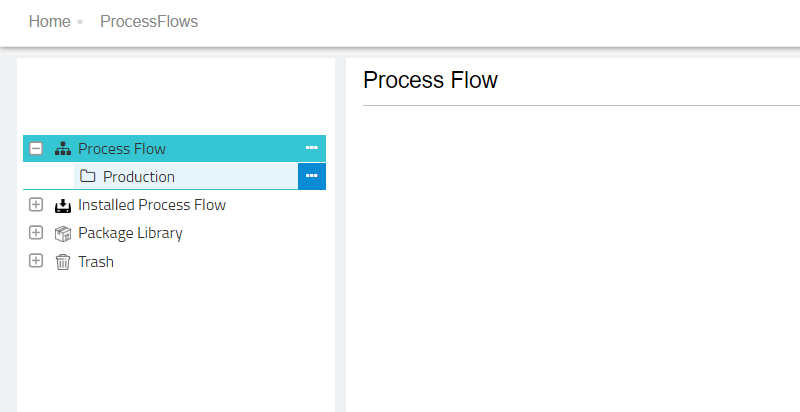
d. Click on the created folder (example - Production), you will get a message for creating new processflows if the folder is empty. Otherwise,click on the new button, you’ll be navigated to the ProcessFlow Designing Page.
e. You can further create child folders for a selected folder by selecting the new option that can be viewed by clicking on the Ellipsis.(…)
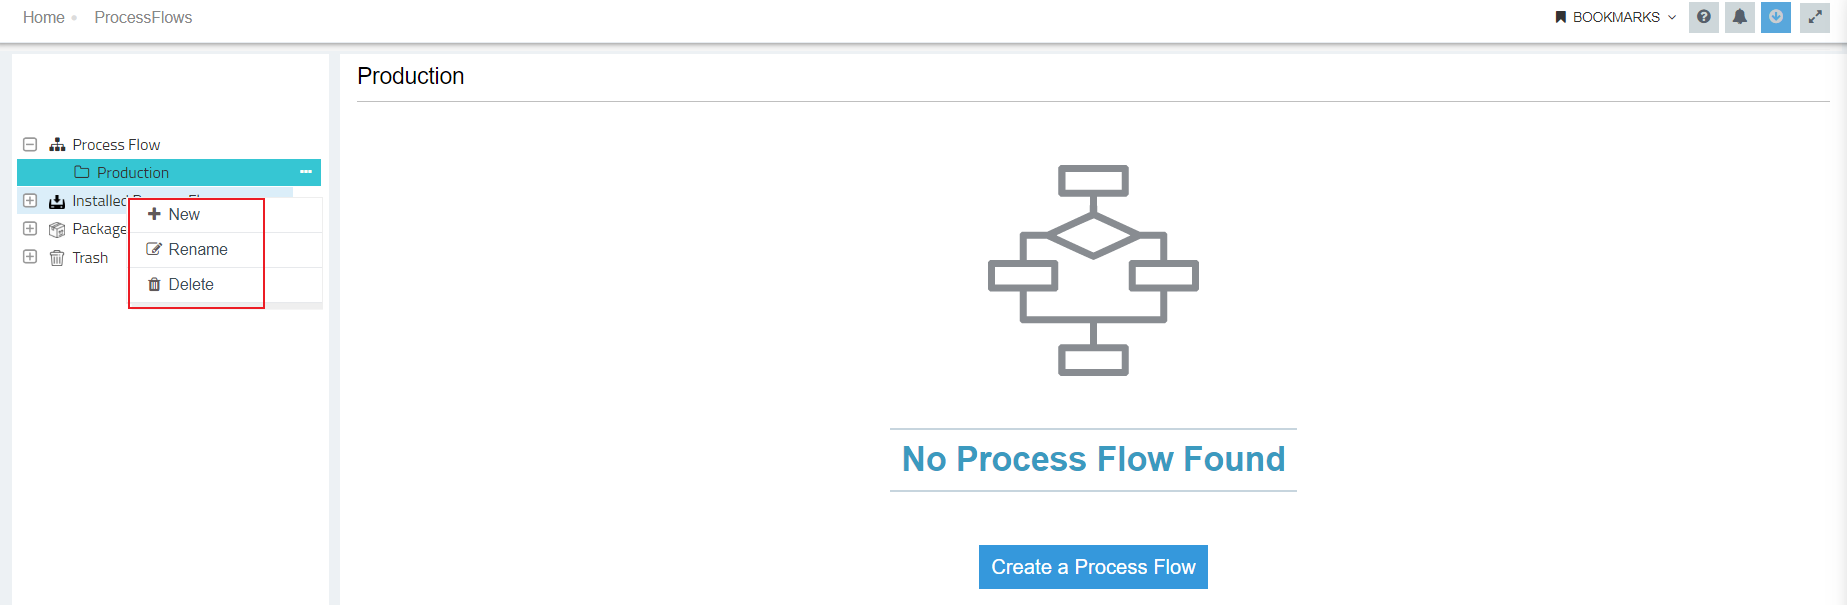
f. All the created folder will get the options to create a new folder, rename the folder & delete the folder.
g. Folders on deleting would be moved to Trash with a toaster message for successful completion of the delete process.
Note -
1) Folder name will consist of 50 characters and can have alphanumeric characters.
2) Full Folder Name is visible by hovering the tool tip over the folder name.
Steps to Rename a Created Folder
-
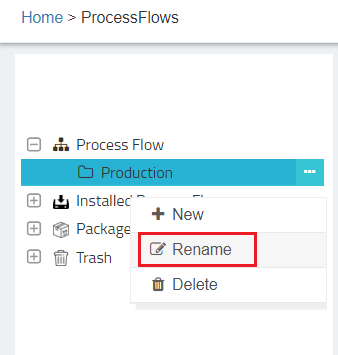
You can rename a created folder by choosing the option Rename available under the drop-down of the selected folder.
-
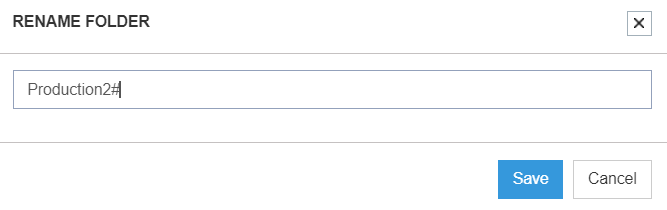
Click on the Rename, the window for renaming, opens.
-
You can rename using any alphanumeric characters. The renamed folder will be available in the ProcessFlow List.

Steps to Delete a Created Folder
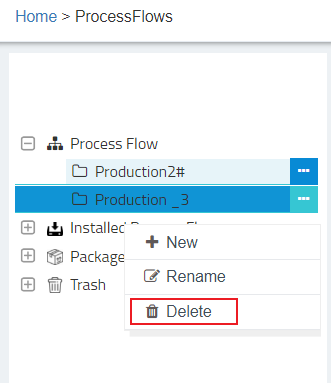
1) You can delete any created folders by choosing the option Delete, available in the
drop-down of the selected folder.
2) On clicking the Delete button, user gets a confirmation message for the deletion process. Click Yes button, you will delete the selected folder.
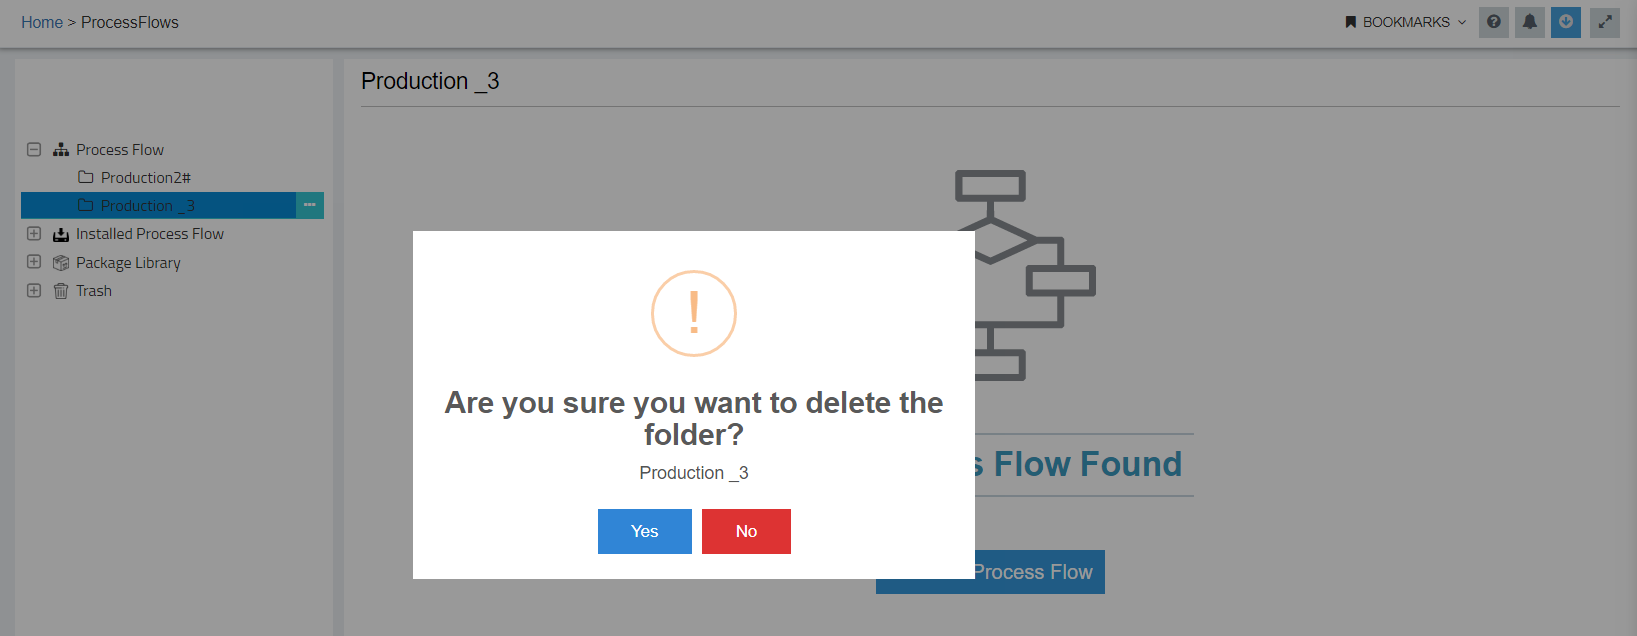
3) Clicking Yes button, will delete all its child folders & the processflow present inside it.
The deleted folders will be shifted to the Trash folder once deleted from the group level.
The functionality for renaming and deleting is available only for the folders that are created by the user. The default folders cannot be renamed or deleted.
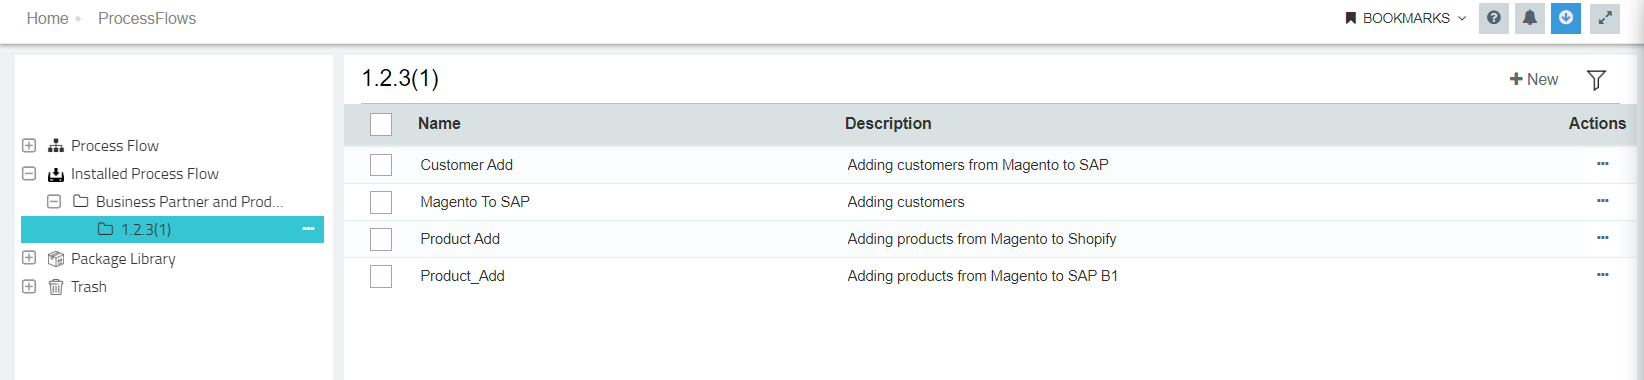
Installed Process Flow folder
This folder will contain the incoming installed packages shared to your organisation. Incoming Packages when installed will be available in the Installed Process Flow folder. The folder will have sub folders created while installing packages, with the same name as that of the installed package.
To know more on Installed Process Flows, Click Here
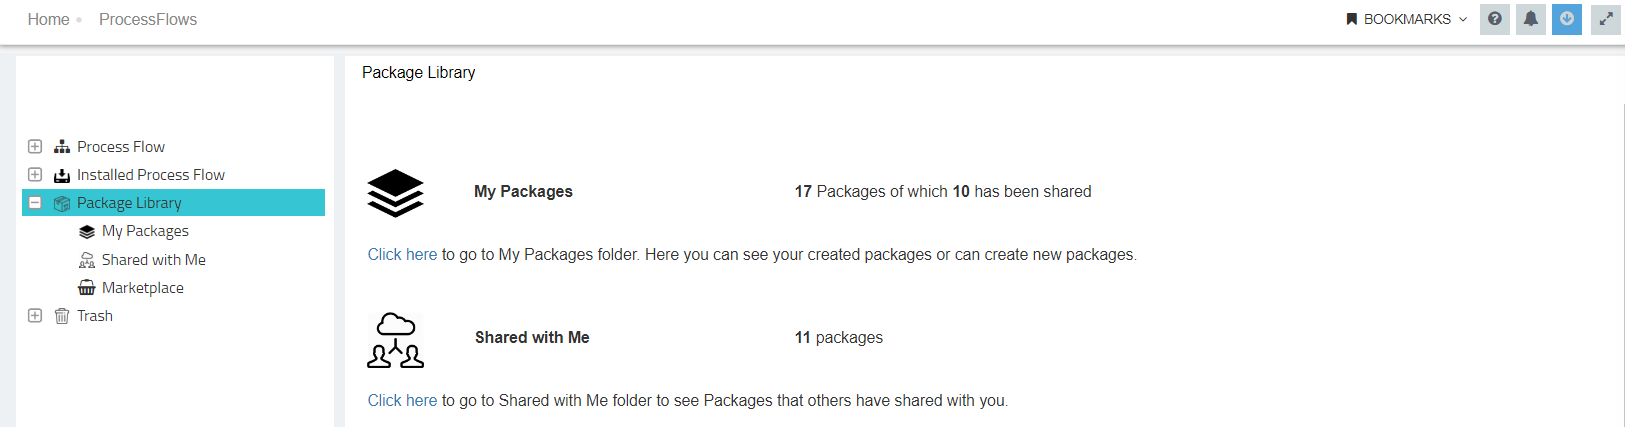
Package Library folder
This folder will list you with three Sub-Folders : My Packages, Shared With Me & Marketplace. Clicking on Package Library folder, you will be shown the summary of packages you have created and shared in both the Sub-Folders.
The Sub-Folders will enable you to perform the following functionalities :
1) My Packages : This folder will allow you to Create, Share and View packages created by you on your organisation.
2) Shared With Me : This folder will allow you to view and install all incoming packages that are shared with you.
3) Marketplace : This folder contains all public packages that you can view & install in your own organisation.
To know more on packaging of processflows, Click Here
Trash Folder
This folder will list you with all the processflows as well as various folders which you have deleted.
To completely remove processflows from your organisation, you need to perform the following steps :
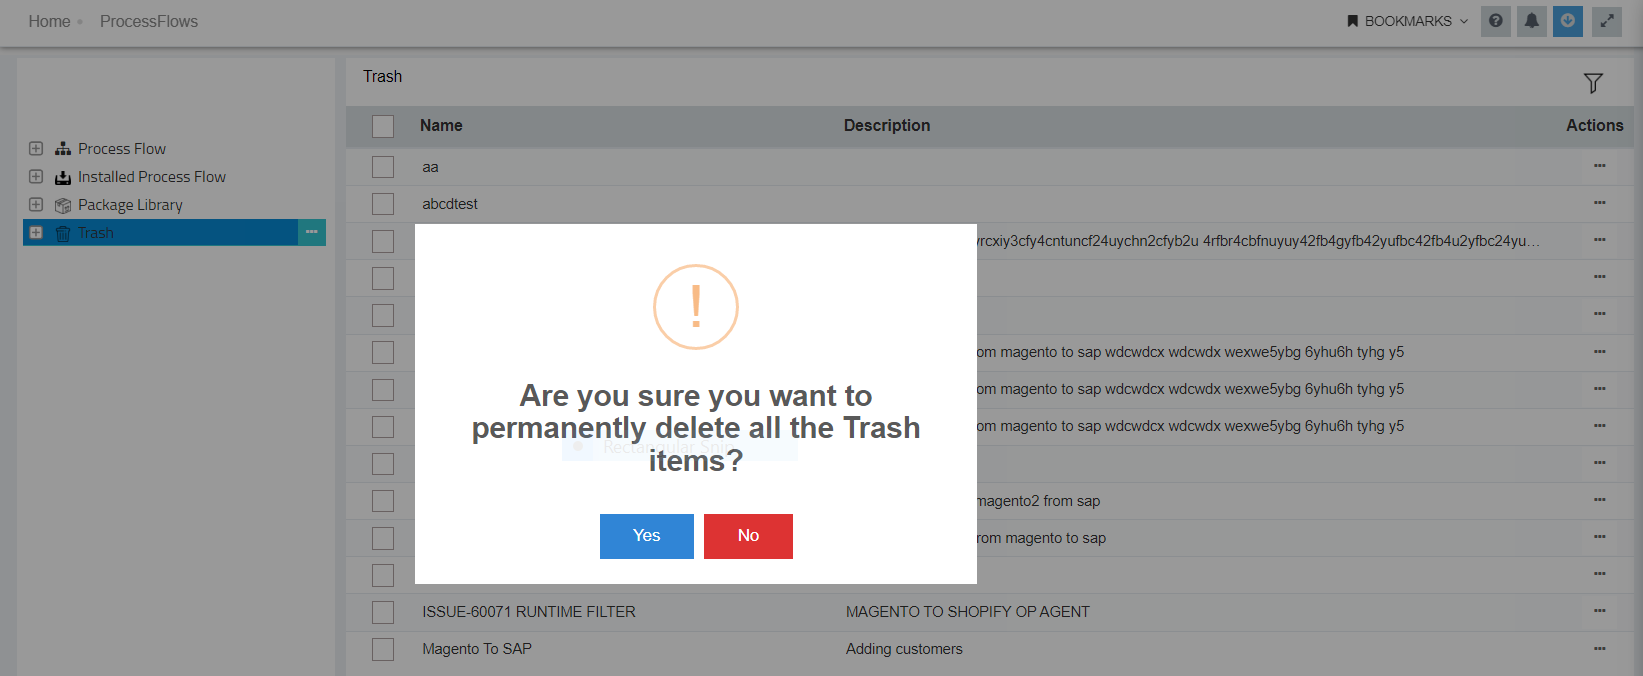
1) Click on the Ellipsis (…) beside the Trash folder, you can view the button Empty Trash Folder.
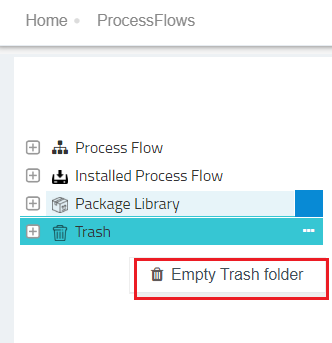
2) Click on the button Empty Trash Folder, you will get a confirmation message. Click on the Yes button for deleting all the folder and processflows permanently.
3) Folders can even be deleted permanently from the Trash folder, by clicking on the delete button
for the selected folder under Trash. User gets a Confirmation message for deleting permanently.
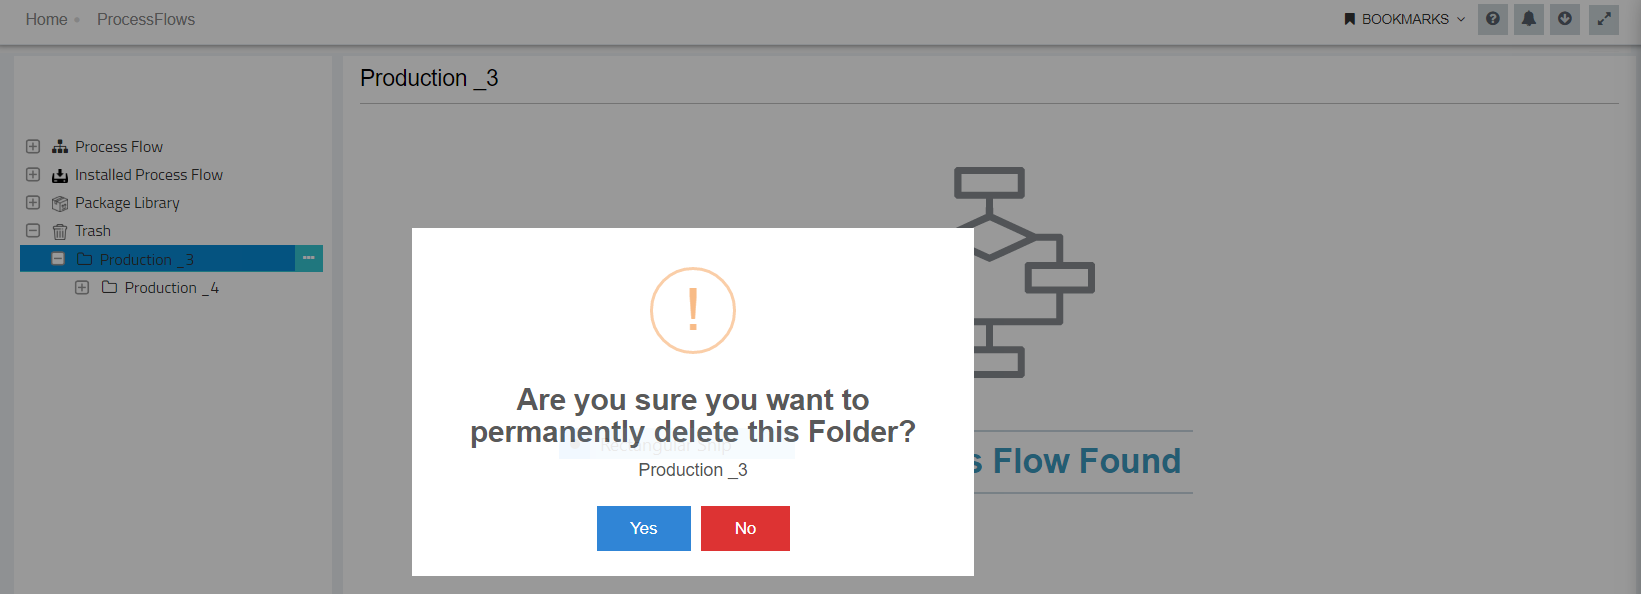
4) Clicking on the Yes button will delete the folder, its processflows and Child folders permanently.
5) You can also delete each processflows individually.
a) Select the Trash folder, click on any processflow folder, the processflows present inside the selected folder will be visible in the right hand panel.
b) Click on the ellipsis(…) beside any processflow and select the delete button. A pop-up will be displayed with a confirmation message, select Yes and the processflow will be deleted.
Note : You cannot create any child folders under Trash. Default Folders can neither be Renamed nor Deleted.

