Delay Node
Updated:
What is Delay node?
API request may have a limitation of accepting one request per second. So for implementing GET or POST operation, Delay node has the ability to hold the execution flow for a specific period, so as to fetch as many request it can by delaying the execution flow.

Understanding conditions
Delay node can be implemented anywhere within a processflow, and the configuration for implementing delay can be provided using Static Time or by using a Dynamic Time.
Dragging the Delay node in the Designer panel, you can view the following fields for configuring Delay.
- Description of Node : Here, you can provide a short description for the Delay Node.
-
Wait Time : This field initiates the delay process. You can either provide a
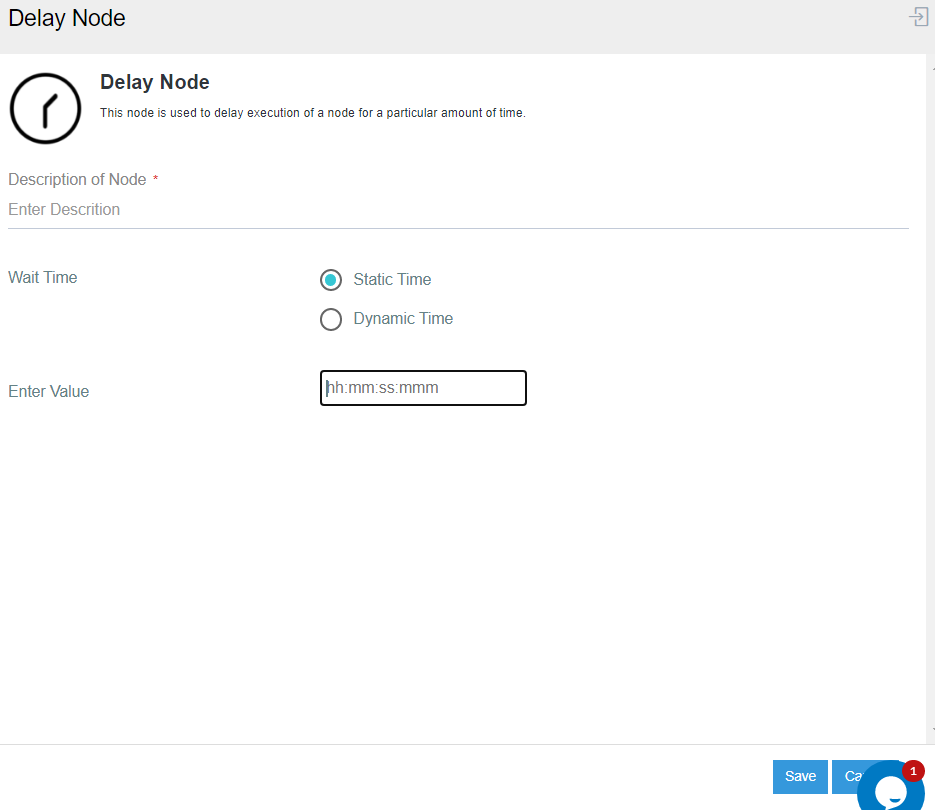
Static TimeorDynamic Time.- Delay on Static Time :
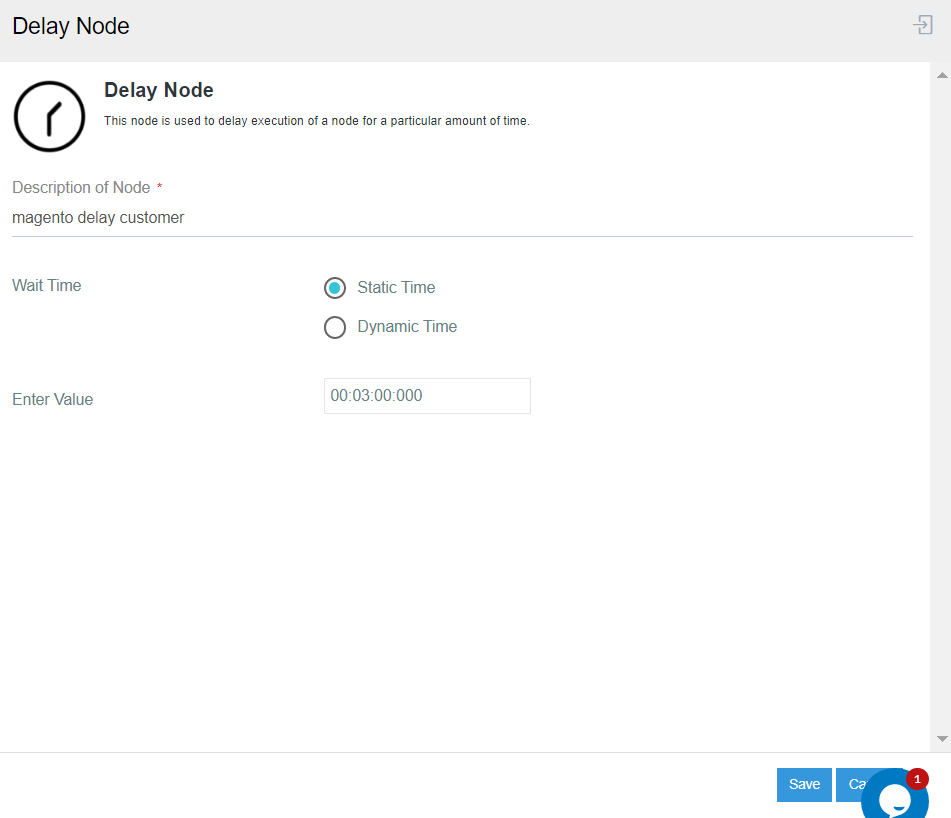
- On selecting the checkbox for Static Time, you will be provided with a field
Enter Value. - The field is defined with placeholder text as per the time format - hr (hours), min (minutes), sec (seconds), and ms (milliseconds).
- You need to provide a static value, that will define the duration of the delay time.
- Click on the SAVE button after providing the value.
- On selecting the checkbox for Static Time, you will be provided with a field
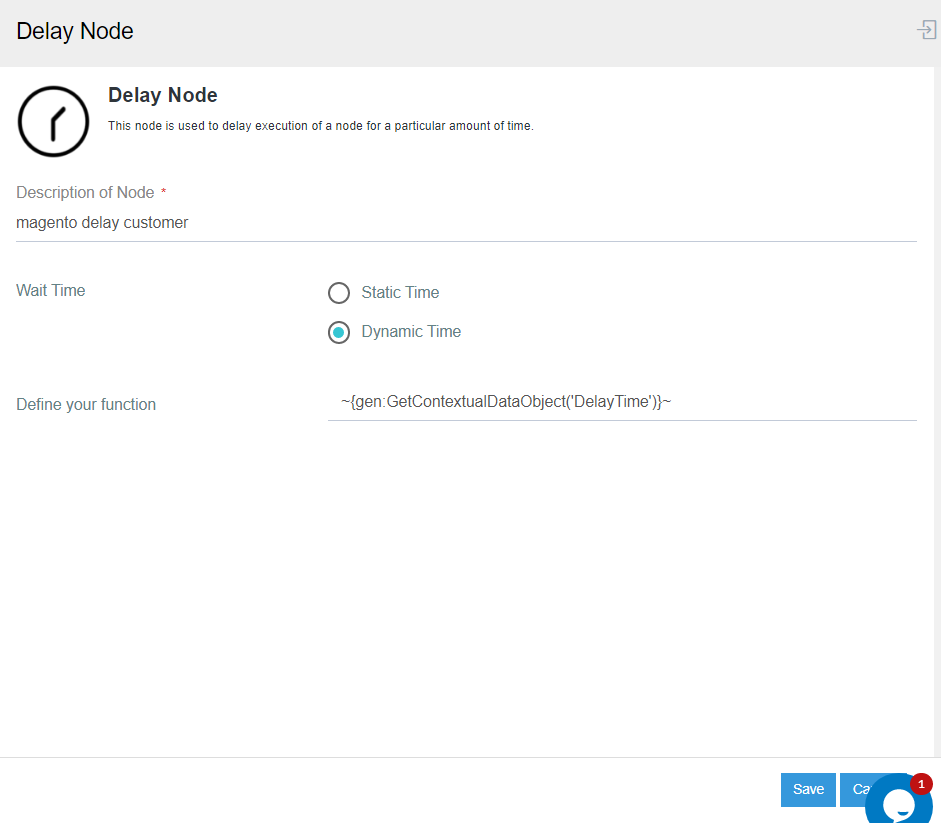
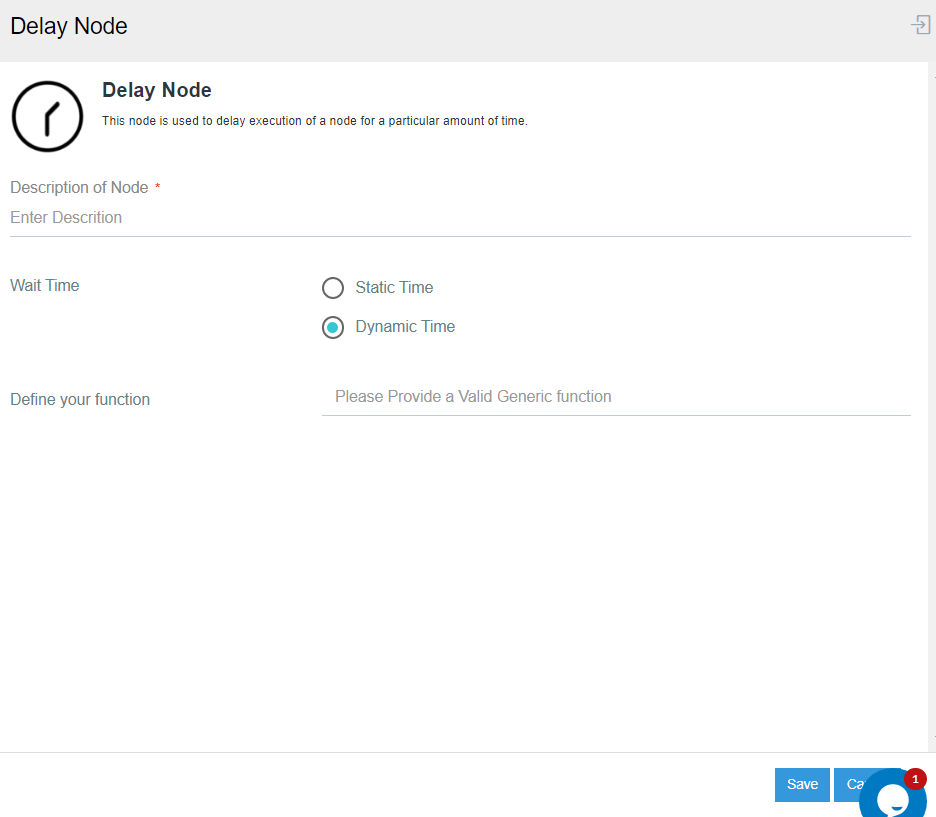
- Delay on Dynamic Time :
- On selecting the checkbox for
Dynamic Time, you will be provided with a fieldDefine your function. - You need to provide a generic expression with proper syntax for initiating the duration of the delay time.
- Click on the SAVE button after providing the value.
- On selecting the checkbox for
- Delay on Static Time :
Note :
- For Static Time, the time format should be provided as hr (hours), min (minutes), sec (seconds), and ms (milliseconds).
- For Dynamic Time, you need to provide the expression using proper syntax.
- You need to provide ~ (tilt icon) along with the curly braces {} both at the front and back when providing the generic function. For Ex : ~{gen:GetContextualData(Variable Name)}~
Prerequisities
- You need to have valid credentials of the portal.
- You need to create a processflow or need to have an existing processflow developed.
- You cannot implement Self-loop over Delay node.
- You cannot implement Delay on a node where self-loop is linked.
Working Principle
1) Drag the Delay node in the designer panel of the processflow. The node configuration window for Delay node opens. Enter the Node Description and select the desired checkbox for Wait Time.
2) Enter the static value and click on the SAVE button. Save the processflow for storing the changes.
3) Deploy and Execute the processflow after covering all other configurations.
4) Navigate to Environment section to view the snapshot for the deployed processflow.
5) Click on the Delay node in the snapshot to view the Data Log, Activity Log and Transaction File.
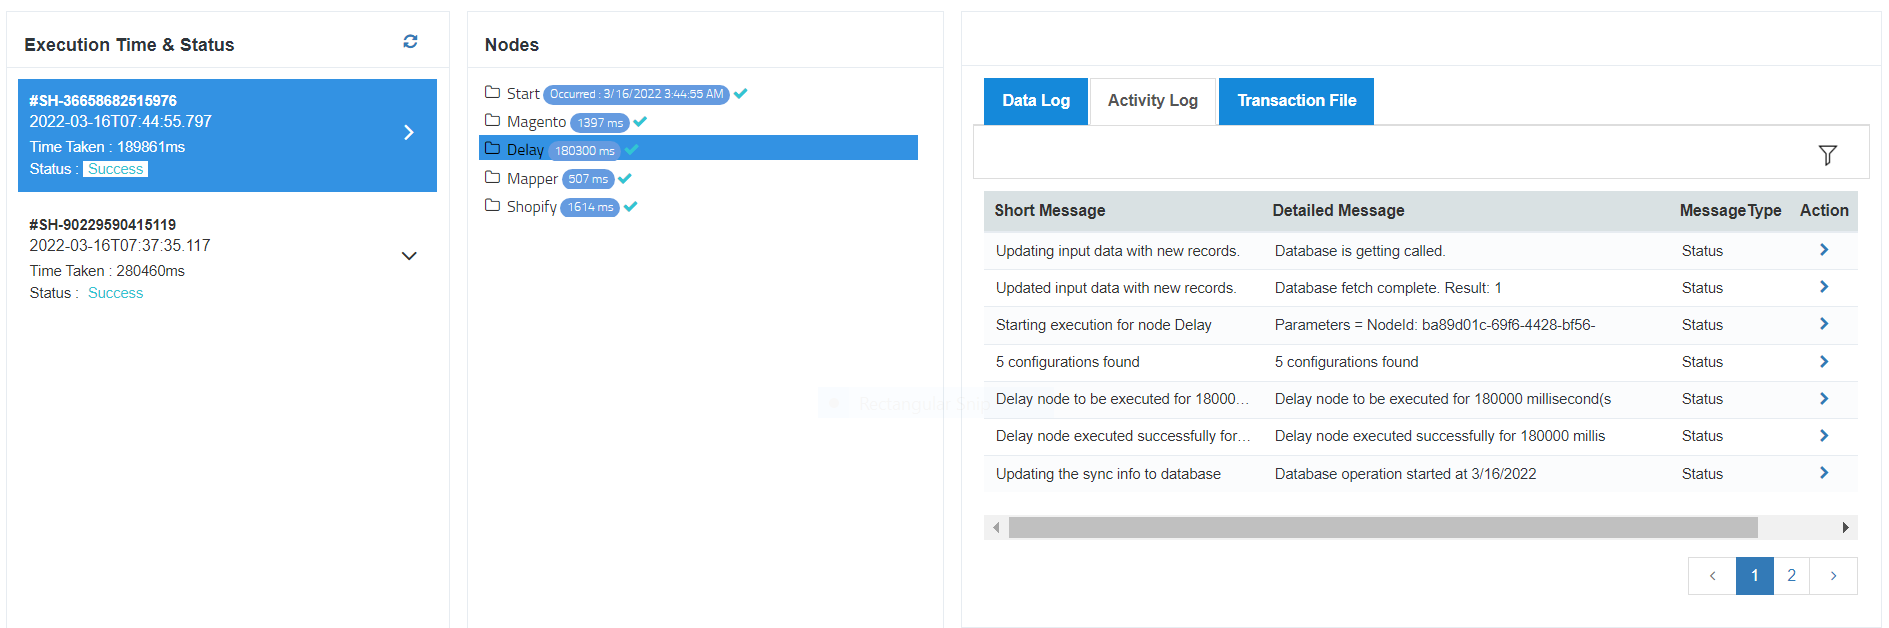
Note : The above flow for delay node was configured with Static Time.
Implementation scenarios for Delay Node
(A) Implementing Delay using Generic Function :
Currently, for implementing Delay using Generic Function, you will have to create a Variable of String datatype with default value provided as : Hour=00;Min=00;Sec=00;Millisec=00. The scope of the variable should be processflow (Global Variable) so as to use the variable in Delay Node.
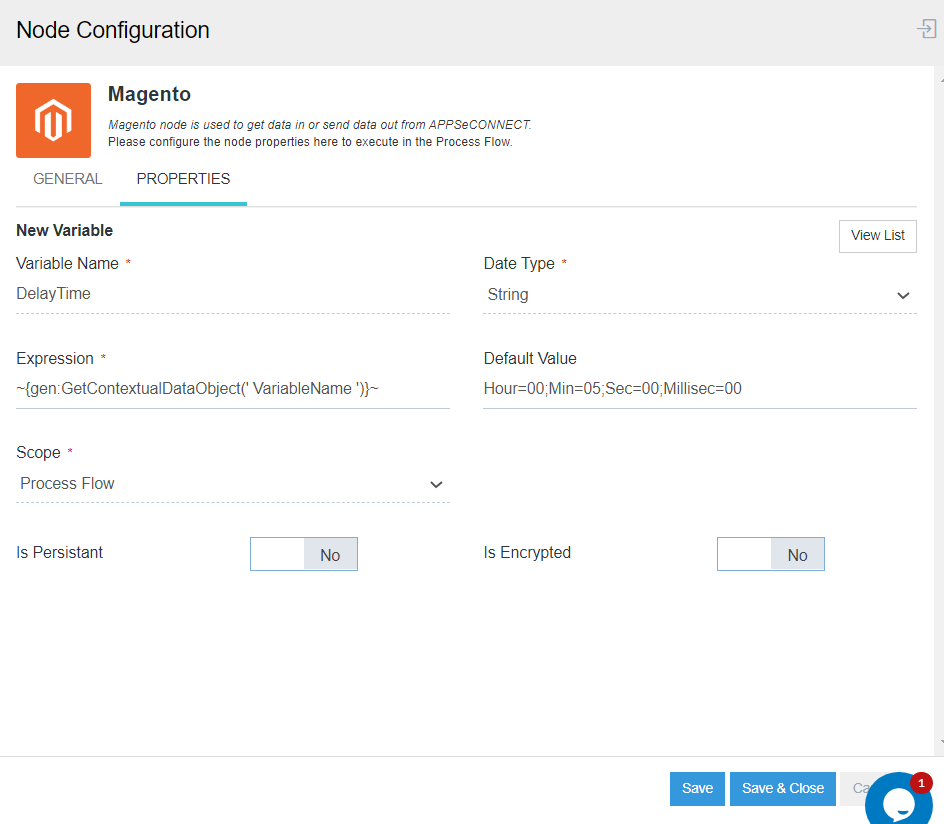
Navigating back to the node configuration window for Delay Node, on selecting the WaitTime checkbox as Dynamic Time, you will be required to provide the generic function for operating the delay. Enter the generic function ~~{gen:GetContextualDataObject(' VariableName ')}~ with the variable name passed in its parameter.
Deploy and Execute the processflow for implementing the Delay.