
Generating Temporary License for Organization
Updated:
Partners & Developers or any other user (except the client) can now, no longer be able to login into the client environment, due to APPSeCONNECT License Management.
As each OP Agent, for each organisation in APPSeCONNECT, are now registered using a License key which is generated
using the Organisation ID & the MAC ID of the system thereby preventing other systems & users from logging in.
Partners/Developers requires to login to the client OP Agent for the purpose of implementing or debugging client issues and features. Therefore, APPSeCONNECT provides the temporary license key generation feature for the Partners and the Developers, such that they can login in the client environment for work purpose.
Working principle for Generating Temporary License
Super Admins of APPSeCONNECT will be able to generate a temporary License key from the portal, for any organisation, which is needed to be accessed. The key will be valid for a limited time as selected from the portal. Using the generated key, partners/developers can log in to client environment using their (partners/developers) own agent credentials.
Note: Only an APPSeCONNECT user with Super-Admin access, will be able to generate the temporary License Key for Organizations.
Steps to Generate Temporary License
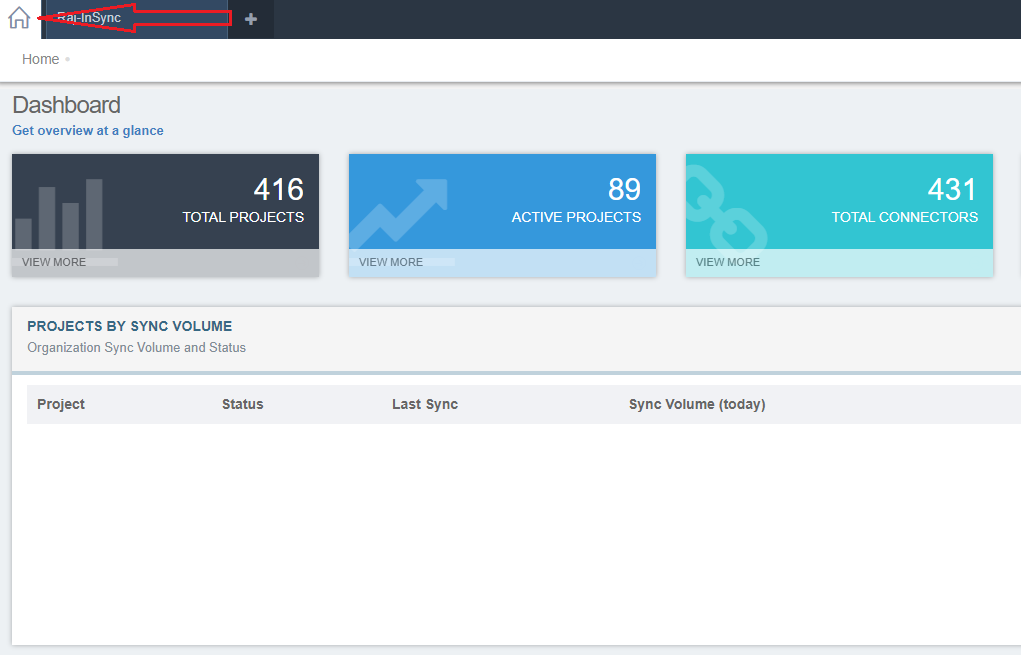
- Login to APPSeCONNECT Portal with SuperAdmin credentials. Click Home Button.
- Navigate to Projects > Manage Projects. The manage projects window appears.
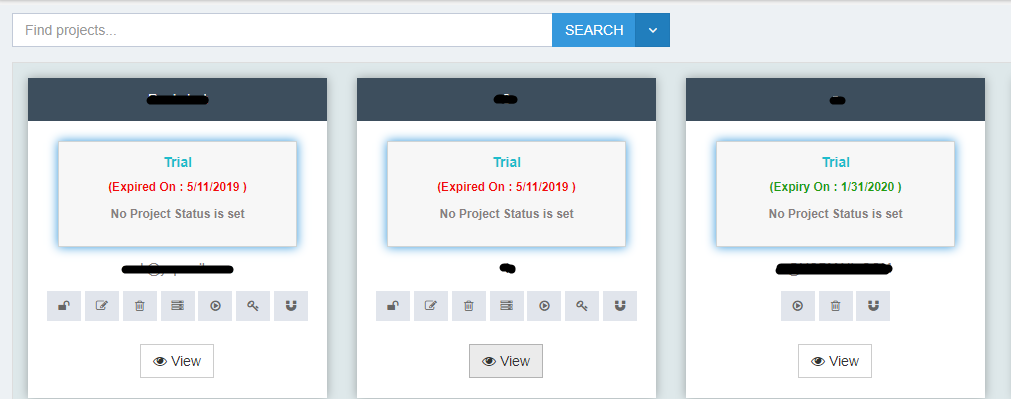
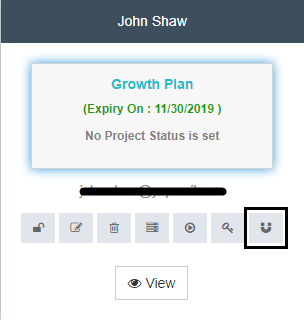
- Search project, for which temporary license key generation needs to be implemented and Click License tab.
- Select the TTL value from the drop-down option.

Note: TTL is the Time-to-Live value, which the defines the amount of time, the generated key remains active. - Click on the generate key button. The temporary license key will be generated successfully, then Copy the generated key.
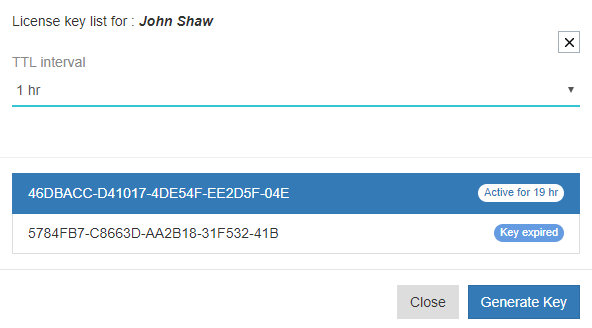
Note: The Active key would be displayed on top followed by the latest expired key. As multiple license key would be generated for an organisation, therefore multiple active keys would be displayed in the dropdown. - Navigate to APPSeCONNECT OP Agent and paste the key in the Registration Key field, which can be viewed by
pressing the CTRL+F10 button.
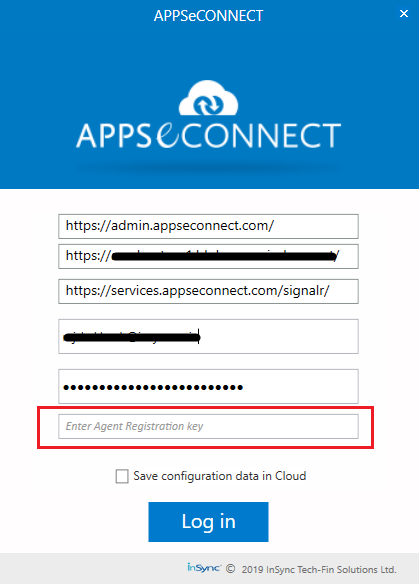
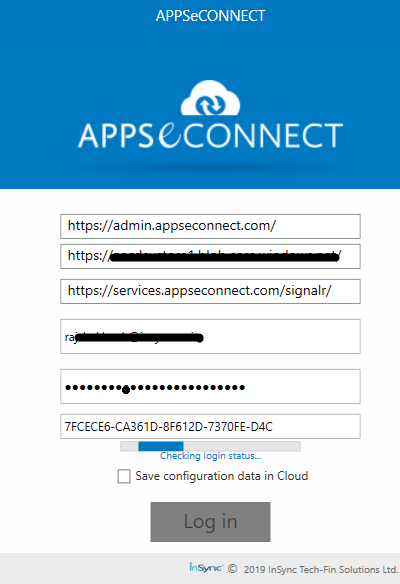
- Click on the login button after pasting the generated license key.
Note: (a)This feature of Generating Temporary License is solely for the Partners and the Developers.
(b) On expiration of the license key, the environment will no longer be accessible to the concerned Partner/Developer and would be auto-logged out from the agent.
(c) Feed will not generate any login details of the user with respect to generating temporary license key for an organization.
(d) While logging in using temporary license in the OP Agent, the checkbox for Saving Data Configuration remains disabled
Scenario of License Key Validation Failure while generating License Key
Four different scenarios are mentioned within:
- If you are using your existing licence key for the same MAC ID whereas you MAC Name has been renamed. In this scenario the user will face license key validation failure because in order to generate License key, we use both Computer name + Machine ID and unique id generated for the organization. Each license uniquely identifies a particular machine. You cannot license a machine with a license generated from another machine. In this case, your license will say invalid.
- You have copied the installed folder and files from C: ProgramData folder to another machine.
- You have installed new network adapters which changes MAC ID of network interface.
- You have changed the Computer name of the machine.
Workaround for License Key Validation Failure
Follow the steps given below for the above scenarios:-
- Go to Portal, Login and select Manage - Environment.
- You will see all the environments you are connected to.
- Click on the environment where you have installed Agent.
- Click on Delete to delete the environment.
- Go to On-premise environment and Login again.
- Open Settings and Check - Enable Environment.
After the environment is enabled again, you will see everything is working correctly. If you still do not see the agent to be connected from Cloud, please go to Portal, revisit Environment section and click on Attach button to reattach a deleted environment.

