
Configuring Teams Bot
Updated:
APPSeCONNECT Bot in Microsoft Teams allows you to build a communication channel between your line of business applications configured in APPSeCONNECT with Teams. The bot can notify you your daily sales report, Revenue, Customer information from your application in real time. You need to setup your BOT and connect to APPSeCONNECT integration solution to communicate and get notified with actionable insights. Enable notifications and messaging from APPSeCONNECT regarding integrations, automations, data sync, triggered messaging, etc. to seamlessly manage your integration journey through Bots.
Features
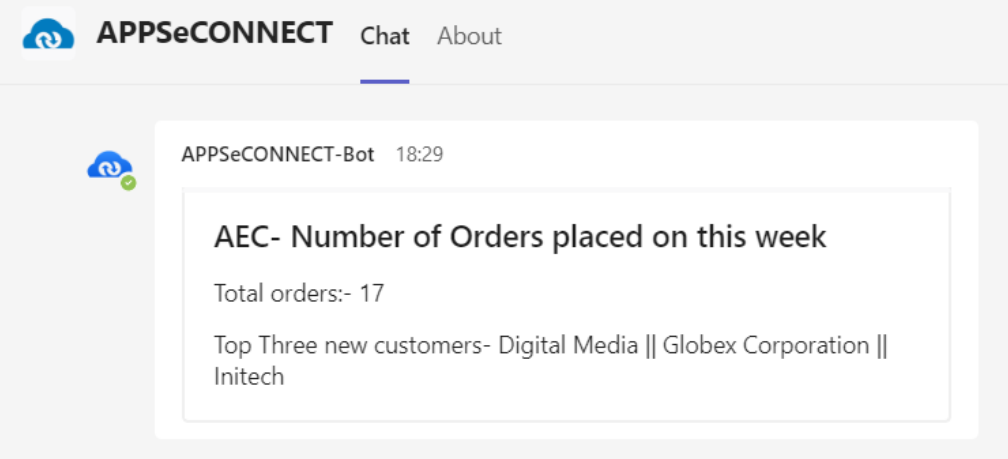
- Receive action-based notifications, either as adaptive cards or plain text on any public channel or specific user in Teams.
- Execute an integration directly from ProcessFlow to ensure the workflow defined in the integration is performed.
- Use Help to get insights about the configured commands in APPSeCONNECT.
Pre-requisites
- APPSeCONNECT account with valid credentials.
- Need Microsoft Teams App with Administrative priviledges(to install APPSeCONNECT Teams App)
- Basic knowledge of APPSeCONNECT.
Installing APPSeCONNECT
To install APPSeCONNECT, you need to be an administrator, such that either you install APPSeCONNECT on behalf of the whole organization or you install for yourself. To install APPSeCONNECT, in your Teams App follow the steps below :
- Open Teams and Click on the three dots on the extreme left side of the screen.
- Search “APPSeCONNECT”, and click on the App you see on the list.
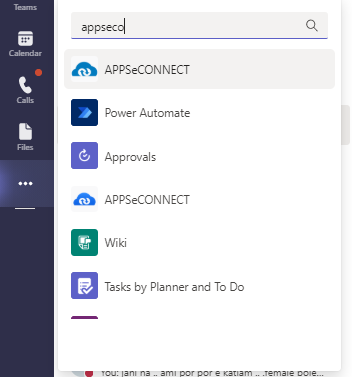
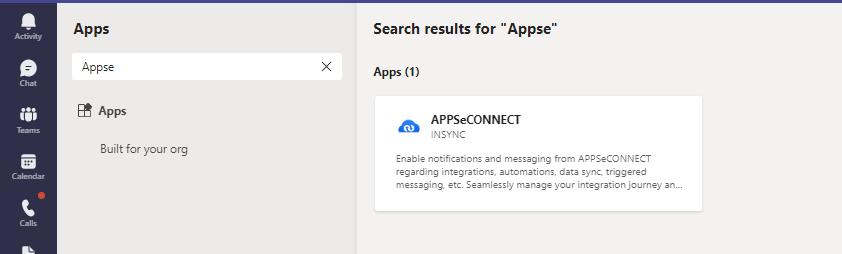
- If you are unable to see APPSeCONNECT on the Search, go to Apps Section on Teams.
- Search for APPSeCONNECT from the Search bar on top left corner. The APPSeCONNECT App will appear.
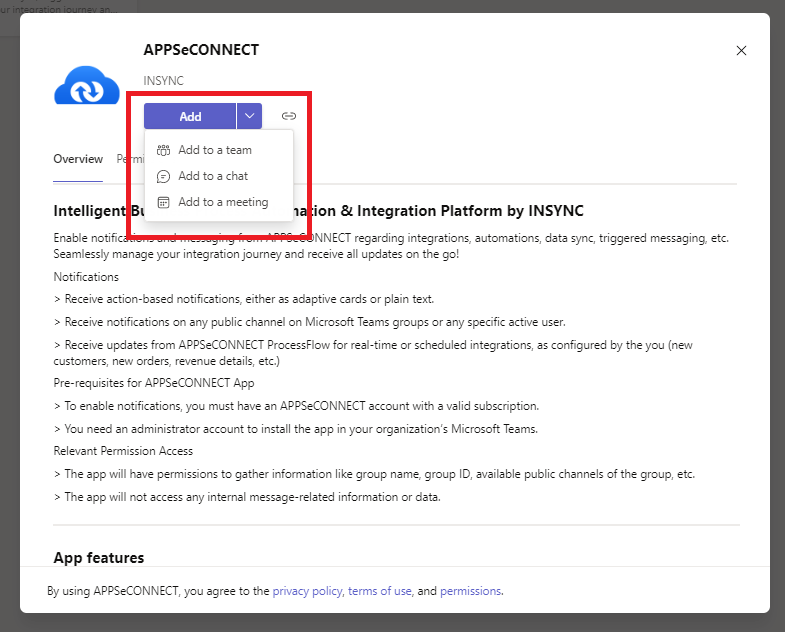
- Click on the App, you will see an Add button. Select whether you want to install it to Team, a Chat or a meeting. We recommend to add to a Team.
- Select a Channel Name where you want to install the BOT. Click Setup. Once this is done, you will see our Welcome message in the Channel.
Configuring APPSeCONNECT for Teams BOT
To create a communication channel between your BOT and APPSeCONNECT, there are few requirements that you need to follow. Here are the steps which are required to correctly work with APPSeCONNECT BOT.
- Open APPSeCONNECT Portal, create a ProcessFlow.
- Drag the Teams App and any other App of your choice. Remember, we are creating this ProcessFlow just to show you how to configure Teams in APPSeCONNECT.
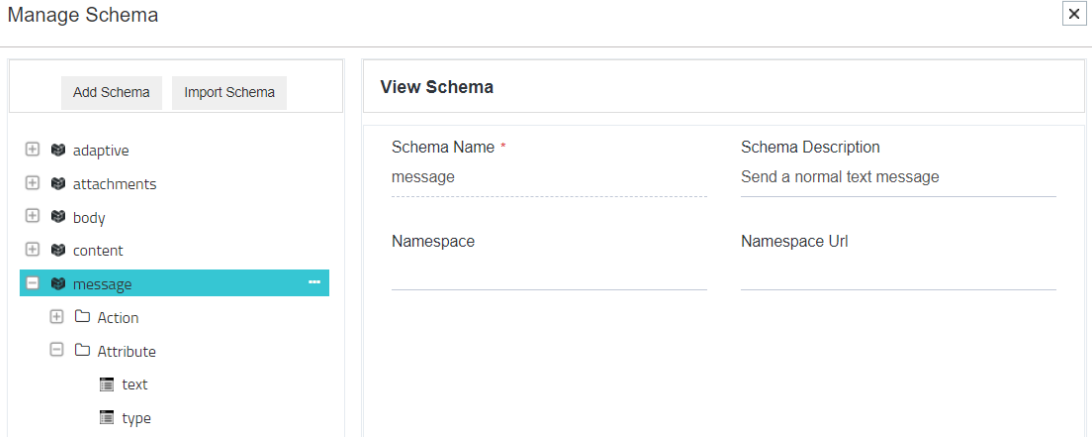
- Create a schema to send messages from Teams. Either choose from existing Schema, or Create a new Schema.
- Your schema need to follow the Adaptive Card schema defined in Microsoft Documentation Note : To send an adaptive card - you can design your card in Adaptive card designer, then copy the Json payload and upload the Json as import schema. This step will auto-create your Schema, where you can specify the data in Adaptive card.
- Create the Action to send the notification. We use conversations action endpoint to send notification to an existing conversation to send a notification using
APPSeCONNECT Teams App.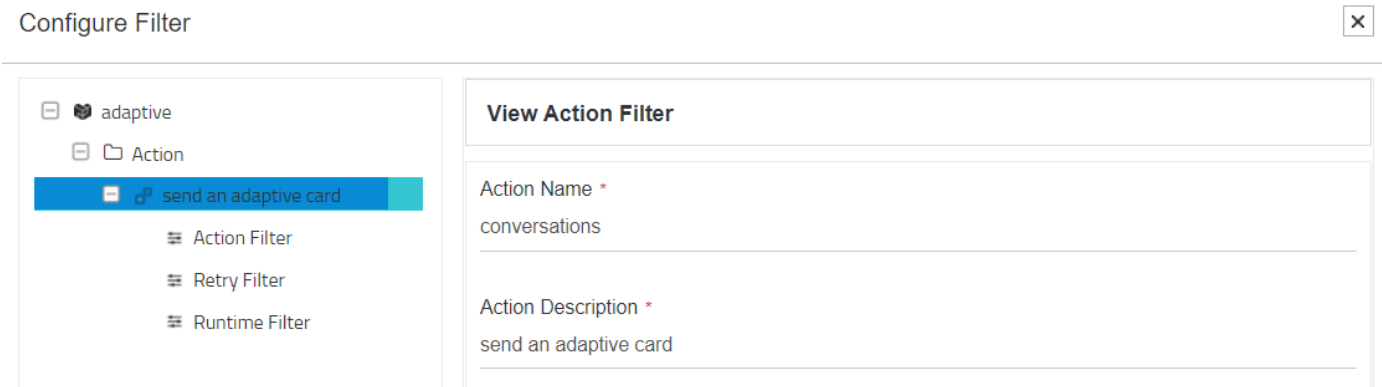
- To receive the Message or Adaptive card, you need to mention the receiver information properly in
Microsoft Teams APP action filter. Navigate to Microsoft Teams APP Node Configuration Window -> Configure
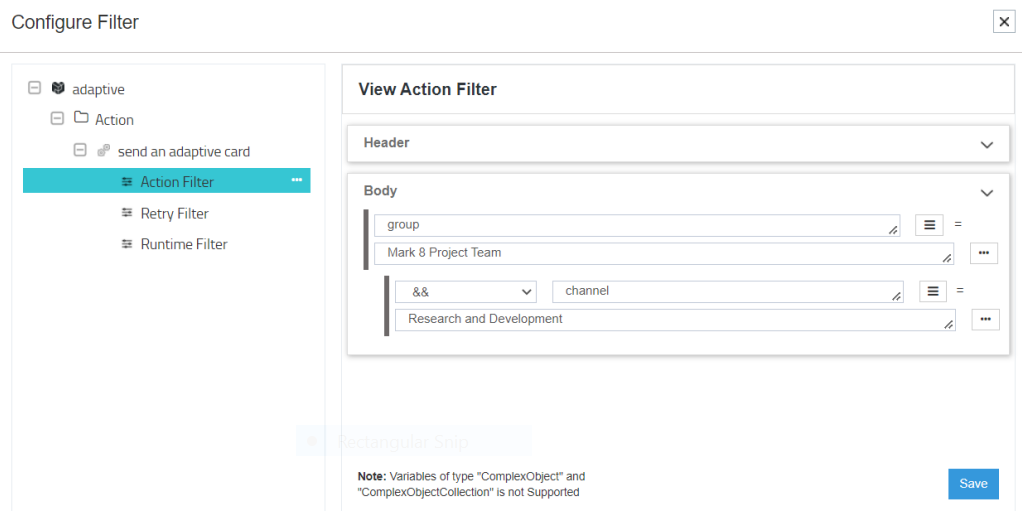
Filter. Define the Receiver information in the Microsoft Teams App Action Filter properly as mentioned in the following scenerios.
- To send information to a Specific Group Channel
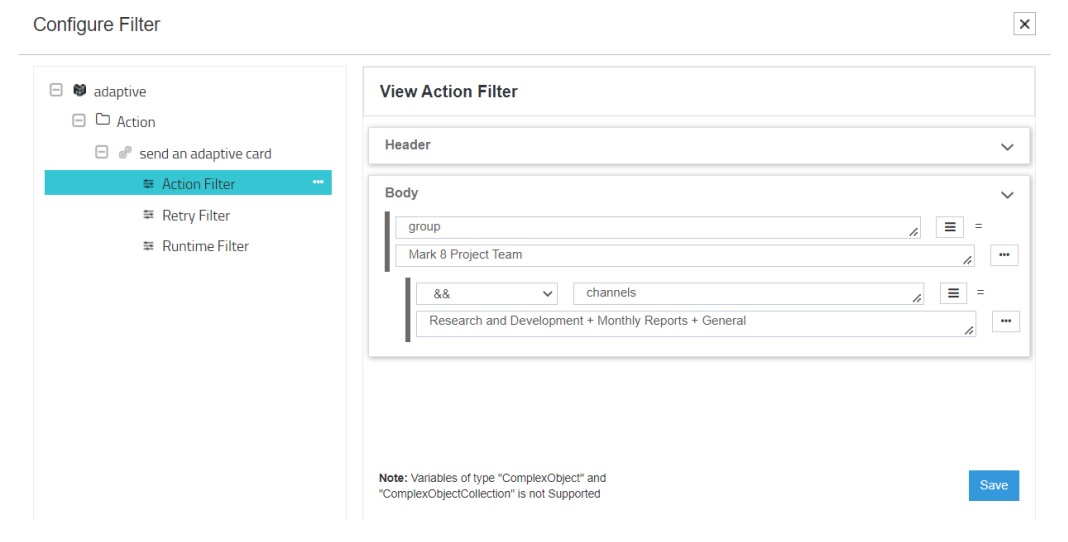
- To send information to Multiple channels for a specific group
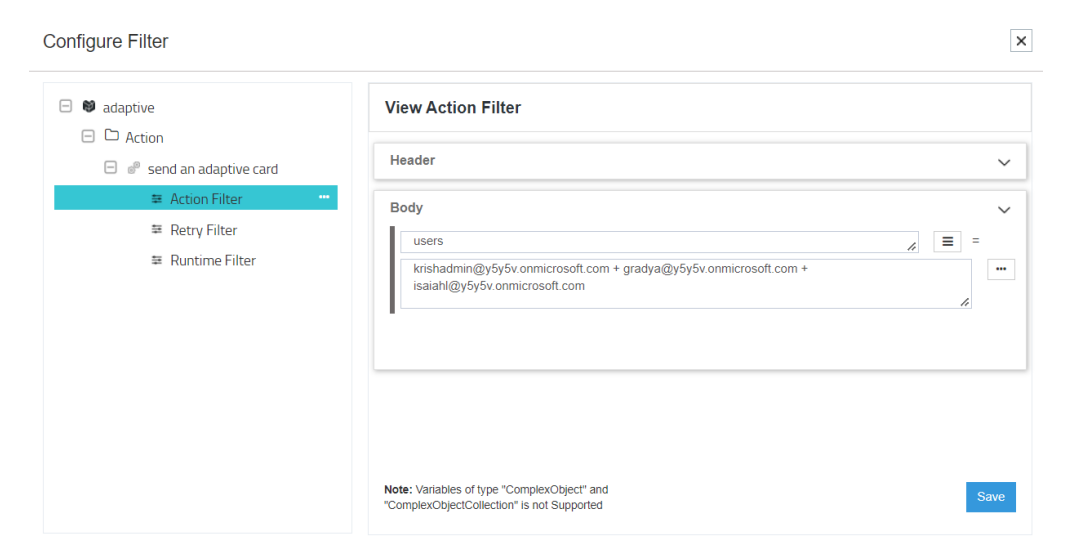
- To send information to specific user or multiple users
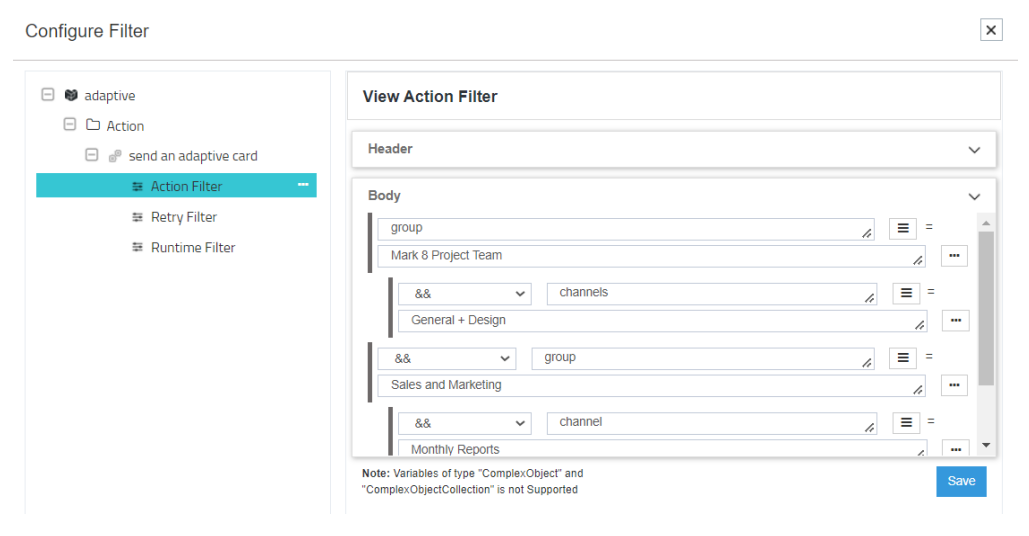
- To send information to Multiple Groups and users at the same time
- To send information to a Specific Group Channel
- Once you create the ProcessFlow, Deploy and execute the processflow in On-Premise or hosted environment. But before you do, you need to validate credentials in APPSeCONNECT.
Credential Validation in On Premise Agent
Follow the steps below to validate credentials during deployment.
- In case you are in On-Premise agent, make sure you open validate your credentials. Open Teams credential, and use Authorize button to authorize
your tenancy in Teams.
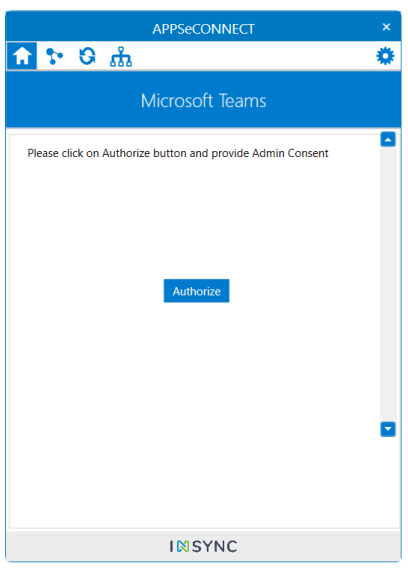
- You just need to click on the Authorize button and sign up using an admin account. Note - Admin consent is required to complete the configuration process.
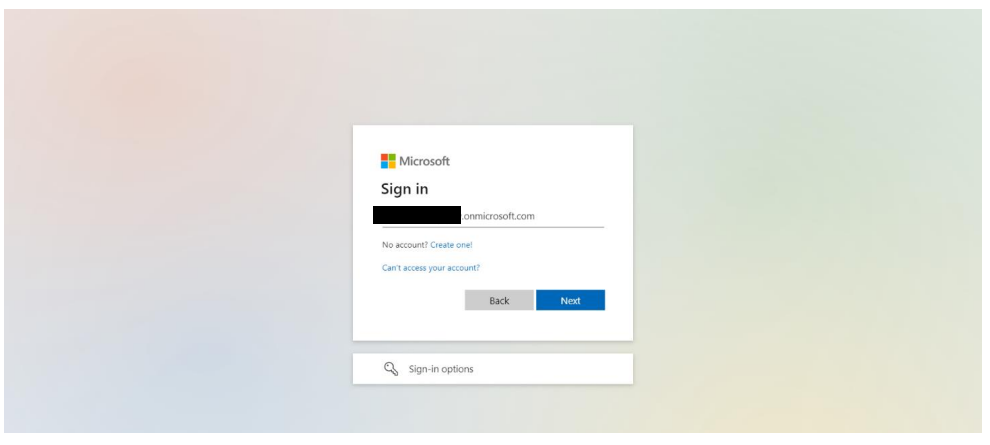
- After clicking on the Authorize button the log in window will open and you need to provide the admin credentials and log in.
- After log in it will do all the configurations automatically, and after completion it will show you a success message.
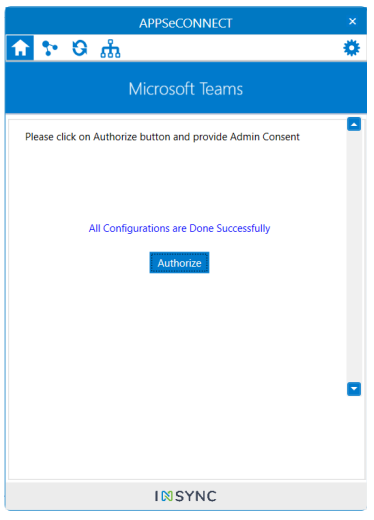
- After you get a Success notification, you can continue the deployment process. Select your schedule information and Deploy the changes.
- After a successful deployment, you will see your app is now connected with your APPSeCONNECT Account.
When your setup is ready, you can create or install packages to add or enhance your integration between APPSeCONNECT and Teams.
Create a Proper schema based on the data you want to send
-
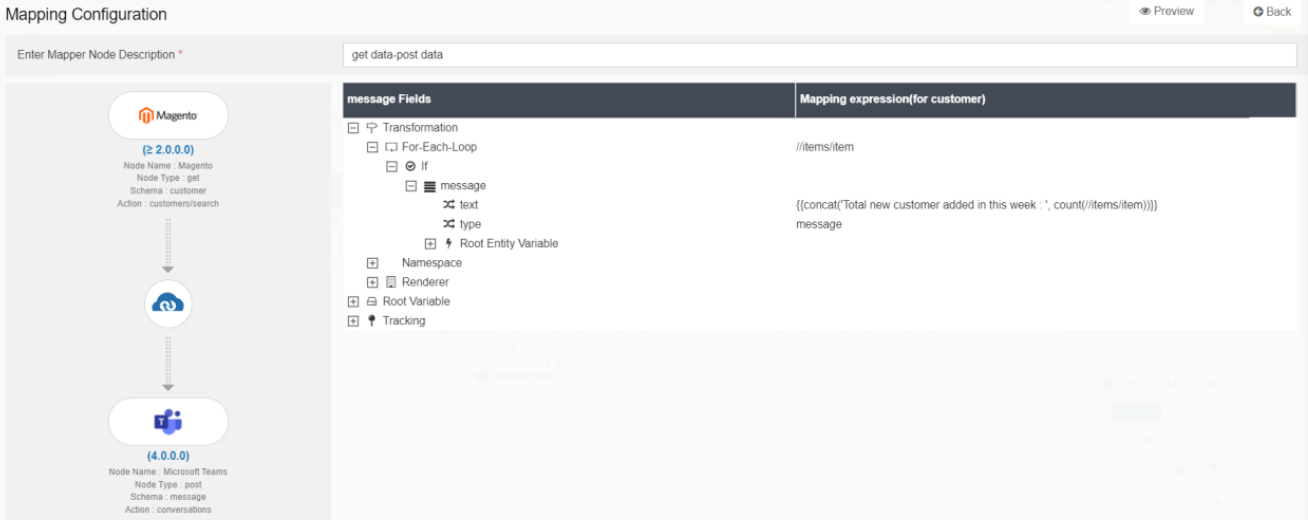
If you want to send a normal text message
 then the schema structure will be
 The Mapping to send a normal message will be
-
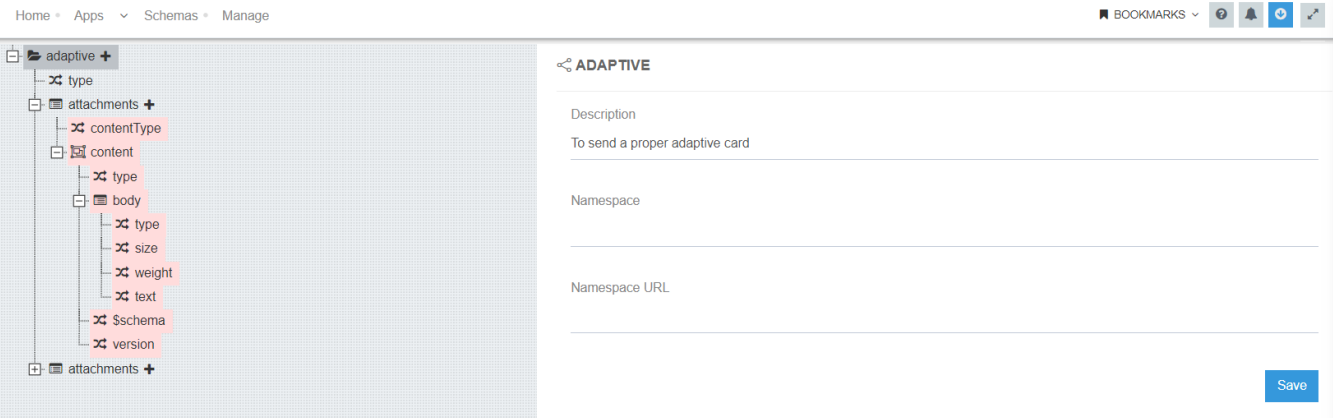
If you want to Send a Proper adaptive card
 Then the schema structure will be
 The Mapping to send an adaptive card will be
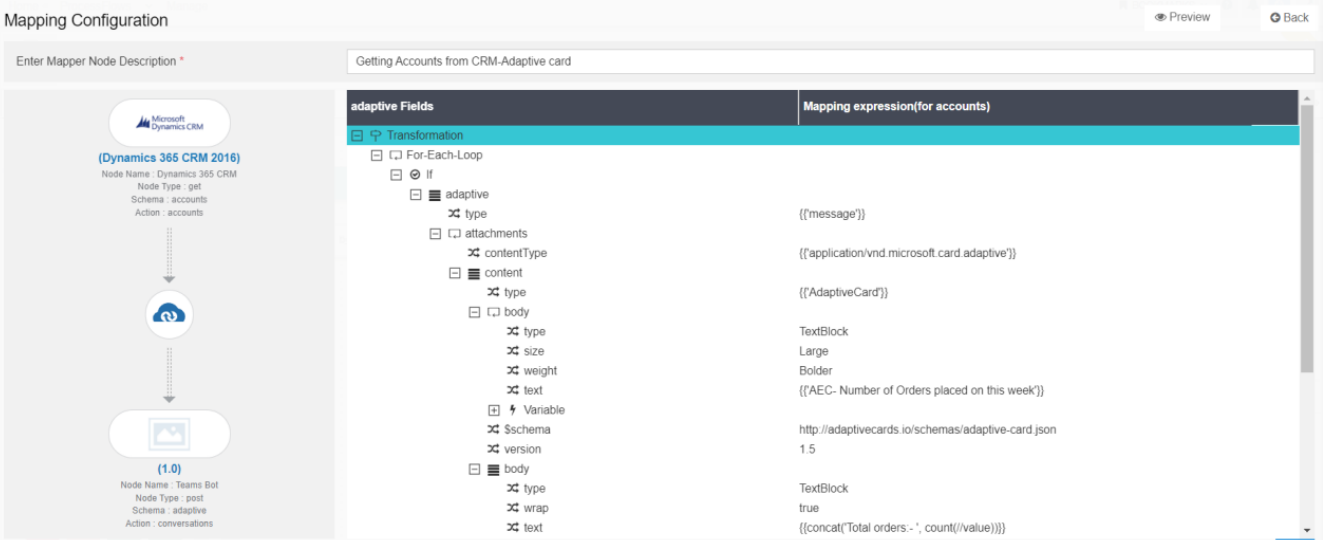
To send an adaptive card, you can design your card in Adaptive card designer, then copy the Json payload and upload the Json as import schema and do the proper mapping. Based on the notification you want.

