
Getting an Account
Updated:
User registration is the first step to get started with APPSeCONNECT. To work with any of our tools, you need to sign up first and get registered to get the login credentials. In this section, we will provide you details on how to get an account of APPSeCONNECT. There are a number of options you choose from to get an account in APPSeCONNECT.
Free Trial
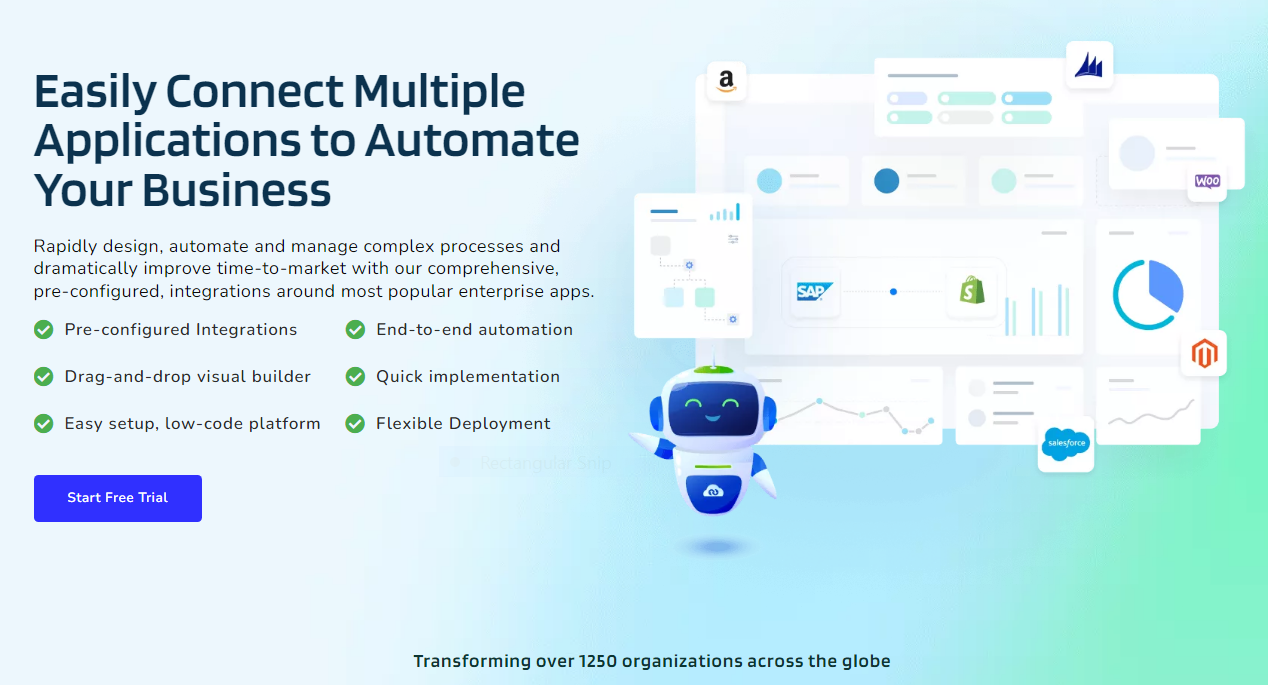
You can request a free trial of APPSeCONNECT by visting APPSeCONNECT website https://www.appseconnect.com/. A free trial is for everyone who wants to try the platform before using it. The free trial is absolutely free which does not require any credit card linking or even one single penny of expense. We give you the full fledged version of all the features and services for a limited time period.
The Free Trial selection option will only showcase the integration on vanilla systems.
- The Landing page of the APPSeCONNECT Portal gives the option to request for a FREE TRIAL.
- Click the option Free Trial and a vistors request form for availing trial version opens up as shown below. Here the vistor can put their requirement details.
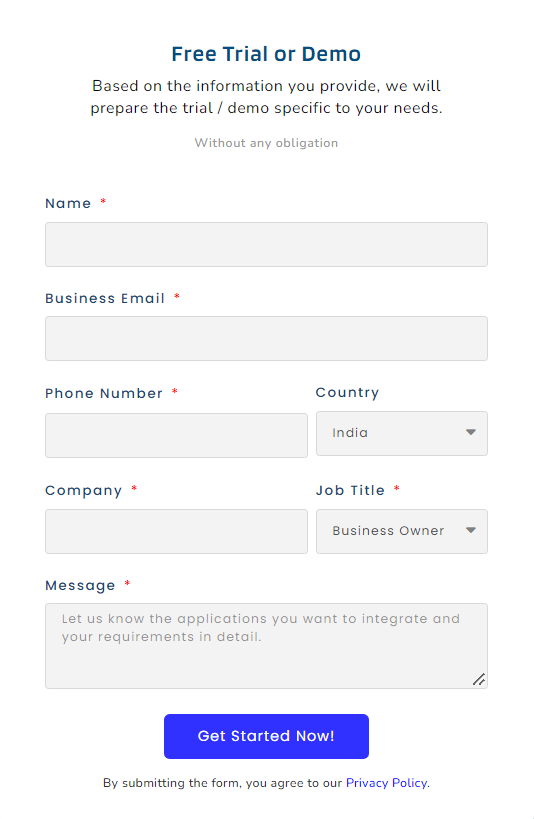
- The form requires the visitors to fill the basic contact details along with the application(s) selection criteria to choose from and the time required to buy the services.
- The visitors will complete the form Fill up and click on Start Free Trial button given at the end of the form.
- An automatic email will be send to both the visitors and APPSeCONNECT Consultant regarding the request.
- Our Consultant will connect back to the vistors and help them with their request for integration within our trial period of 30 days.
Paid Trial
Unlike free trial, we also give you an option to request for Paid trial. As you know integration is a complex topic, and your systems are not exactly a vanilla system as you got it in first place. We generally do a lot of customizations and even we add more and more applications to the system. To adjust the iPaaS platform tailored for your application, you need certain adjustments on the integration. The Paid trial gives you access to our integration experts who will develop and adjust the integration based on the scope of work, and give a demo of the solution in liew of a small payment.
- The process of getting paid request trial is similar to free request trial.
- Since it is a paid request where we will charge a nominal implementation cost but will implement integration based on visitors/customers customization.
Accessing your account
After you successfully register with us, you will get a welcome message for its successful creation along with an activation button to verify your email address. The email will also show your user id which you can use to login to the account.
Steps to access your account
- Once you receive an activation link over an email, you will receive few more resources in addition, such as
- An email id for contacting with us, if you need any help from our end.
-
View Help Center will re-direct you to our documentation portal for letting you know about
APPSeCONNECTin details.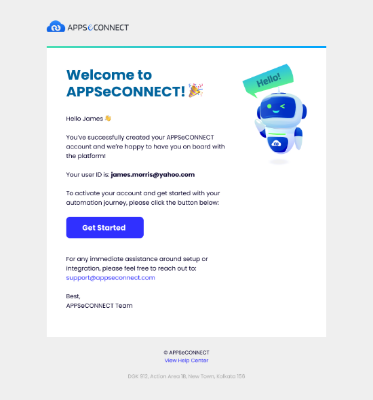
- Clicking on
Get Startedwill activate the created account. User will now be directed to a new window where you need to create your password meeting our password generation criteria. - You need to accept the
terms and conditionsalong with thePrivacy Policyto login to APPSeCONNECT portal. Once you click on Help Center, you will be directed toAPPSeCONNECTdocumentation portal.
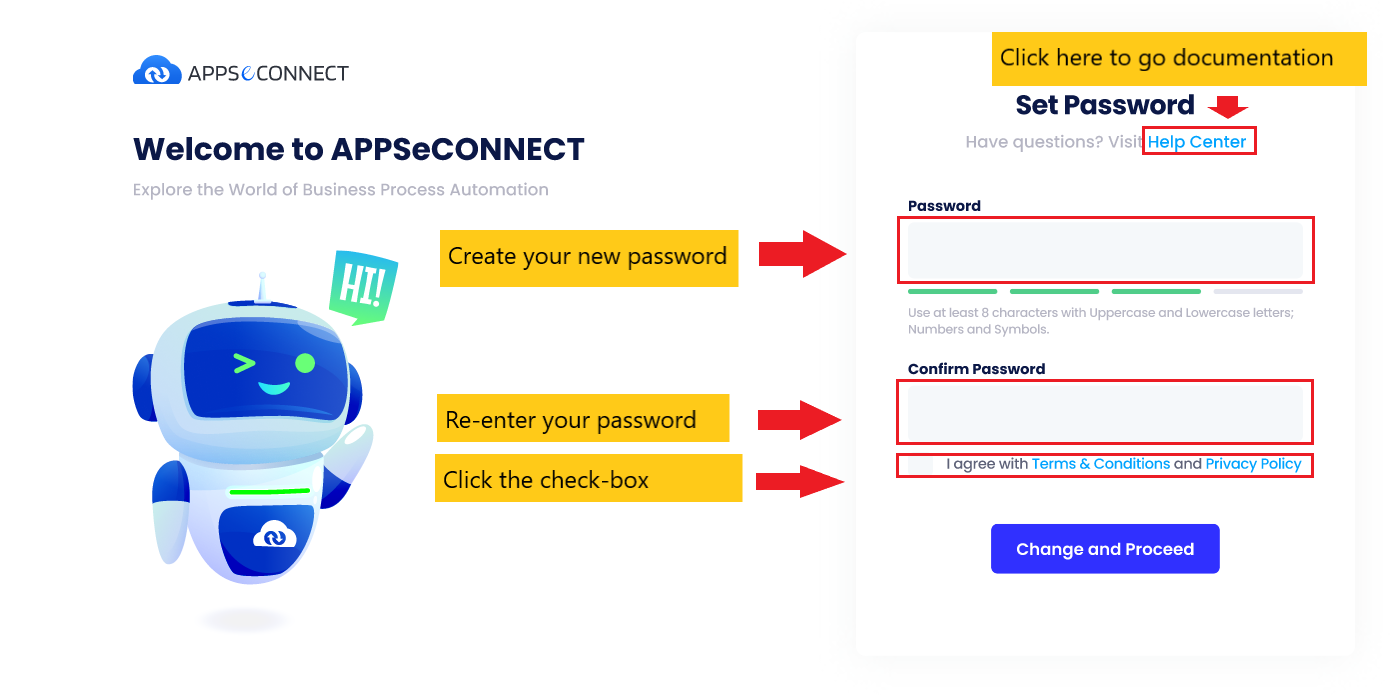
- Once the necessary details are filled up, click on
Change and Proceed. - A message will be displayed notifying you that the password has been set successfully. Click on
Continue to APPSeCONNECT.
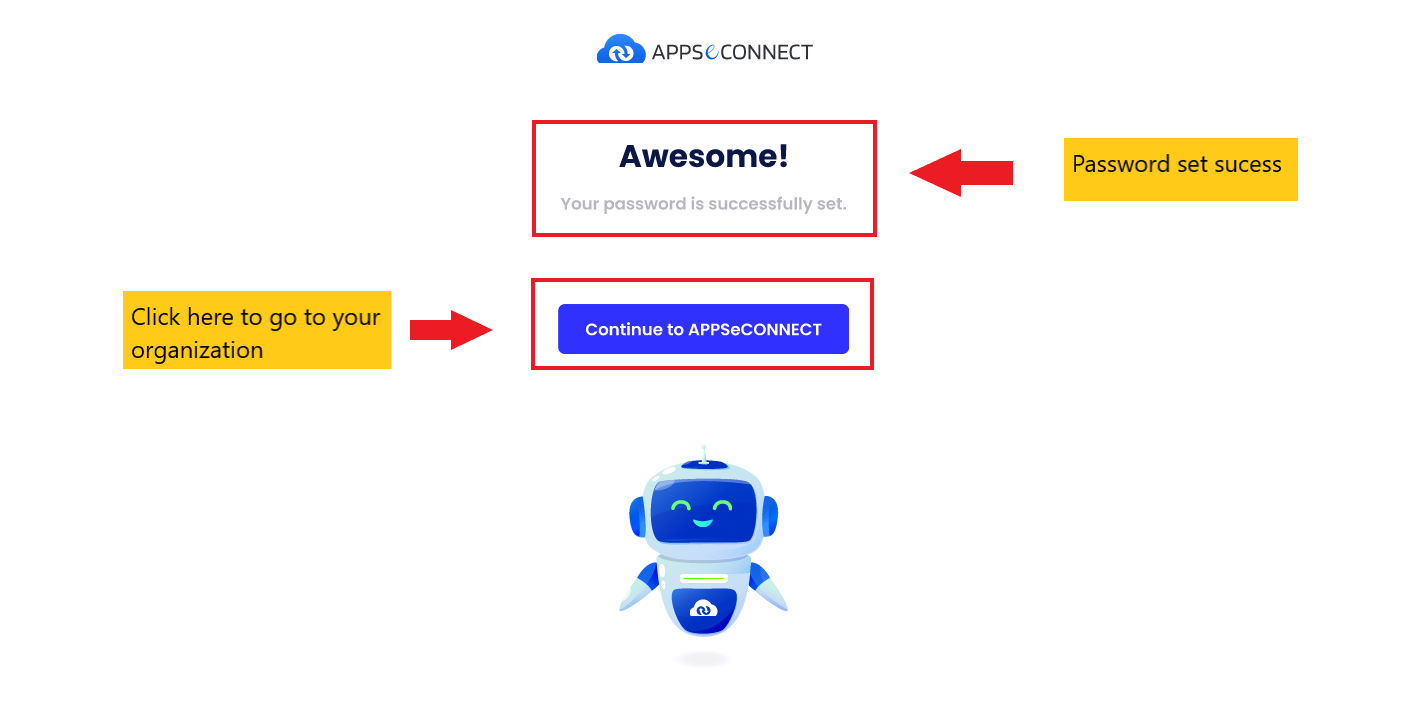
- Once you click on
Continue to APPSeCONNECT, you will be directed toAccount detailspage. Select theJob Roleand industry related information from the drop-down. Click onGet Startedto move to the next step.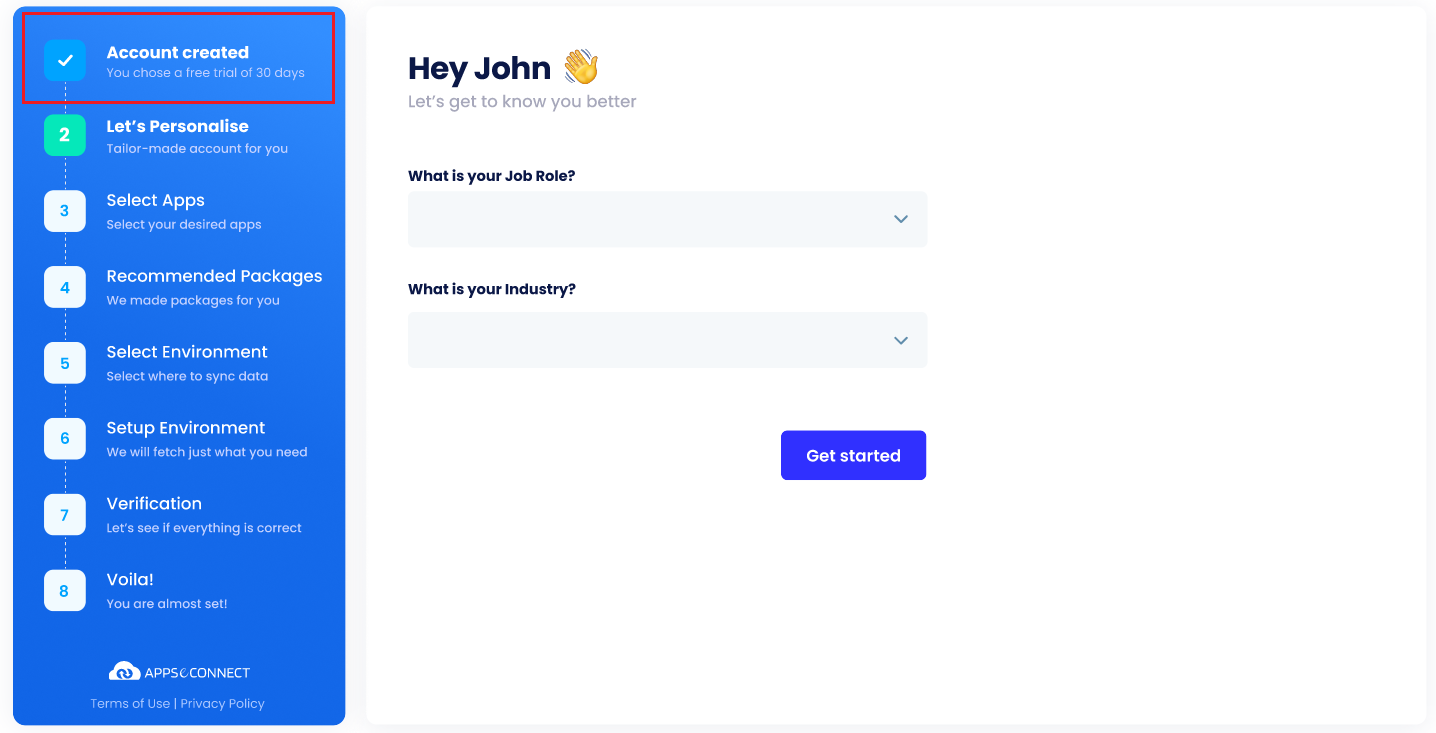
- Select the desired applications from the
Appssection to integrate your business and click onSave and Proceed. The selectedAppswill be enclosed in green coloured square box that you need for integration.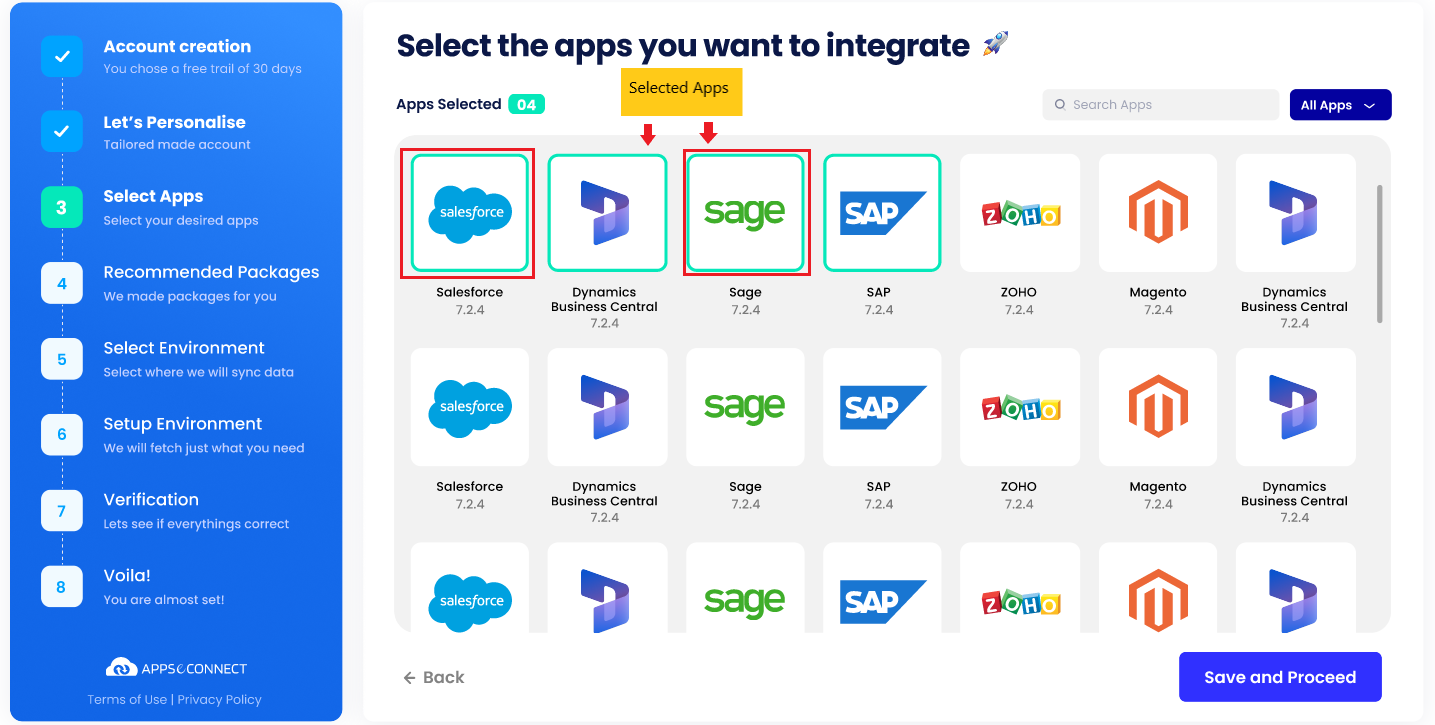
- Either you can install any packages that suits your business the best such that you could utilize the pre-built processflows for easy, smooth and free-flowing integration or click on
Create custom Process Flow!to build a new processflow. Click here to know the steps to create a processflow.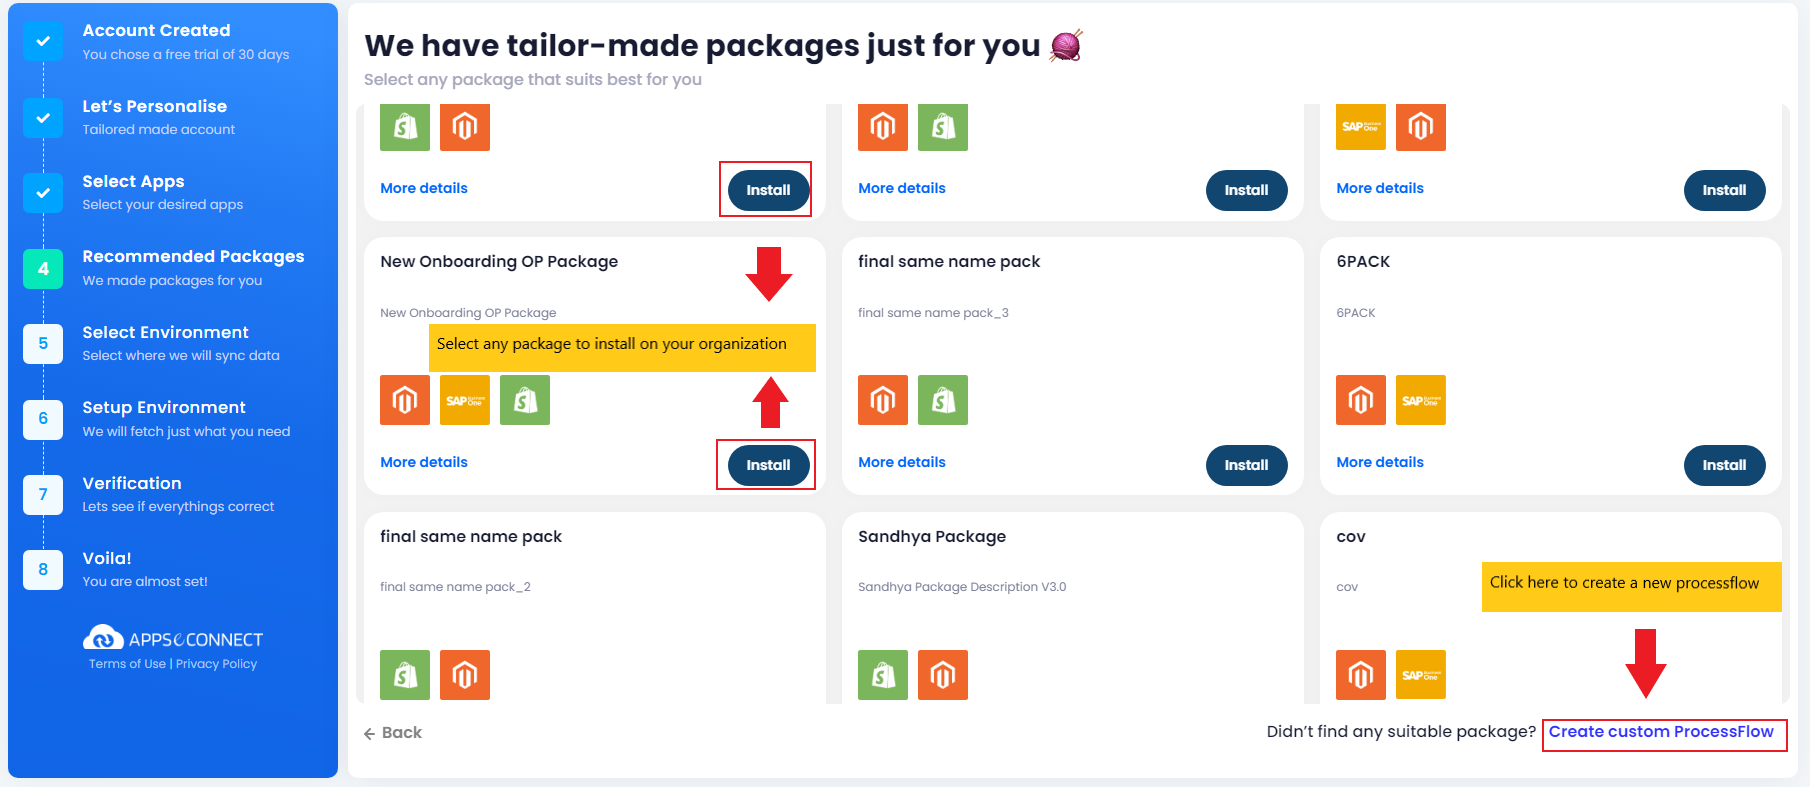 However, depending on the application choosen in the
 Select Appssection, if there are no pre-built packages in portal, then you will be prompted with a message to create a new processflow.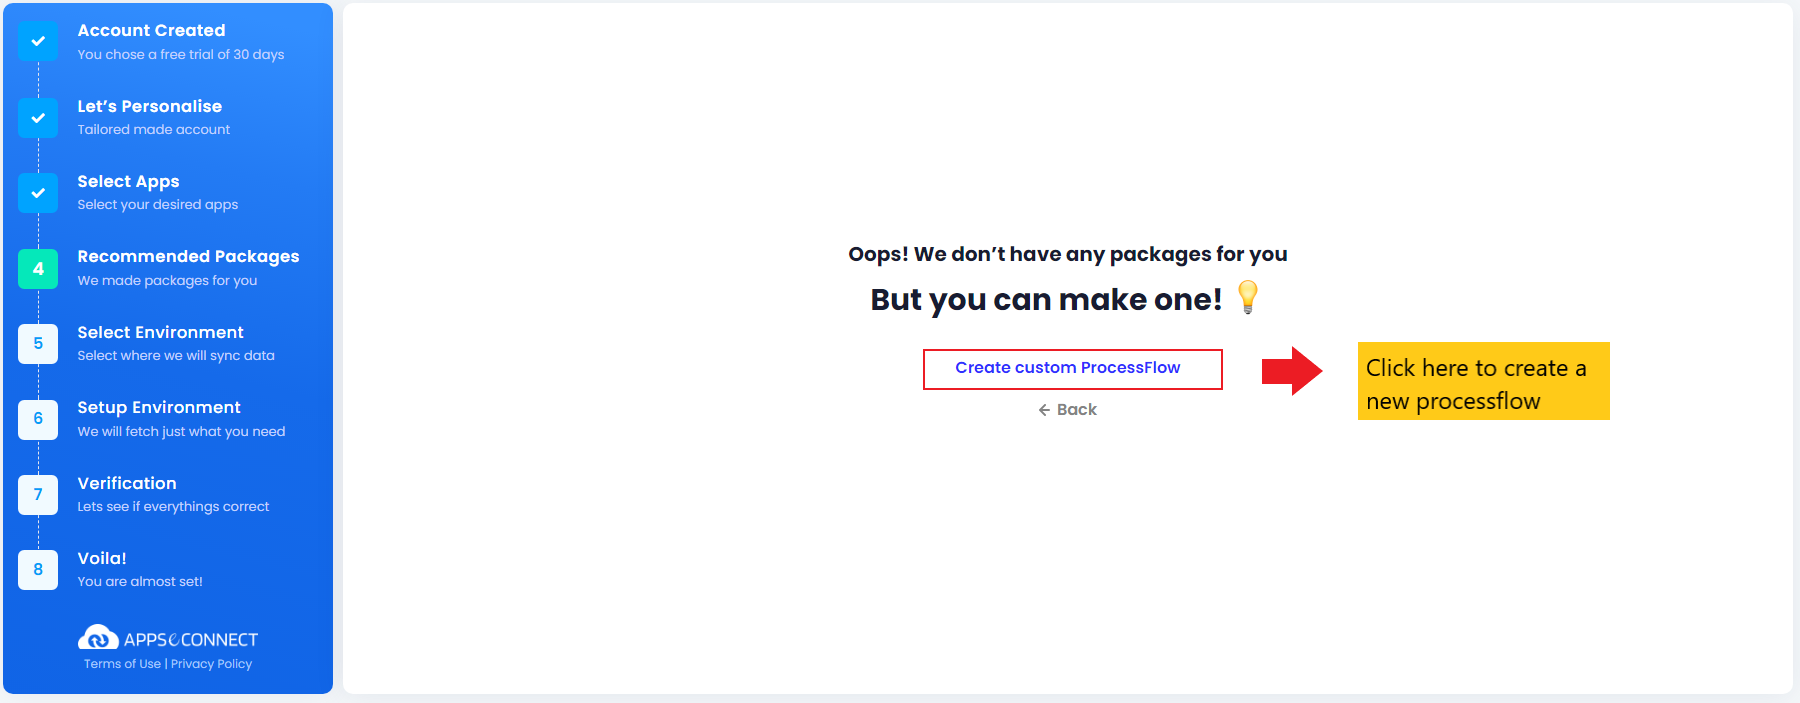
- Select your integration deployment environment as
On CloudorOn Premise. Click onProceed.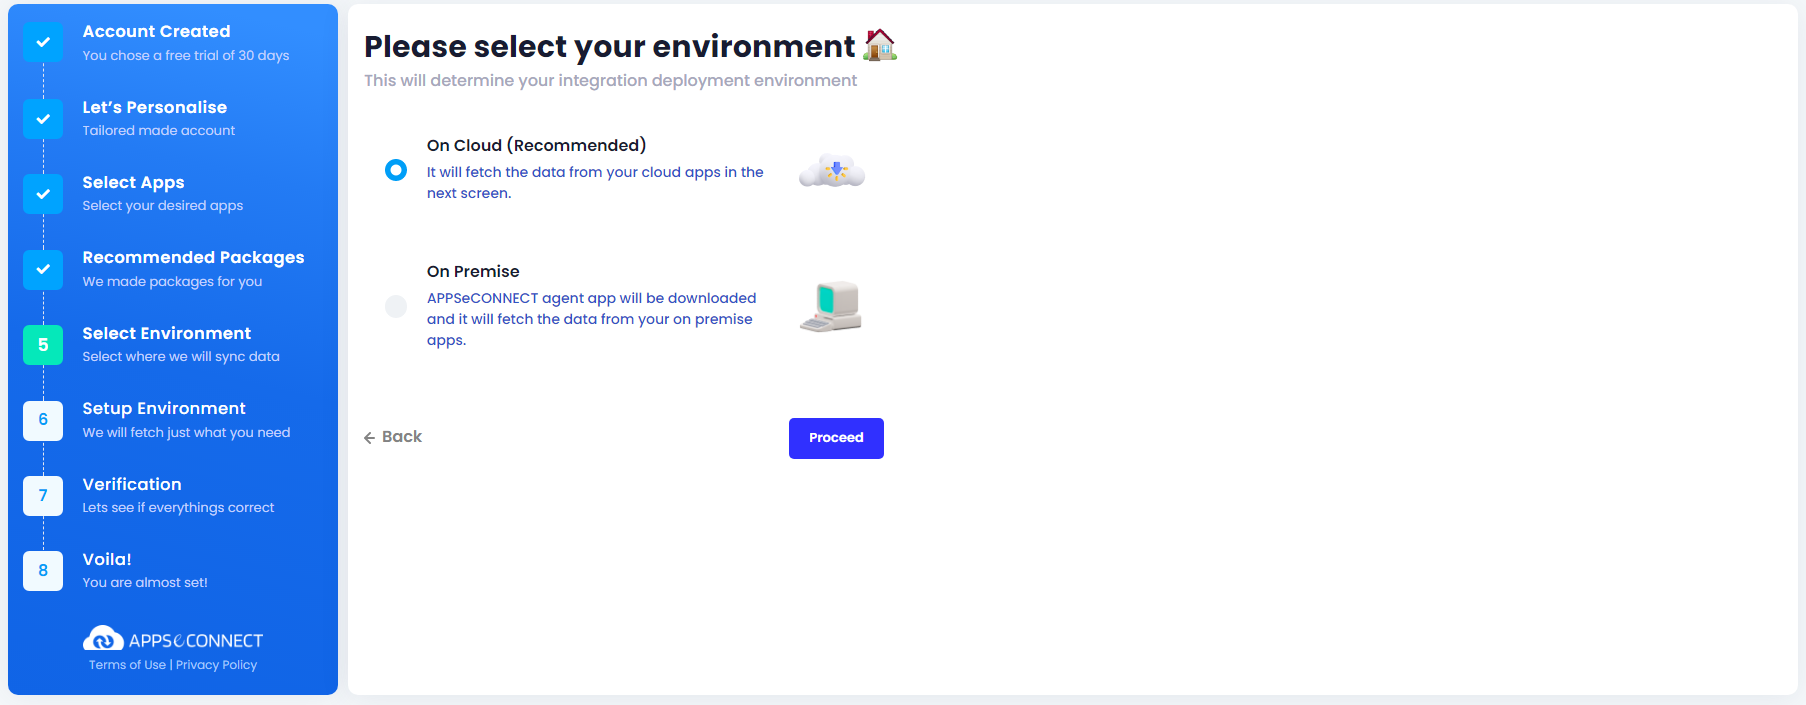
- If you select the deployment environment as
On Cloud, provide the credentials of all the selected applications.Savethe credentials and click onProceed.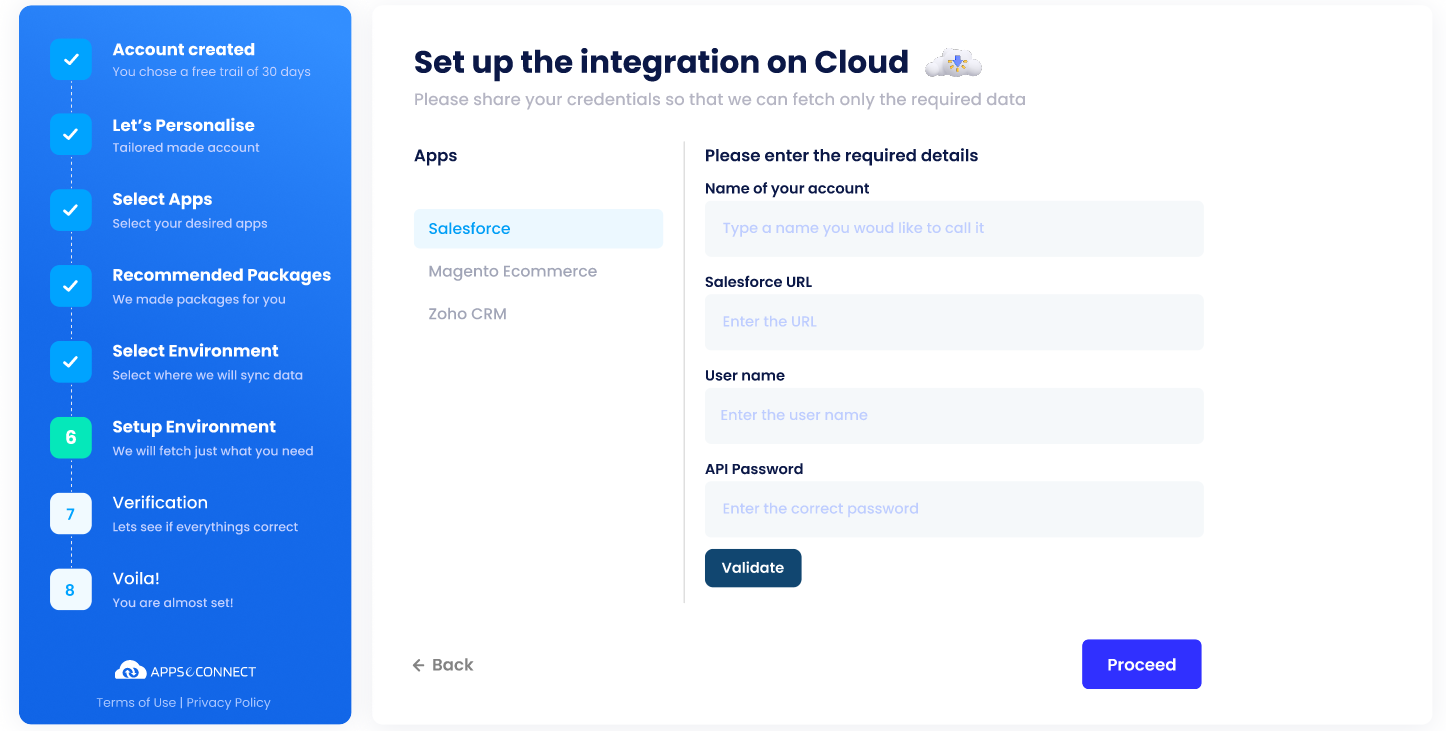 After giving the credentials of all the applications successfully, click on Done.
- However, in case of
On-Premiseagent, dwonload and install the agent from the sameUI.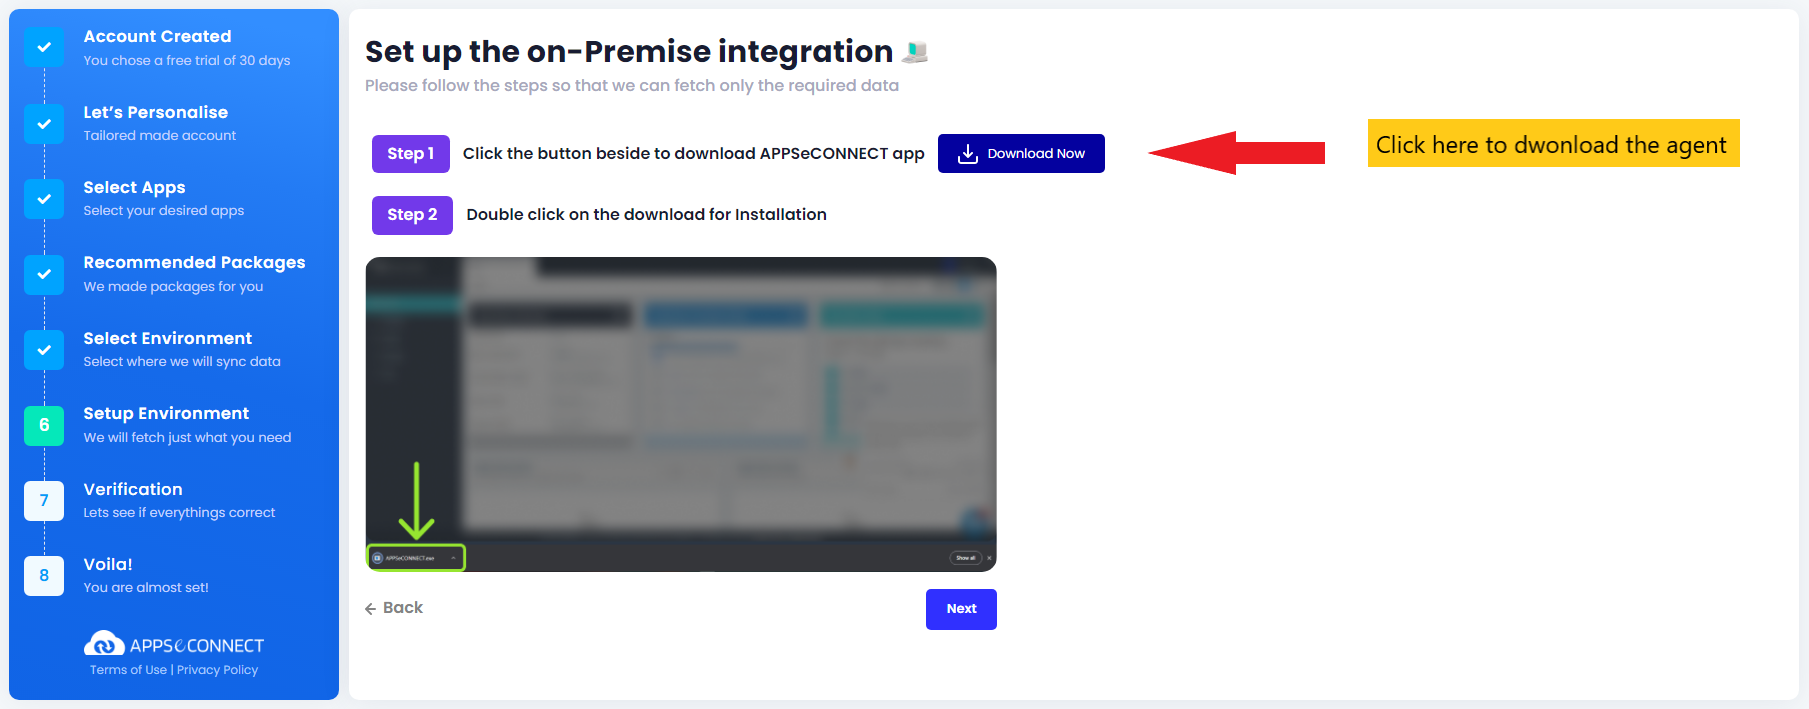
- After dwonloading and installing the agent in your local system, Click on
Next. In the subsequent step, you can also watch the environmemt set up procedure visually and then click onDone.Unless and until you provide and validate the credentials of all the choosen application, you cannot proceed to next step.
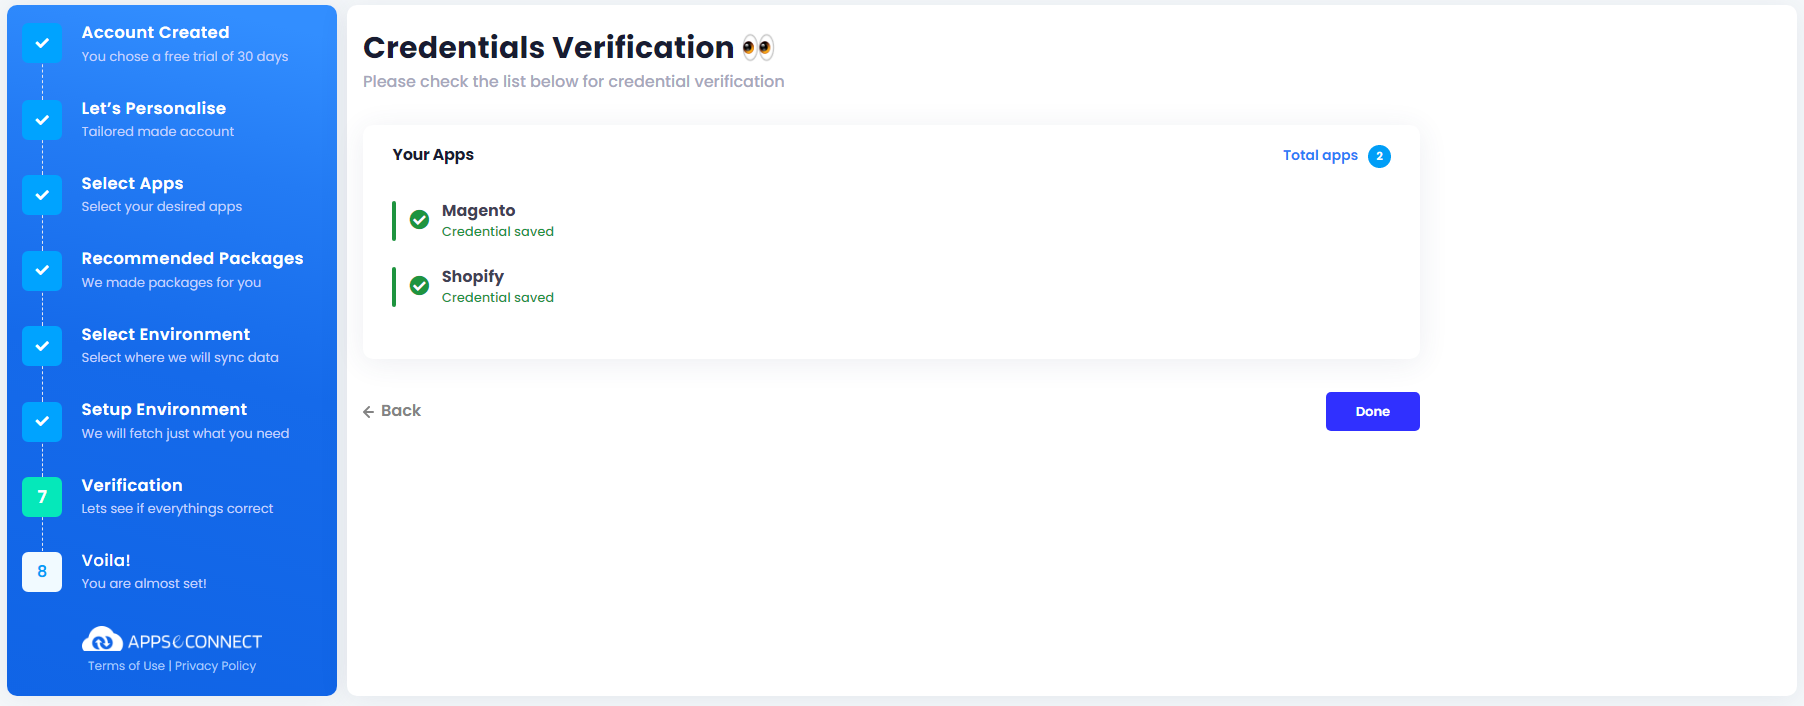
- The applications will be listed in the
Credentials Verificationpage after validation and saving the credentials in the OP agent.
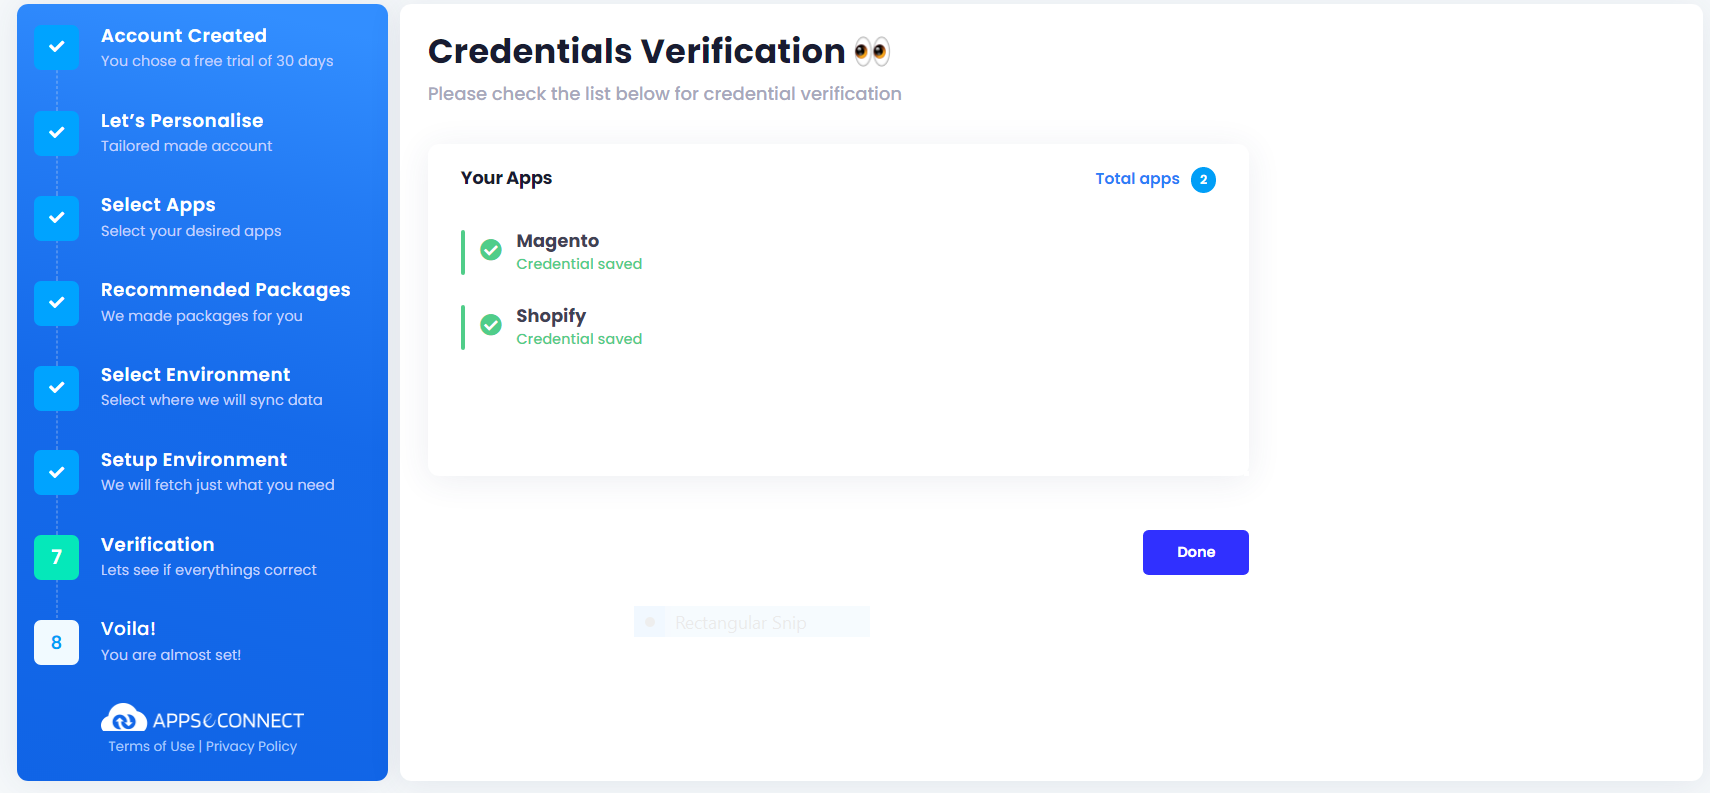
- In the
Credentials Verificationpage, click onDoneand a welcome screen will be displayed to you such that you can use the pre-packaged processflow.
From the welcome screen, you will be re-directed toInstalled Process Flowfolder, if you have installed any packages fromRecommended Packagessection during the on-boarding process. On the other hand, processflow designer page will be displayed, if you have choosenCreate custom ProcessFlowin theRecommended Packagessection.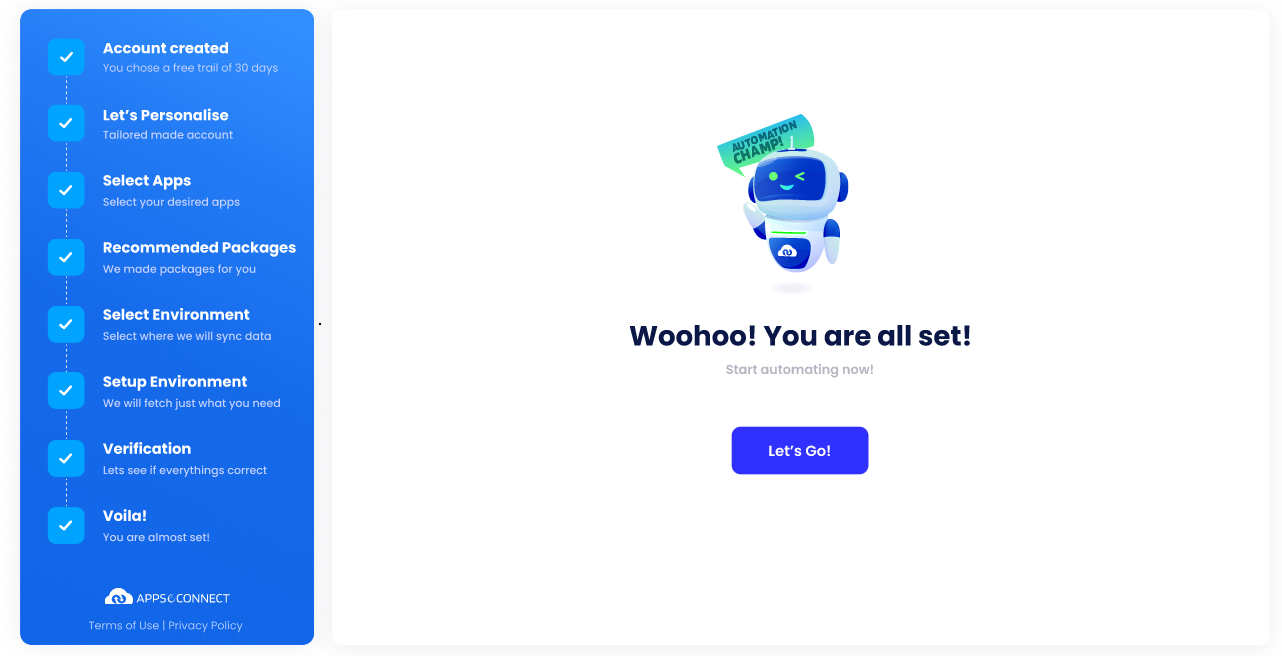
Note : The newly created organisation will be a Trial Account by default, available only for 31 days. Please make sure you follow your emails, as our sales team will connect you to convert your account to a subscription before it expires.
Accessing an activated account
Once your account is activated, you can access your resources in our cloud portal by logging in to your account using valid username and password. Your account will be secured with us through authentication system, and we encourage you to logout after using it.
Click on portal and this will take you the login page of APPSeCONNECT Portal.
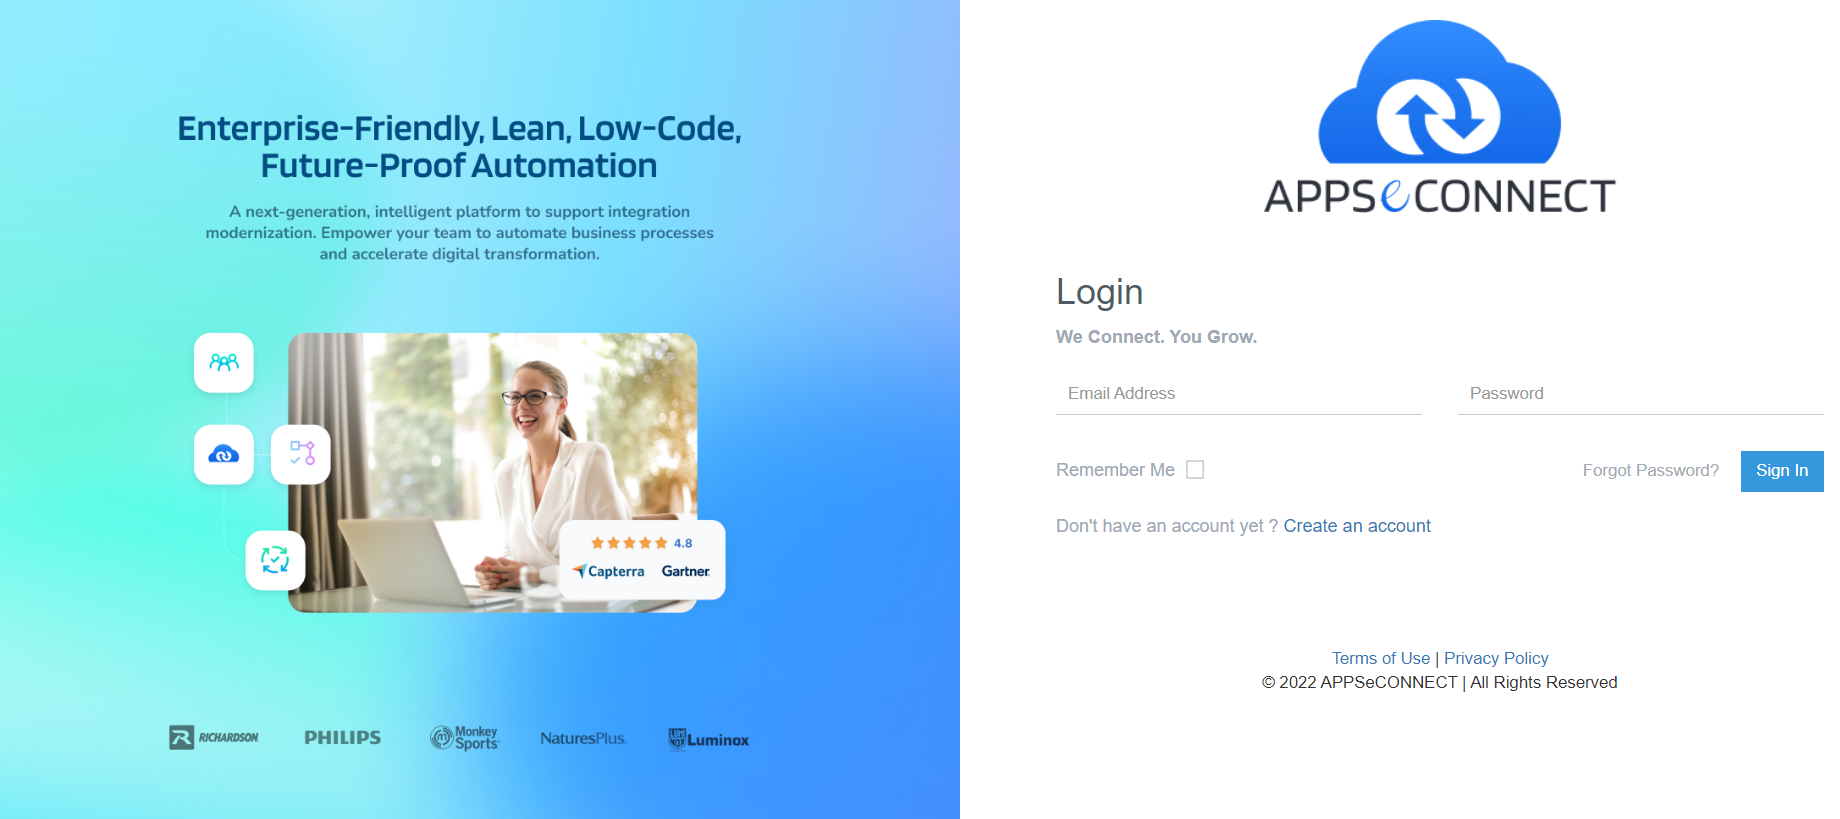
The login page has a username and password field. Enter your chosen username and password combination and click Sign In.
You are now logged in to the application. Do not forget to check our Help Section to get introduction of the platform. You can also
select Remember Me checkbox in the login page, if you want the system to remember your login email id after logging out from the account.
To reset your password, click Forgot Password. The notification will be sent via email so that you can reset the password by clicking on the link provided in the mail and set up a new password.
Enable multi-factor authentication
To secure your account in APPSeCONNECT, we highly encourage our users to enable our multi factor authentication system such that even though your userid and password combination is compromized, you will still feel safe with the account. To enable mutli factor authentication system, you need to perform the following validation.
-
Enable Two-Factor Authentication for your Account
- If this is your first login, you will get notified to change your password, and then to enable
Two-factor Authentication. - Otherwise, you can enable it from the Profile section of your account.
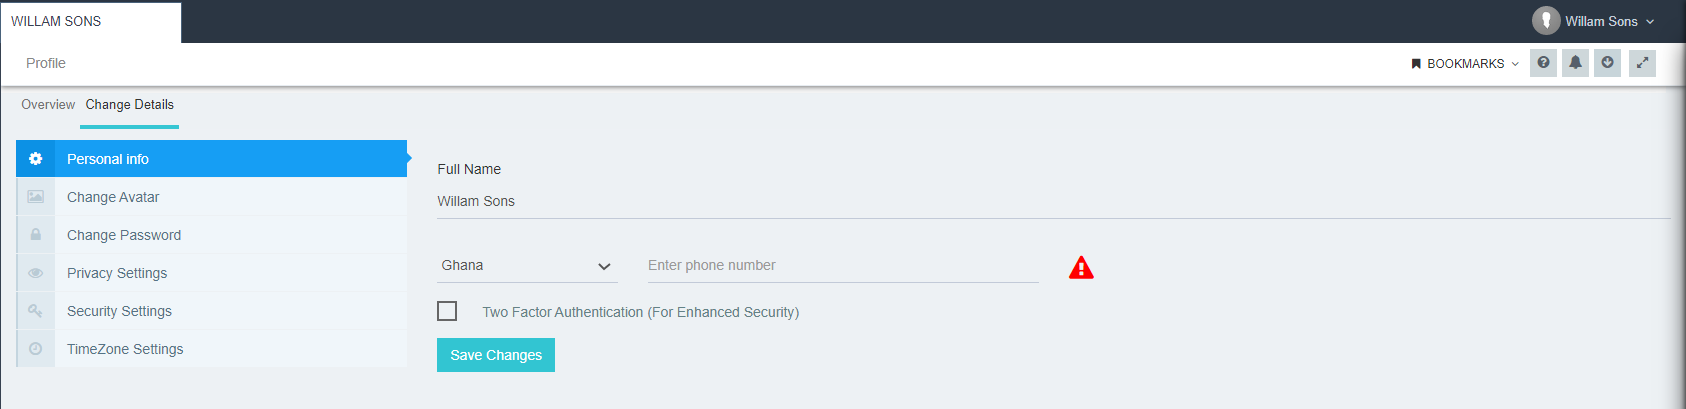
- To enable from Profile, just click on My Profile from the extreme right side menu on the screen.
- In the Profile Section Select
Change Detailsand select Personal Info. - You can check the
Two Factor Authentication. It will verify your phone number and you are done. - Save Changes to take this effect.
After Two Factor is Authenticated, the login will prompt for an extra passcode to log in.
- If this is your first login, you will get notified to change your password, and then to enable
-
Enable Password Expiry
- If this is your first login, you will get notified to change your password, and then to enable
Password Expiry. - Otherwise, you can enable it from the Profile section of your account.
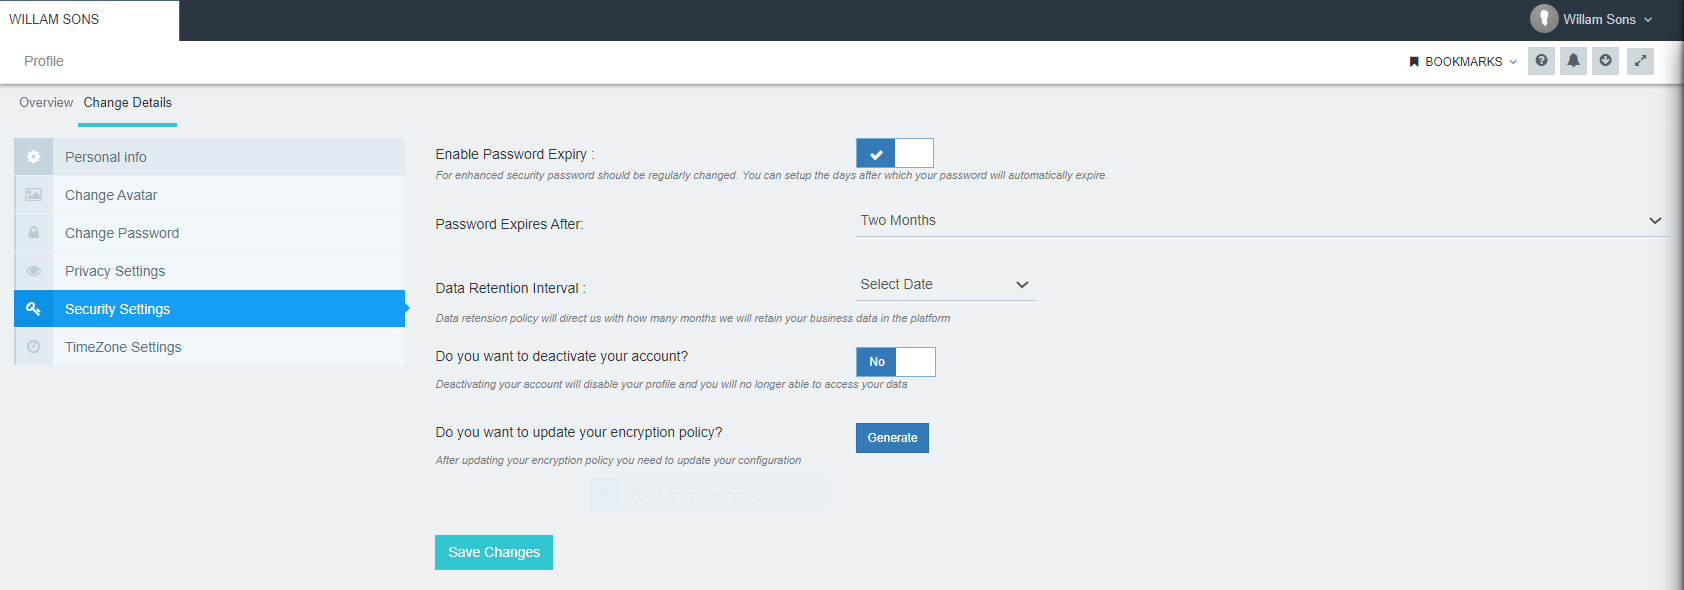
- To enable from Profile, just click on My Profile from the extreme right side menu on the screen.
- In the Profile Section Select
Change Detailsand select Security Settings. - You can check the
Enable Password Expiry. It will show a dropdown to set up an expiry of either One month, two months or three months. - Save Changes to take this effect.
- If this is your first login, you will get notified to change your password, and then to enable
After enabling password expiry, it will ask to change the password after every 1 to 3 months depending on the setup.

