
Upgradation & Migration of On-Premise Agent
Tags:
developers
Updated:
With every update of the APPSeCONNECT Agent, you need to upgrade to a higher version of the agent to get the full flavour of the newly implemented features without losing any data in the agent. This upgradation can be done conveniently by installing the latest agent on your local system without uninstalling the previous version of the agent. The procedure of Upgradation and Migration of the Agent is provided in this document.
Upgradation and Migration Process
- Take back up of existing data in folder “C:\ProgramData\APPSeCONNECT”.
- Stop every running process of the APPSeCONNECT agent.
- Run the latest version of APPSeCONNECT agent installation file without uninstalling the previous version. While installing the latest version of the agent, the pre-requisite checking of the system requirement will take place.
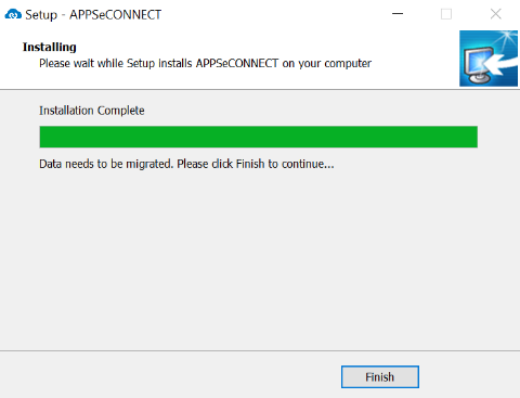
- Once the installation is complete, a pop-up window will appear informing you that
Installation is Complete. You will also able to view a messageData needs to be migrated. Click on theFinishbutton and the migration will be completed automatically.
Points to Remember
- The pre-requisite checking will also take place during agent upgradation and migration. Upon fulfilling the minimum requirements set by APPSeCONNECT, the On-Premise agent will be migrated to the latest version.
- You can also manually execute the migration tool, by navigating to C:\Program Files (x86)\APPSeCONNECT and run the .exe file(MigrateTo40) in administrator mode.

