
SAPB1 On-Premise Add-on 3.1.x Installation OR Upgrade
Updated:
This article explains the addon setup procedure in SAP B1 to facilitate SAP B1 integration with other applications using APPSeCONNECT.
Note: If you have an older version of APPSeCONNECT Add-on then you need to uninstall that first and then install it.
Part A: Installation of APPSeCONNECT On-premise Add-on 3.x in SAP B1:
Steps to install the Add-On in the required company of SAP B1 is as follows -
- Make sure that the installation folder of SAP B1 Add-on has read/write permission.
- Go to the following path in SAP B1: Administration -> Add-Ons -> Add-On Administration
- Click on Register Add-On button to start the installation of the APPSeCONNECT Add-on. The following screen will appear.
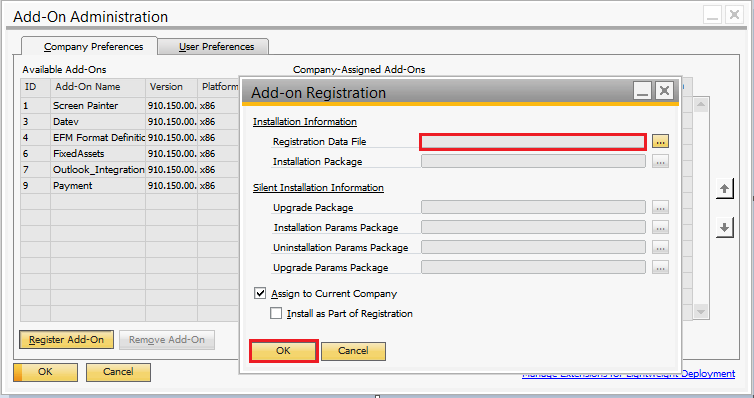
- Select the path for “.ard” file (in the sandbox/server) in the Registration Data File section as highlighted above. (Select the proper path to install the Add-on)
- Check “Install as part of Registration” checkbox and then click on the OK button.
The following window will appear -
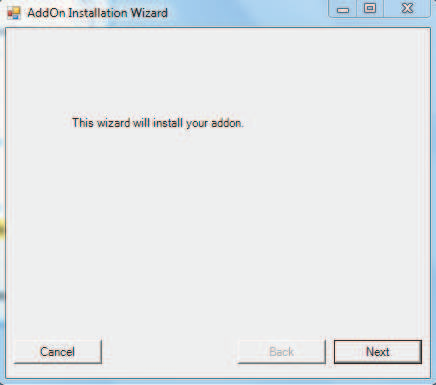
- Click on the Next button to complete the installation of the Add-On in the SAP B1 Company.
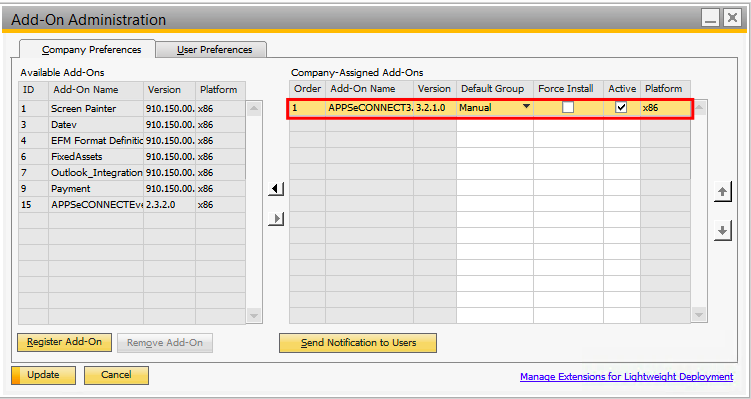
Part B: Configuring the APPSeCONNECT Add-On in SAP B1 Company:
- Select the status of Add-On as Automatic/Manual/Mandatory/Disable from “Default Group” as per your requirement.
- Click on the User Preferences tab of the Add-On Administration window.
- Assign your desired preferences.

- Click on the Update button.
- Now refresh and re-login into your SAP B1 Company
Part C: Starting and Stopping the APPSeCONNECT Add-On in SAP B1 Client:
If the User Preference for the Add-on is set to Manual for you then the following steps are required to start it. Administration -> Add-Ons -> Add-On Manager -> Installed Add-Ons and start the Add-On.
Alternatively, it should get started automatically if the User Preference for the Add-on is set to Automatic.
Note: Whether it is manual or automatic, the add-on will be installed on the clients on its first run in both the cases.
After successful connection, the status of the APPSeCONNECT Add-On will be updated to Connected.

- Check the followings to ensure the Add-On is installed and working successfully.
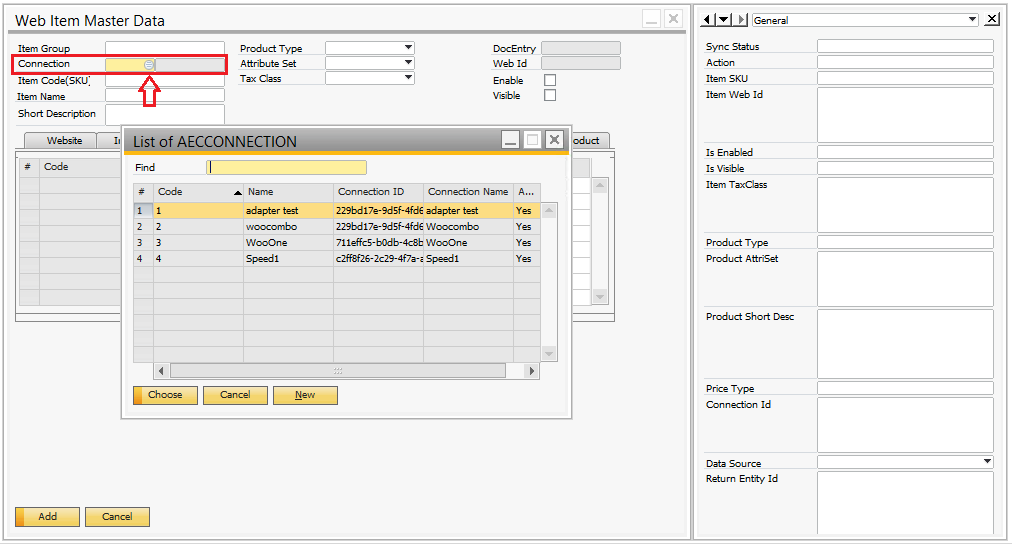
- Check whether Web Item Master Data has been created properly under the Inventory module of SAP B1 as shown below or not.
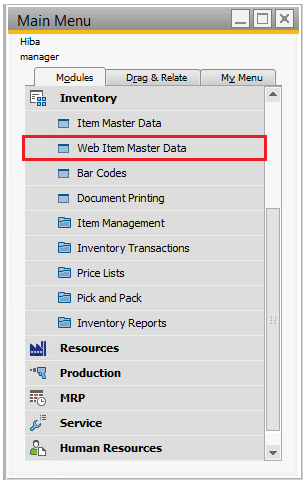
Check whether the following field Connection to support multiple connections (connect multiple e-commerce with a single SAP B1 company) feature is created or not.
- Ensure that all the UDFs have been created properly in SAP B1. Refer to the document User Defined Fields in APPSeCONNECT Add-On for the same.
- Once the Add-on is installed successfully and confirmed as explained above, deploy the stored procedure 3.x to complete this process.

