
Customer Add Magento2-NAV Multiconnection
Updated:
Executing the Process is a vital part when integrating any applications. This document will let the users to understand how the integration process can be executed through workflow for adding Customers from Magento2 (Multi-store) to Ms Dynamics NAV.
Brief Description

Here the Customer who registers in Magento2 are added to MS Dynamics NAV by executing the workflow for customer add. The above workflow is designed to GET customers from Magento2 and POST it to MS Dynamics NAV.
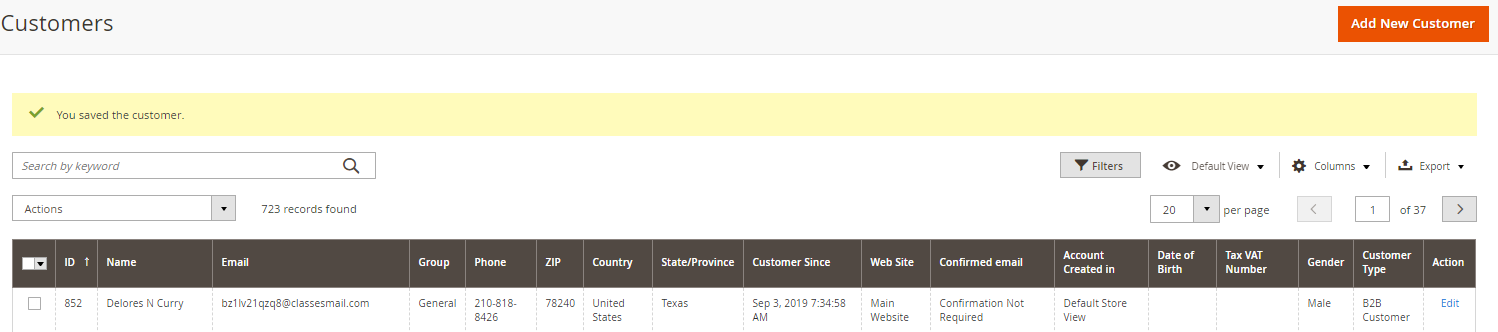
Login to Magento 2 Application. Click here to know more about the process of adding customers in Magento2.
LookUp Mapping
N/A
Attribute Mapping/Transformation
Following the Provided Mapping, the user can sync Customer Add from Magento2 to Dynamics NAV. To know more, see Mapping & Transformation Techniques
Mapping for the Transformations of Customer Add Touchpoint.

(1) For Integrating B2B customer to MS Dynamics NAV
The same workflow will integrate the B2B customers in Ms Dynamics NAV but as a prerequisite for this scenario, the user needs to go through the following steps & mapping process.
-
The user needs to create an attribute named
B2Bwith the datatypeString.
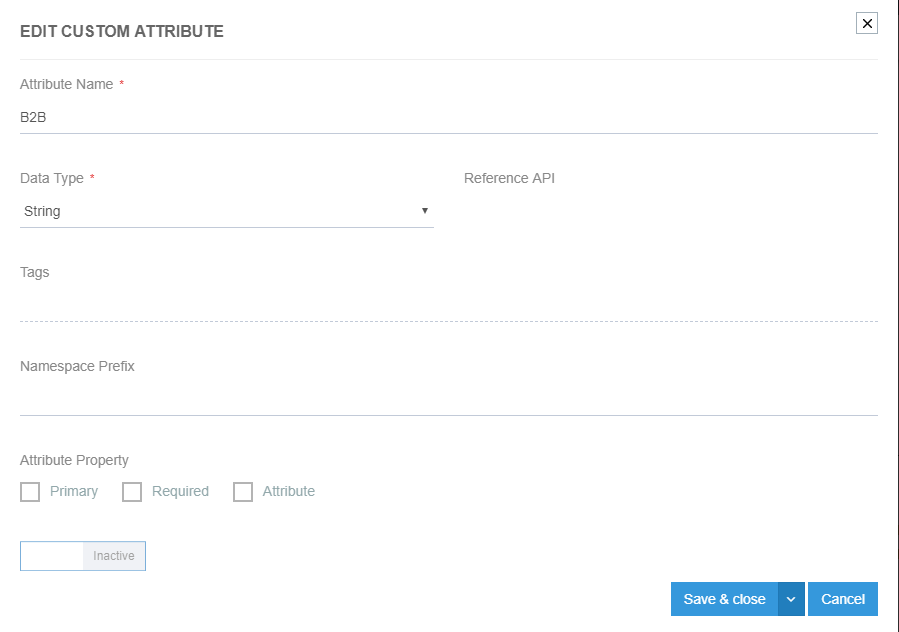
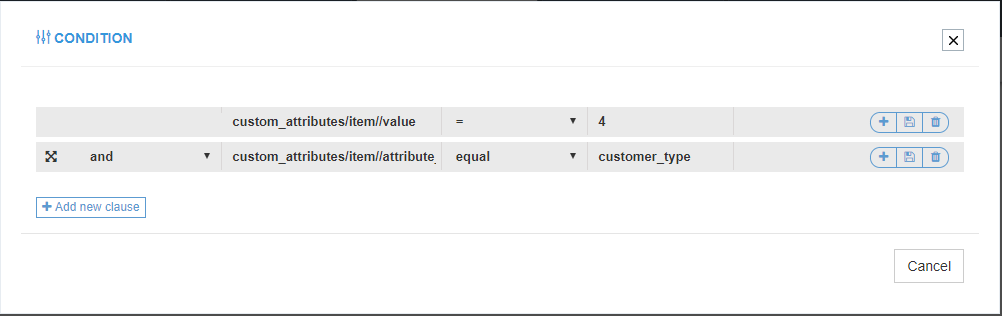
- The user needs to apply an
IF conditionon B2B. The steps to create condition in attribute level are given here. - The clauses for the IF condition should be provided as given below:
Mapping for attribute is given below:

Mapping for Root Variable:

Note: These are the mappings that user needs to do manually, the other mappings are pre-packaged.
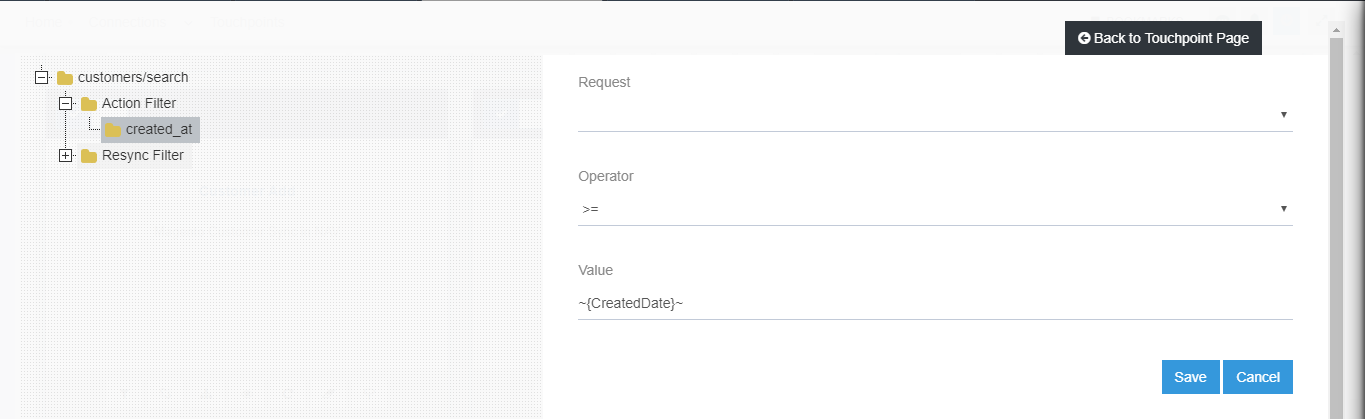
Action Filter
The Action filters required to fetch customers are given in the image below:
Executing the Workflow Integration
Note: Before integrating with Magento2 and MS Dynamics NAV make sure all the Master Data Touchpoints are synced
- Once the workflow is designed, Update the Configuration in agent for deploying the workflow in the agent.
- Navigate to the Workflow Panel in the agent and click on the Start Sync Button for executing the Process.
- Once the Execution is finished click Resync Button in the agent.
- The Resync Panel show the Success Result in the agent.

Integration Data Survey
The user can survey the data by viewing the Processed Snapshotfrom the node level of the workflow. This Snapshot View displays the successful execution of the workflow.

Post Condition
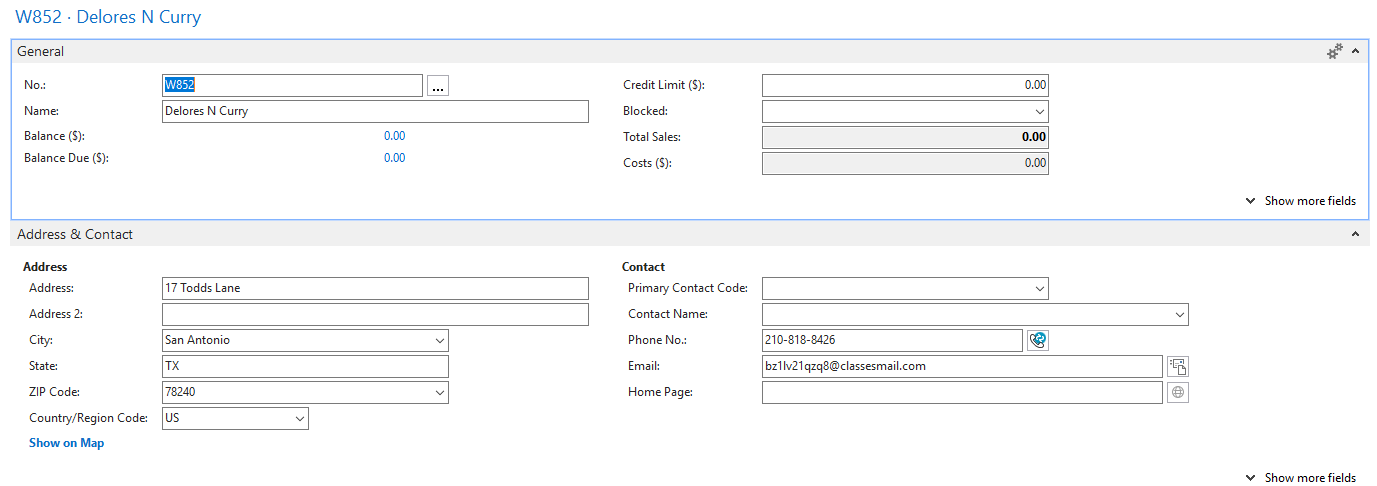
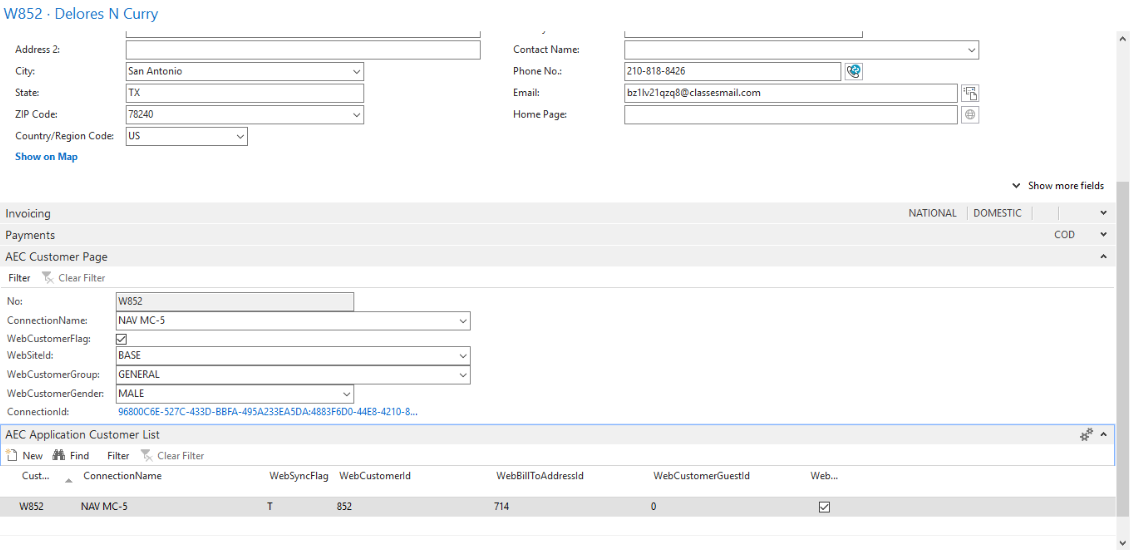
The user can view the customer synced in Ms Dynamics NAV in the customer card page.
Frequency of use
The user can execute the Integration through workflow as and when required.
Troubleshooting
N/A

