Postrequisites
Updated:
An admin or an end-user can upload updated adapter to an existing app such that the adapter can be changed later or rolled back to the previous upload, following this document.
- Sign in to the Cloud portal with valid credentials.
- Go to App section and choose any of the Apps listed on your portal.

- Click on Adapters/Extensions button form will open.
- There select either Add Adapter or Add Extension as per your requirement.

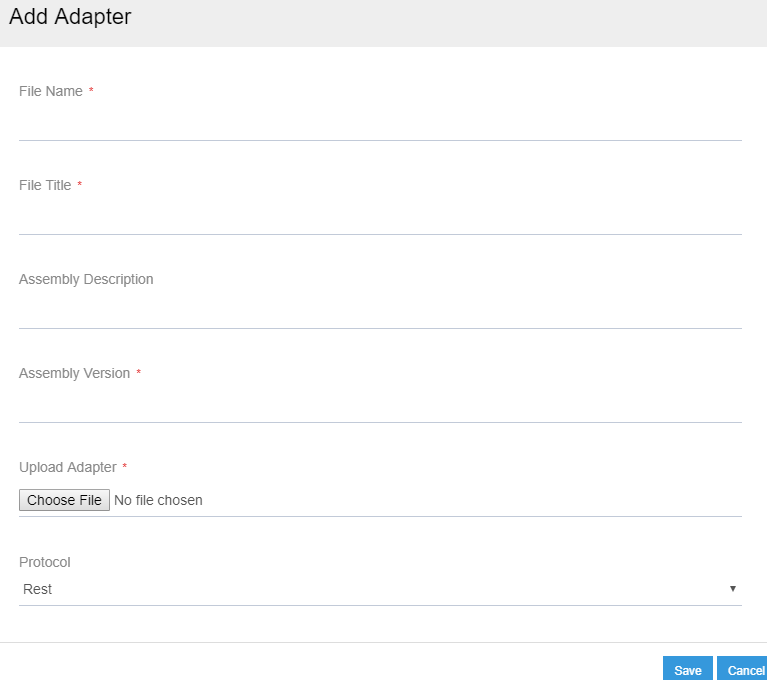
- Fill in all the mandatory fields i.e. asterisk(*) marked fields.

For Adapter upload, you need to put few mandatory fields :
| Field Name | Description | Is Mandatory? |
|---|---|---|
| File Name | Name of the adapter file which you are uploading. This is basically the name of the project. | Yes |
| File Title | Default namespace where you have placed all interface files, e.g., IAdapter, IAppResource etc. | Yes |
| Assembly Description | Description that will be shown to the adapter list to identify the file | No |
| Assembly Version | Version of the current assembly. Assembly version is based on 4 individual numbers | Yes |
| Upload Adapter | The zipped content file of the adapter. Please make sure before you upload, the file should be in unblocked state | Yes |
| Protocol | Specifies the protocol for which the adapter is uploaded. The protocol can be configured for an application, and you can choose any one of them | Yes |
| Is 3rd Party | Specifies whether the upload is made by someone other than InSync | No |
Protip To choose a protocol, select the drop-down, there you will see options. By default, REST is provided.
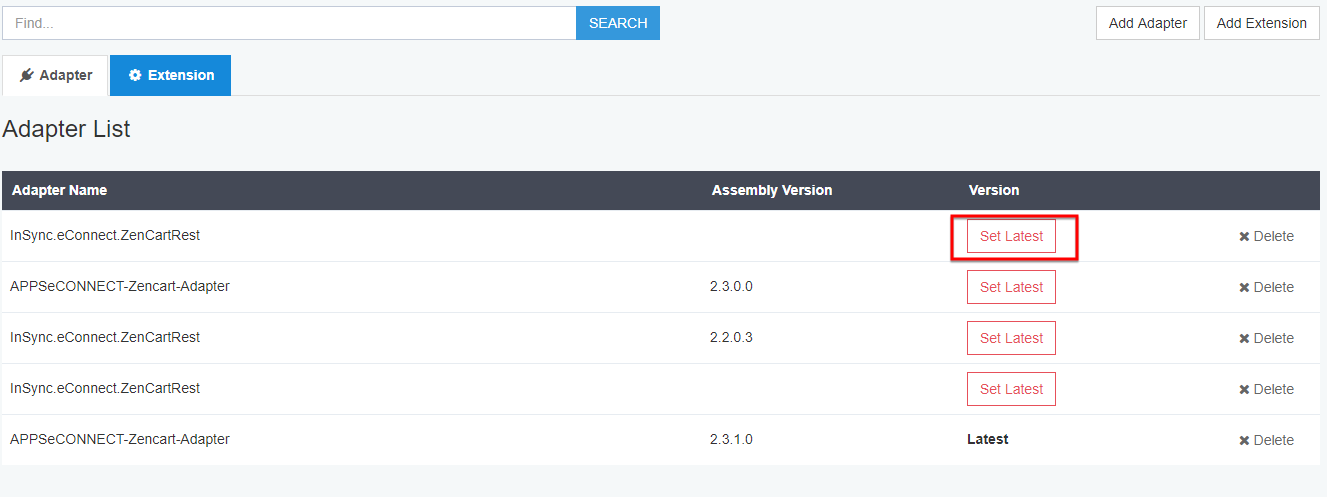
If you add Adapter/Extension by default it will save as Latest but this can be changed according to the requirement.

You can search for you Adapter/Extension from the Search panel.


