Deploy, Execute & Undeploy
Updated:
Created or Edited processflows needs to be deployed to the environment in order to execute the integration process.
Users, now need not have to update configuration every time for deploying every change made in the processflows.
DEPLOY button enables the user to automatically deploy the changes in the environment as well as assign the
credential for the applications that is used in the processflows.
Prerequisites
1) Should have valid credentials for logging in to the APPSeCONNECT portal.
2) APPS should be chosen from the apps section, for proceeding with the design of processflows.
3) The designed processflow should be saved before deploying it to the environment.
4) If you are deploying the processflow to the On-Premise environment, you need to check the Enable Environment checkbox in the Agent Settings as Active.
Deploying ProcessFlows to Environment
1) Login to the portal and navigate to the ProcessFlow module available on the left menu.
2) Choose the processflow which is already designed and saved or you can create a processflow.
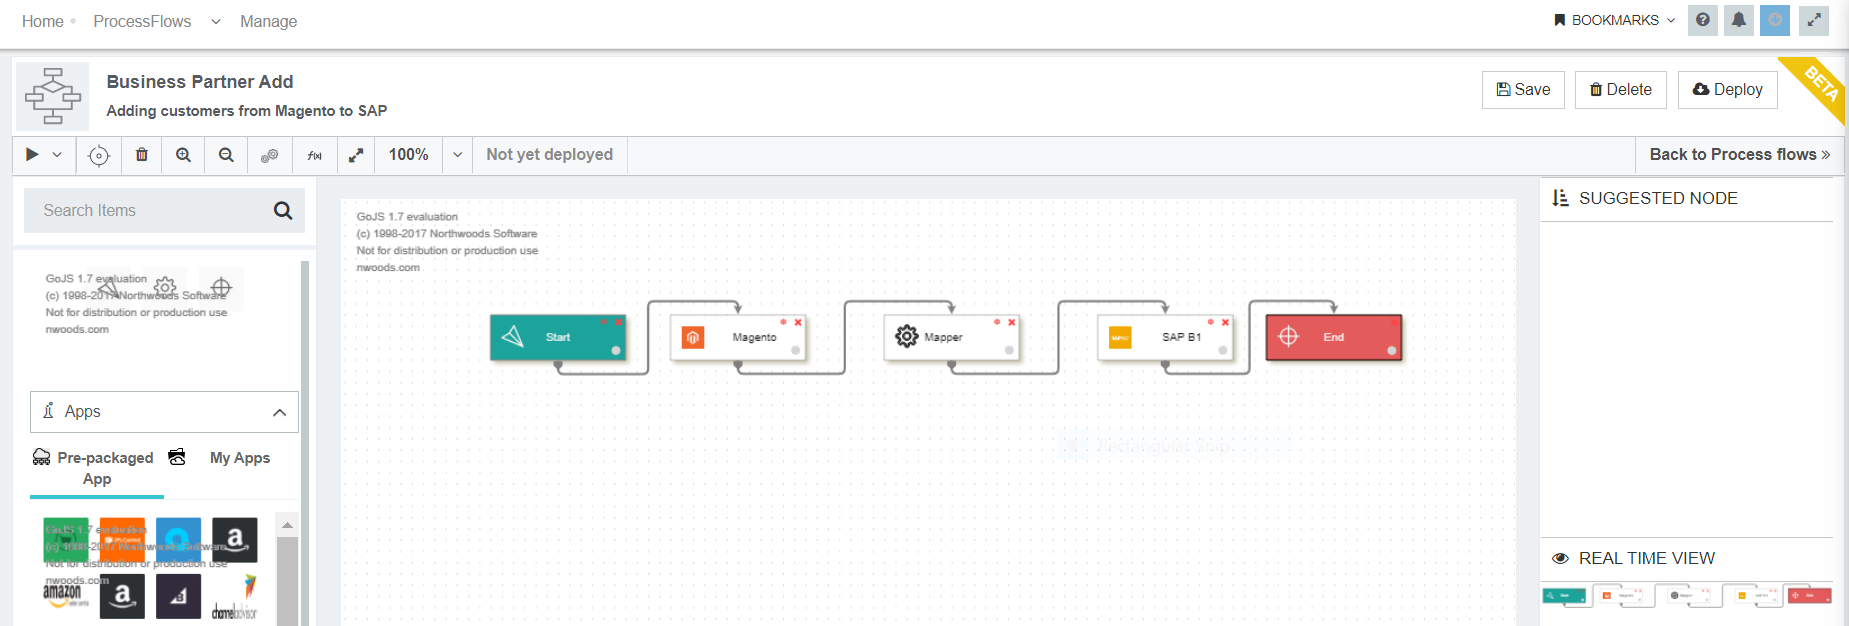
3) Click on the edit button available for the selected processflow, which will navigate the user to the processflow Designing Page. Click on the Deploy button in the processflow Designing Page.
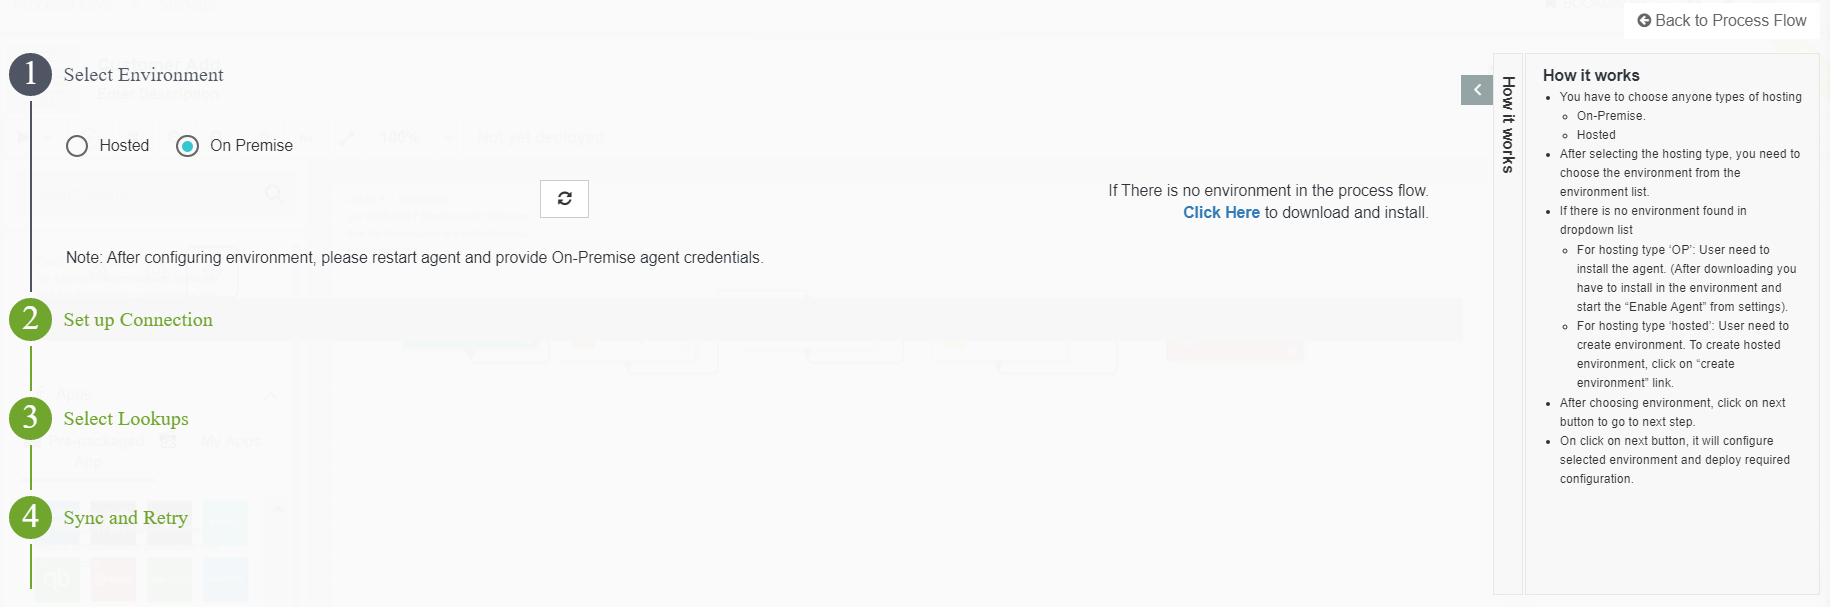
4) The Deploy wizard opens on clicking the Deploy button. The deploy wizard is divided into several sections.
- Select Environment : You need to select the type of environment (Cloud or On-Premise) for deploying the processflow.
- Set up Connection : You need to select the credential for the applications selected in the processflow provided in the Agent.
- Select lookups : You need to fix up the lookups mapped for the attribute in the mapper node.
- Sync & Retry : You need to configure the Manual/Auto & Retry execution of the processflow.
Note : You can view some explained steps on the Right Side of the Deploy Wizard in the How it Works section, that will also help you deploy your processflow successfully.
Deploy ProcessFlows : Hosted Environment
This section will allow you to deploy processflows, if you want to deploy your designed processflows in Hosted Environment.
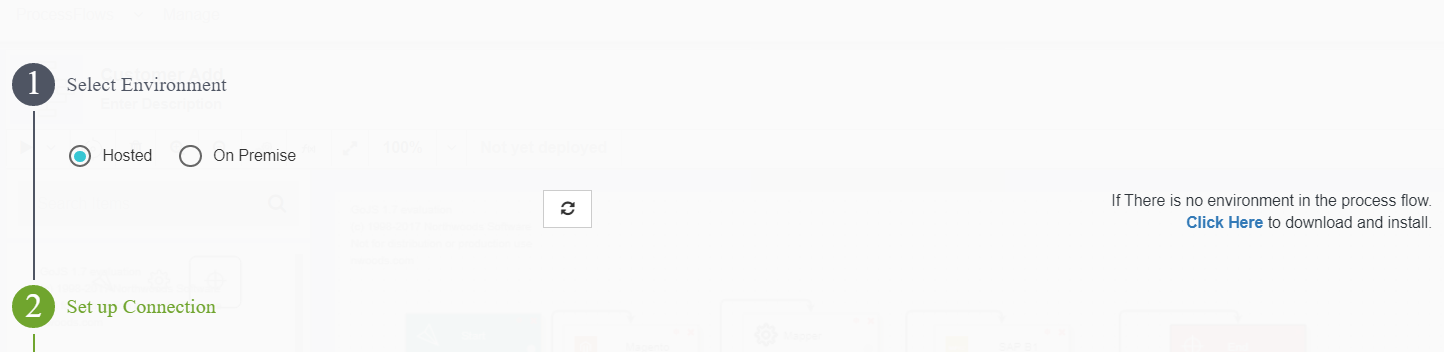
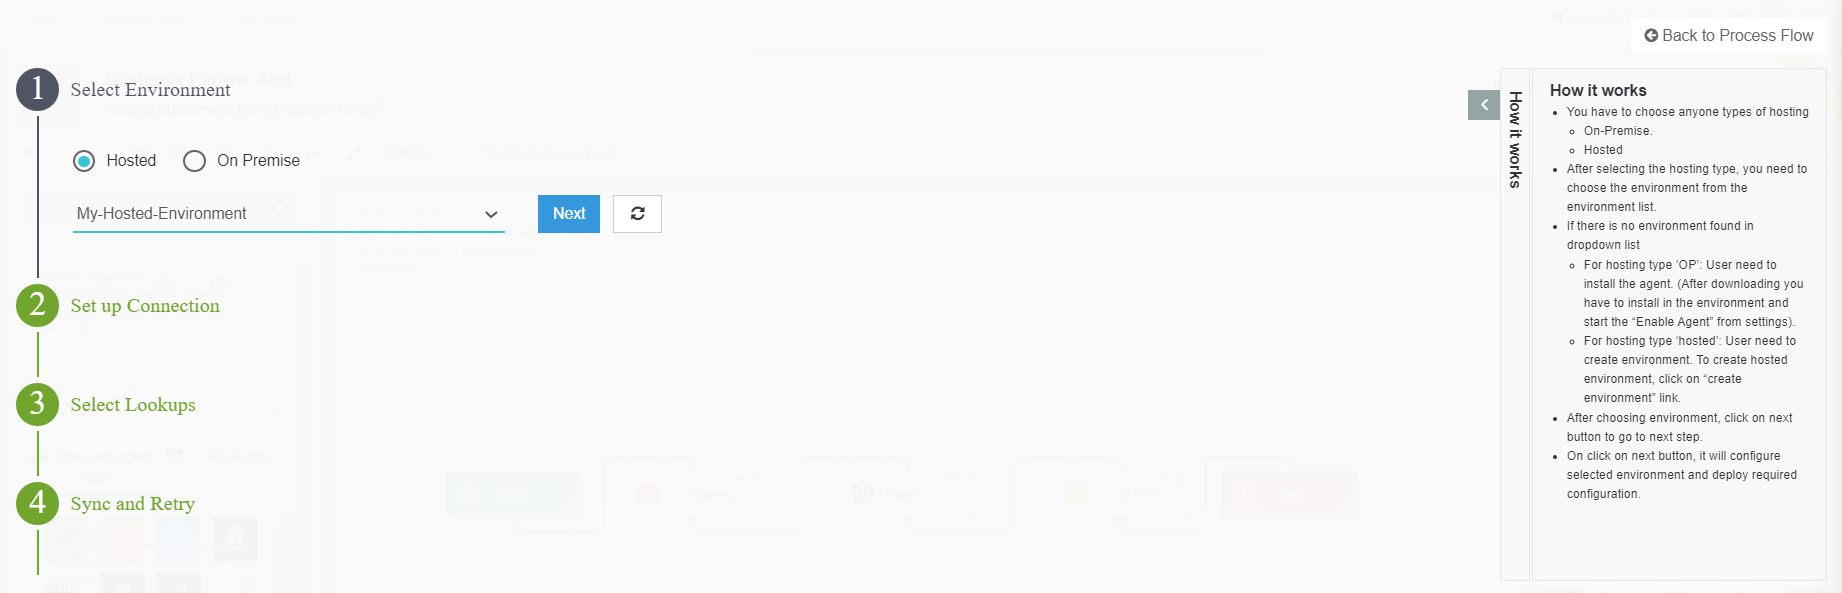
Select Environment : Hosted
This section will let you define and select the environment where you want to deploy your designed processflow.
(a) Choose the type of environment as HOSTED by selecting the Radio button - Incase, no options available in the drop-down for Hosted environment, you will have to create your HOSTED environment.
- For more Environment related details, Click Here.
(b) Select your Hosted agent from the drop down and click on the NEXT button. The wizard moves to Set Up connection section.
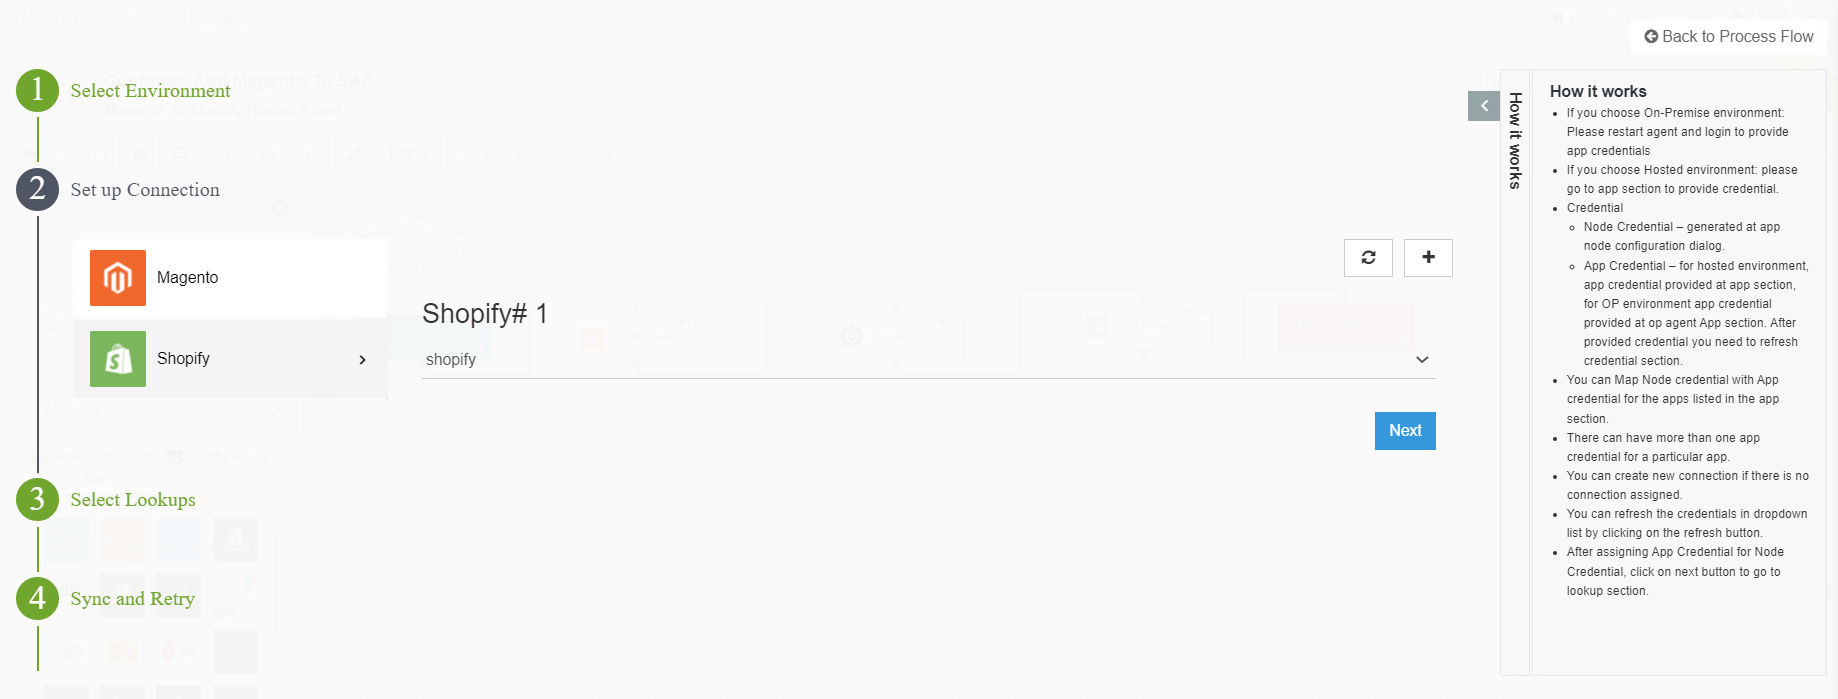
Set up Connection : Hosted
This section will allow you to map the credential tokens selected in the app node configuration window with the credentials provided in your agent.
Note : You cannot navigate to the next section of the wizard without selecting the credentials the applications used.
(a) The screen navigates to the Set-up connection section of the Deploy wizard. You need to select the credential from the drop down, for the respective application used in the processflow.
(b) If you do not have any credentials in the drop down, click on the + button.
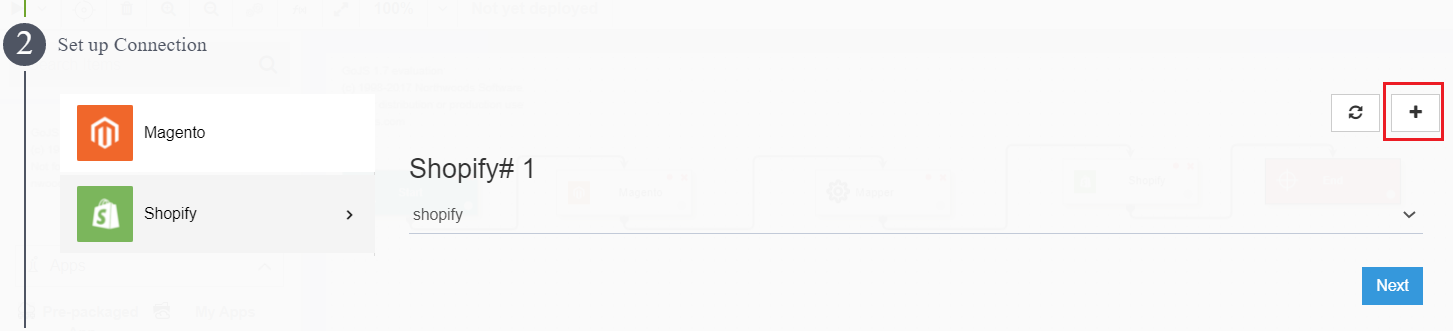
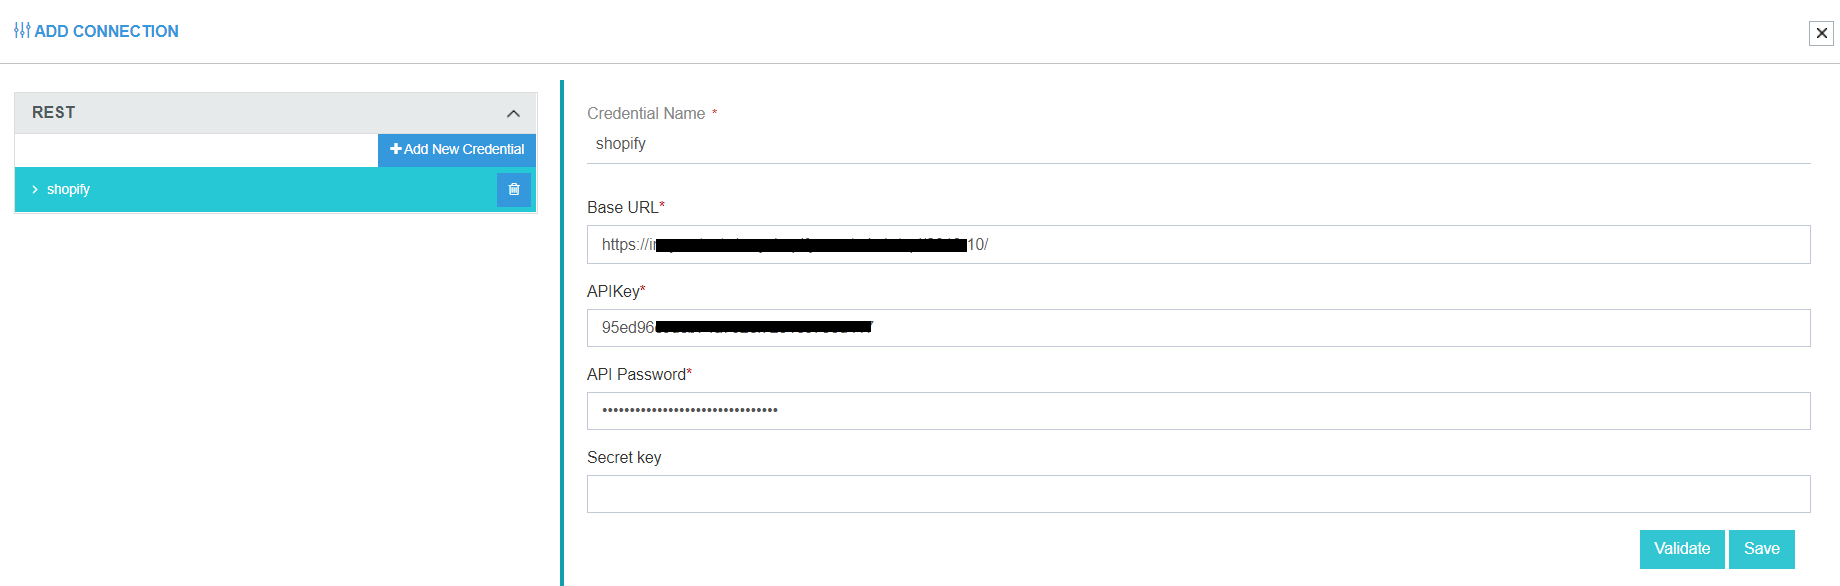
(c) The credential page opens for providing the cloud credentials for that application. You can provide your application credentials or can modify an existing one.
(d) Clicking on the NEXT button will allow you to navigate to the Select Lookups section.
Select Lookups : Hosted
This section will allow you to fix as well as unfix the lookups mapped in the mapper node. The operations in this section is same as that of On Premise, to know more about the steps, Click Here.
Sync and Retry : Hosted
This section enables you to configure your processflow Sync and Re-try either in auto mode or manual mode before execution of the processflow. The operations in this section is same as that of On Premise, to know more about the steps, Click Here.

Deploy ProcessFlows : On Premise Environment
This section will allow you to deploy processflow to your On-Premise Environments.
Select Environment : On Premise
(a) Choose the type of environment as On Premise by selecting its Radio button. If you don’t get any options in the drop-down, you will have to activate the Enable Environment button on your Agent Settings. Click on the REFRESH button to get the environment in the drop down.
- You need to install the agent if you do not have an installed Environment.

- For more Environment related details, Click Here.
(b) Click on the NEXT button, the selected apps and its adapters in the designed processflow would get downloaded. The latest adapters set for your application, gets downloaded on your selected On-Premise Environment. The wizard navigates to the Set up Connection section.
Set up Connection : On-Premise
This section will allow you to map the credential tokens selected in the app node configuration window with the credentials provided in your agent.
Note : You cannot navigate to the next section of the wizard without selecting the credentials of the applications used.
(a) The screen navigates to the Set-up connection section of the Deploy wizard. You need to select the credential from the drop down, for the respective application used in the processflow.
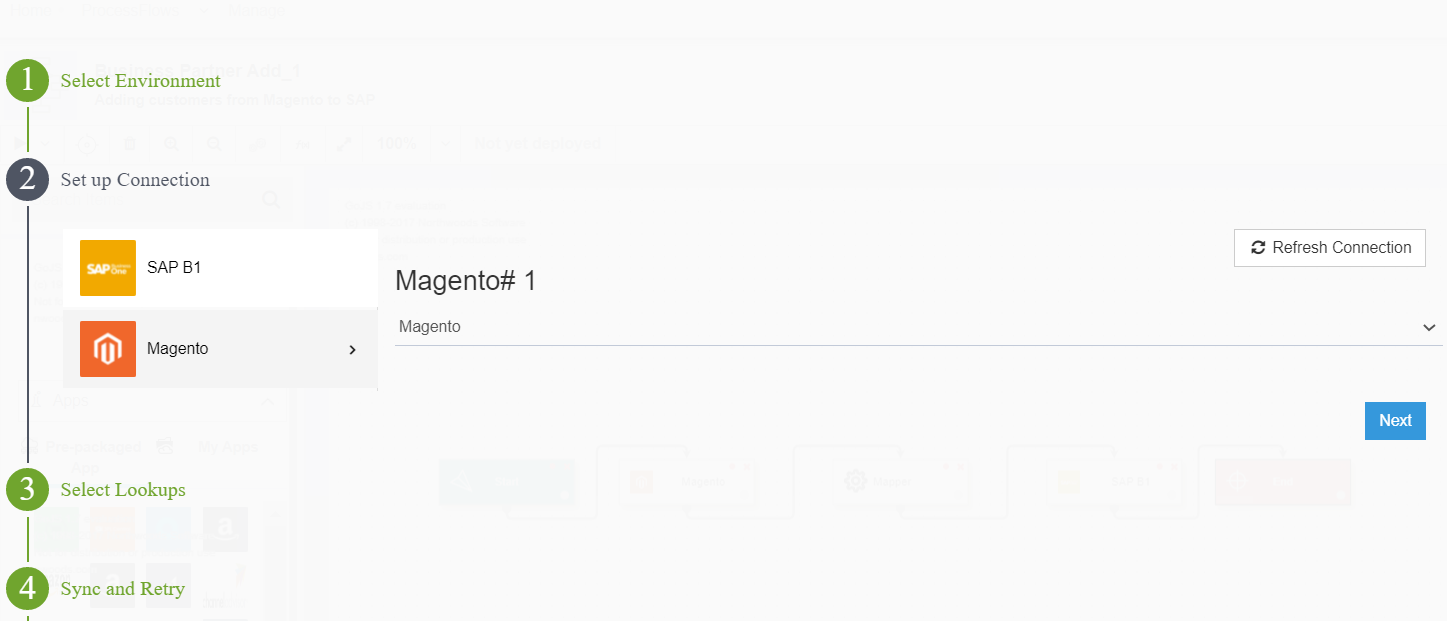
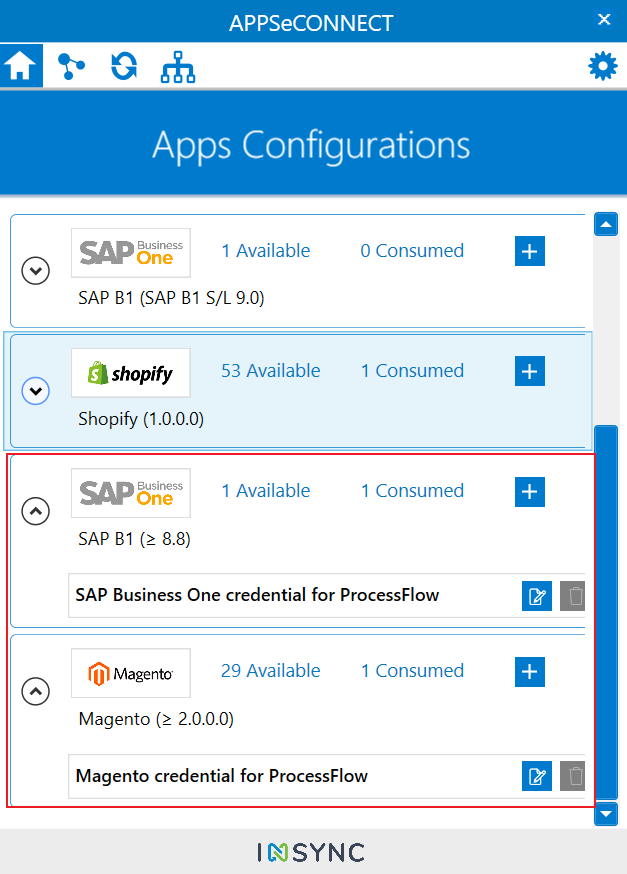
(b)Provide the credentials in the App Configuration section of the On-Premise Agent. You can view the pre-packaged applications.
(c) Click the Refresh Connection button. You will get the latest credentials or updates to credentials made in the OP Agent and then click on the NEXT button. The wizard navigates to the Select Lookups Section.
Select Lookups : On Premise
This section will let you work with assigning of lookups mapped in the mapper node. If you dont have any lookups mapped, you can click on the NEXT button as SELECT LOOKUPS is not a mandatory step. Follow the steps below if you are required to fix and assign lookups.
The below steps are same, if you are deploying your processflow on your **HOSTED environment.**
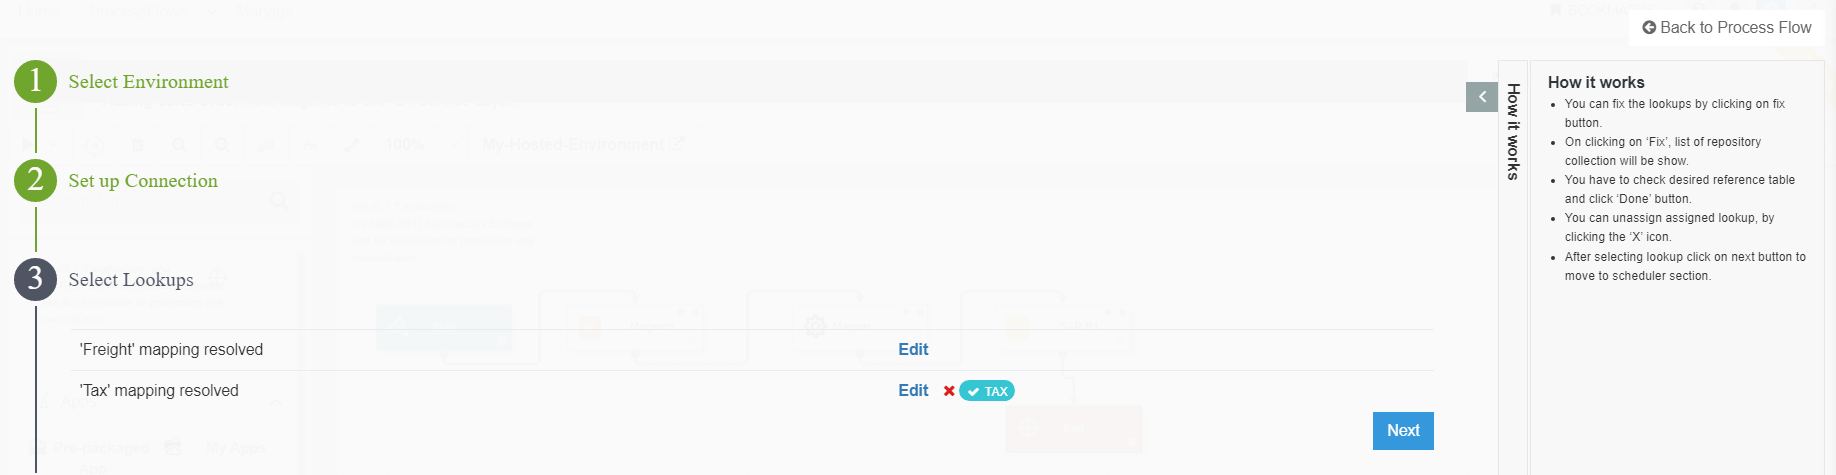
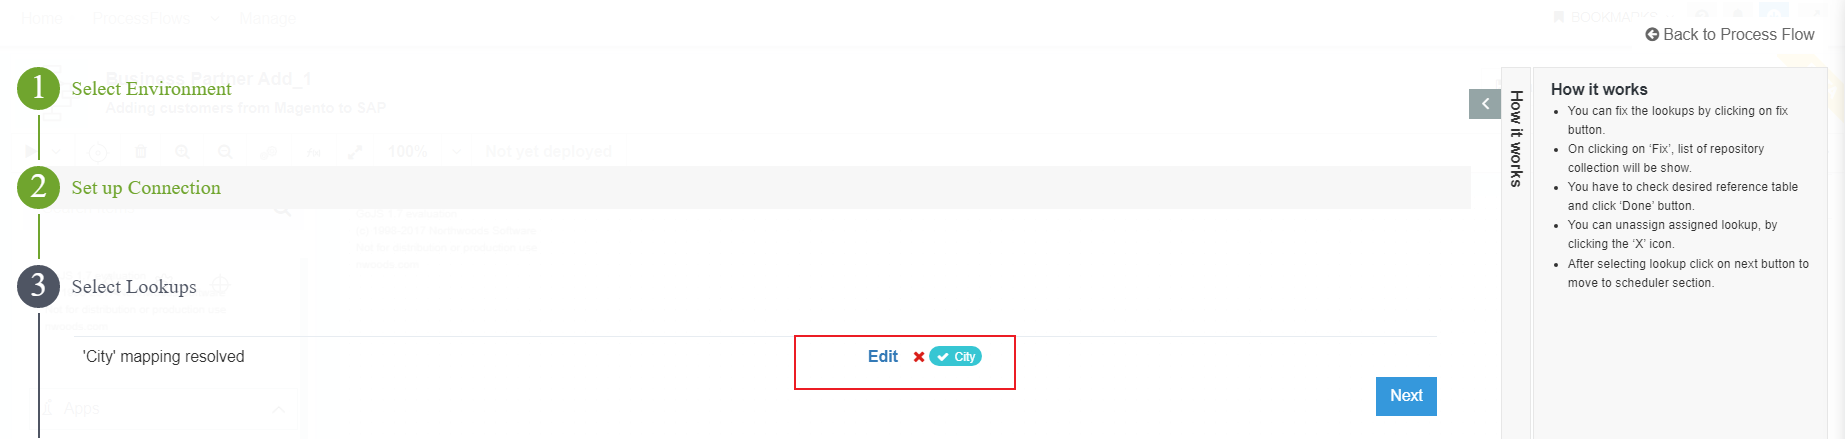
(a) The screen navigates to the lookup section of the Wizard, where you are required to fix the lookups if provided while mapping the attributes. The lookup section would be listed with all the lookups that are mapped in the mapper node. Click the button FIX to select the lookup type/table that is needed to deploy with the processflow.

(b) Click the fix button and you can view all the Repository Collection and the Reference Table available. Expand the Collection and select the table that is required to be fixed for deploying the lookup.

Note :
- Here, the lookup is implemented for City, therefore we select the table city for fixing the lookup mapping.
- You can select only one table at a time.
(c) Click on the Done button. The lookup gets mapped into the corrosponding attributes of the applications.
(d) The screen navigates to the Sync and Retry section of the deploy wizard after clicking on the NEXT button.
Sync and Retry : On Premise
This section enables you to configure your processflow Sync and Re-try either in auto mode or manual mode before execution of the processflow here. By default, the sync type toggle button is selected in Manual Mode.
The below steps are same, if you are deploying your processflow on your HOSTED environment.
Process to configure Sync Process - Manual Mode
By toggling the Select Sync Toggle to Manual, your processflow will be configured to manual mode of execution. You will not have to configure any details for manual mode of sync process.
Process to configure Sync Process - Auto Mode
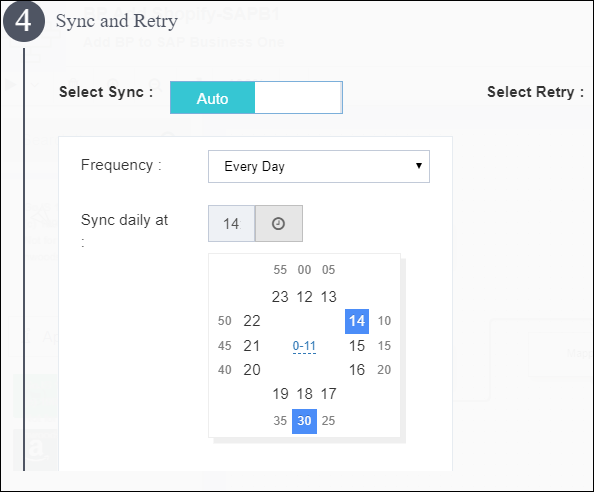
Select Frequency - There are three Options to choose from- Every Day, Minute & Hour
(a) If the Frequency selected as Everyday, you need to provide Interval/Sync Daily
as shown below :
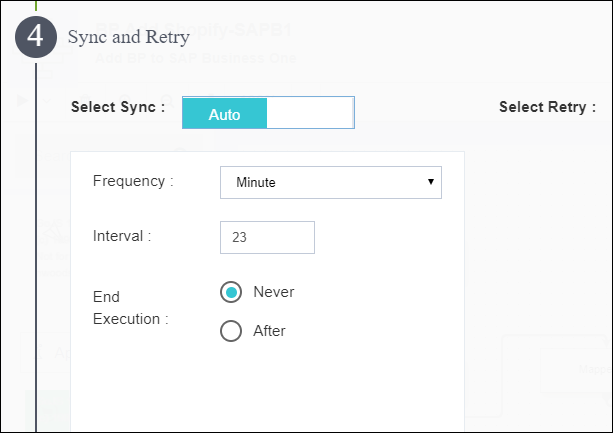
(b) If frequency selected as Minute, you can provide input (Only 1-59). You can select End Execution or Never.If you select End Execution, Execution of a process
flow will stop auto-sync after ‘N’ number of occurrences.
If your selected option is NEVER, processflow will never stop execution.
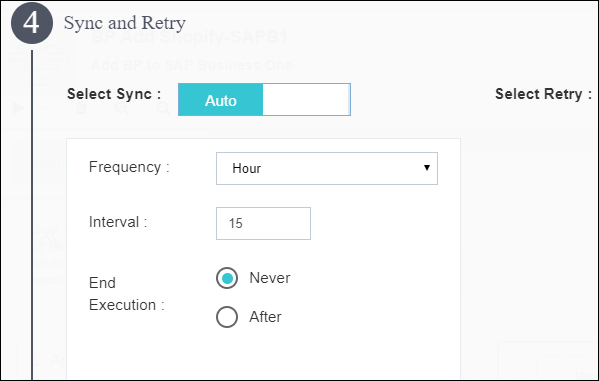
(c) If frequency selected as Hour, you can provide input (Only 1-23). You can select
End Execution or Never. If you select End Execution, Execution of a process
flow will stop auto-sync after ‘N’ number of occurrences.
If your selected option is Never, processflow will never stop execution.
Process to configure Retry - Auto & Manual
Retry setting can also be configured either in AUTO Mode or MANUAL mode. Enabling the Toggle button to Manual will allow the user to perform RETRY manually. To know more about configuring RETRY in AUTO mode, navigate to the Sync & Retry section of deploy wizard.
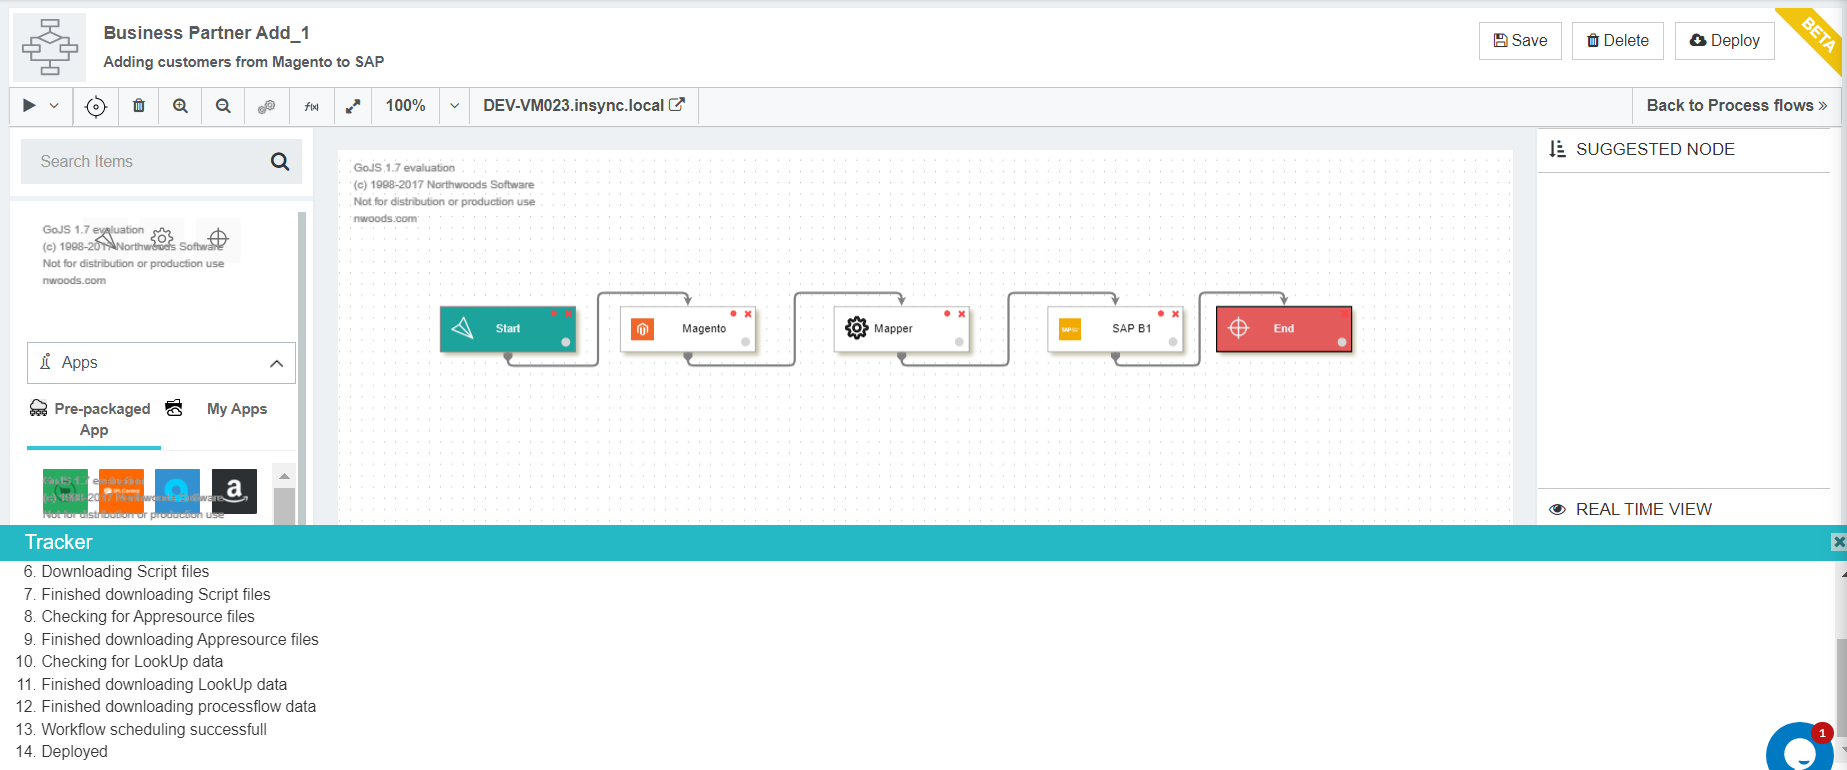
(a) After configuring, click Finish button. The Tracker Window opens and you can view these messages processflow Publish Started, processflow Publish Completed, Downloading processflow Data, Downloading XSLT Files, Deployed etc.
(b) Once deployed, click on the Execute button in the processflow Designer page of the processflow. Following the above steps, you can successfully Deploy and Execute a processflow.
Executing Deployed processflow
Execution of a processflow is a vital process for transforming data from one application to another. The basic prerequisites for executing a processflow is given below.
- You need to create a processflow. Steps to create a processflow is given here.
- You need to deploy the created processflow or an existing process that needs to be executed. Follow the above steps to know about the process of deploying.
- Environment should be active for the processflow to execute successfully.
Steps to execute a processflow
-
Once deployed, you need to click on the Execute button in the processflow Designer page.
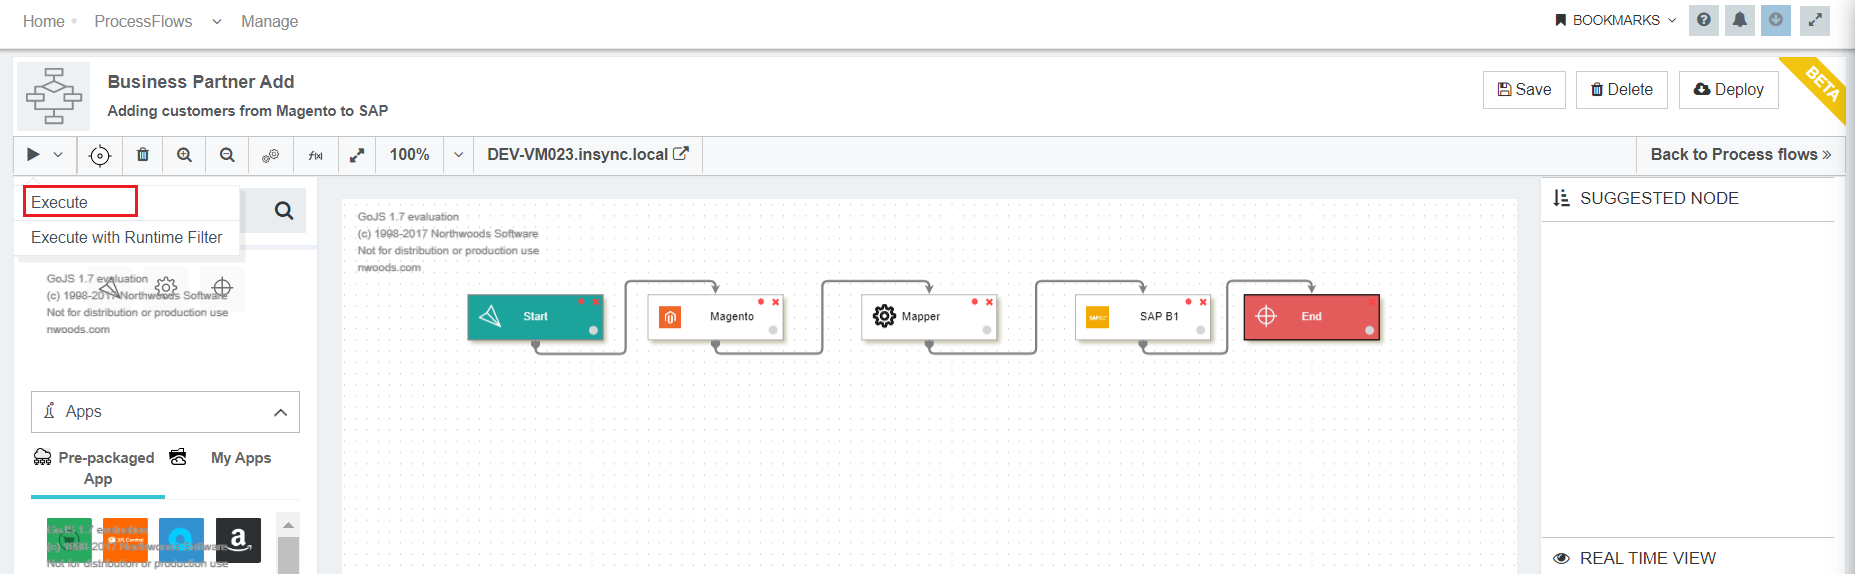
-
The tracker window opens on clicking the EXECUTE button. The Tracker window displays the node specific execution logs and messages as the processflows enters from one node to another.
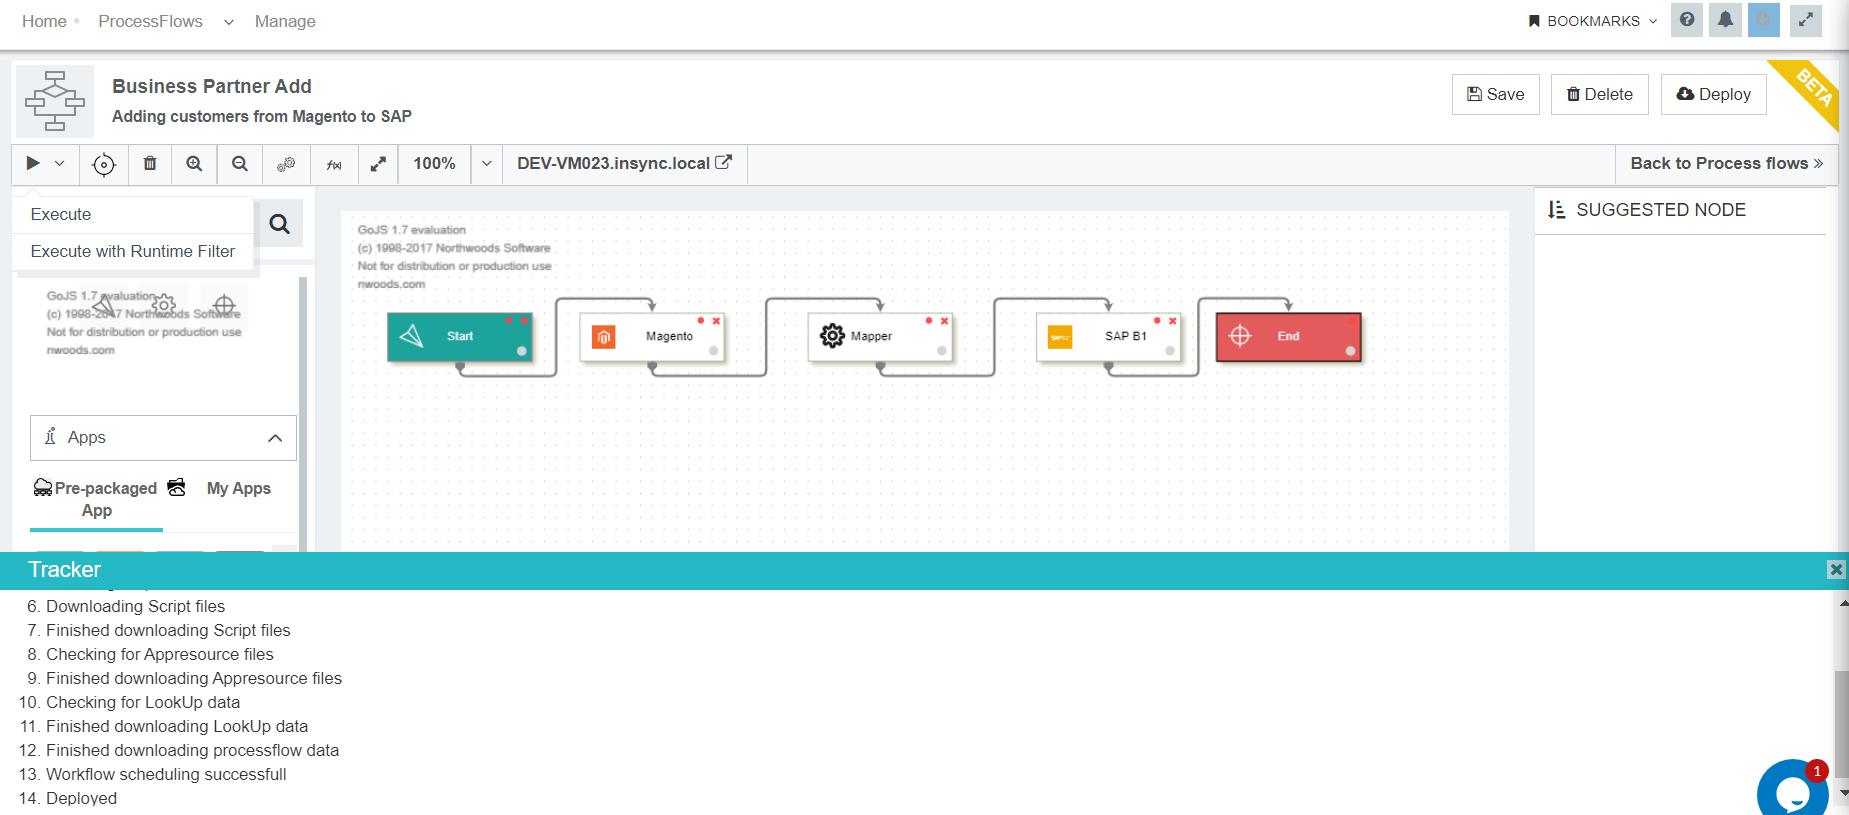
-
You can view each step of the operation. Nodes in the processflow will change its colour according to the operation.
- On-Going Operation : Yellow
- Failed Operation : Red
- Successful Operation : Green
Note : You can view the node specific snapshot for the processflow results.
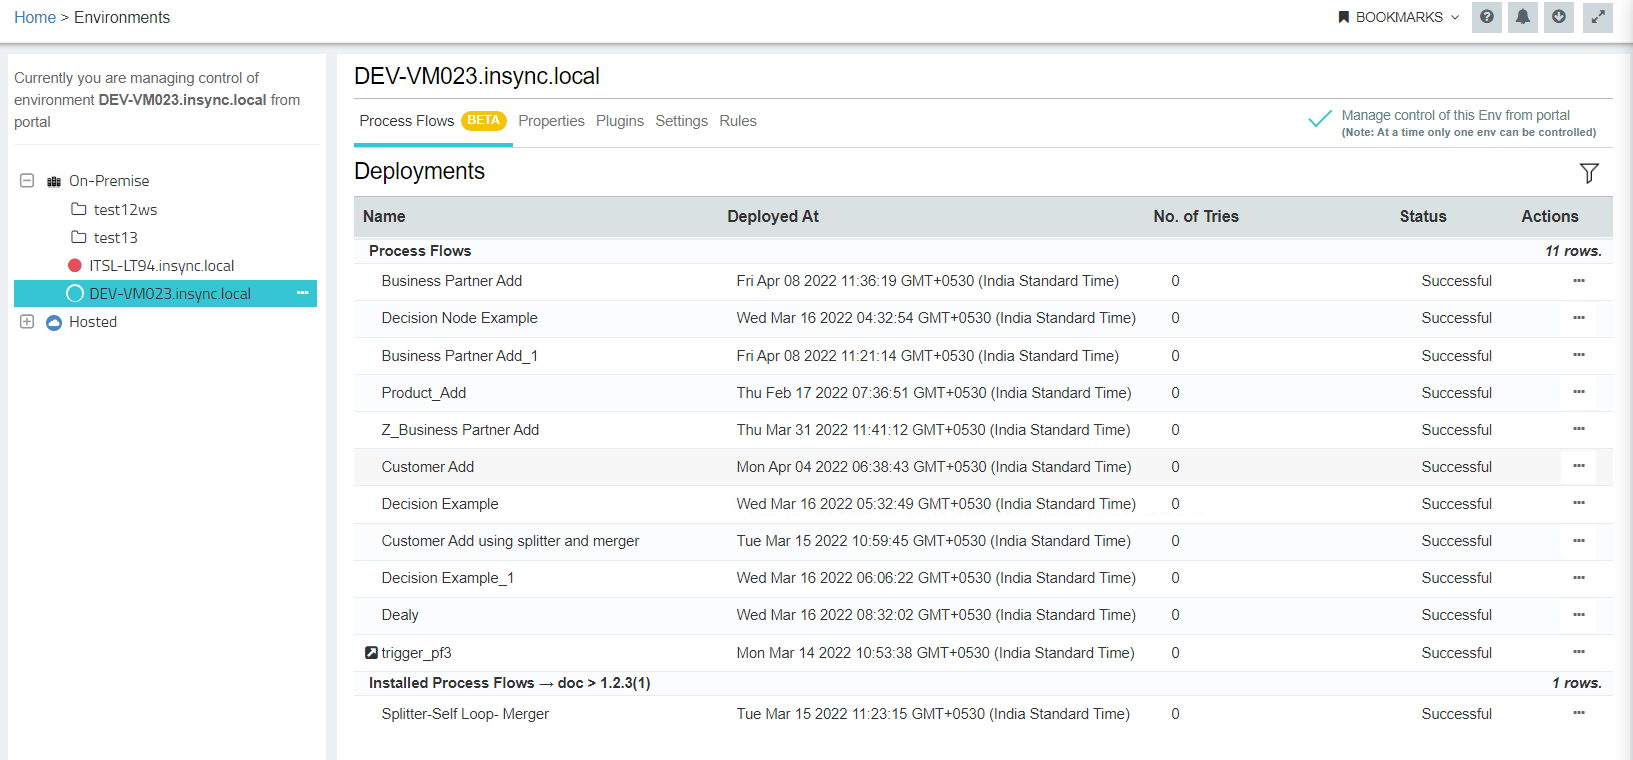
Deployed processflows in Environment
- Navigate to the Environment section in the portal & click on the active environment. Click on the ProcessFlows tab in the Environment Details Page. You can view all the processflow those are deployed on that environment.
The following are the details that will displayed for deployed processflows.
a. Name of the processflow
b. Description of the processflow
c. Version of the processflow
d. The time of Deployment
e. Actions
Undeploy ProcessFlows from Environment
The deployed processflow (both executed/non-executed) can be undeployed from the environment listing page.
- Go to environment listing page.
-
You can view the list of processflow. Choose the processflow you want to undeploy, and click on the Undeploy button.
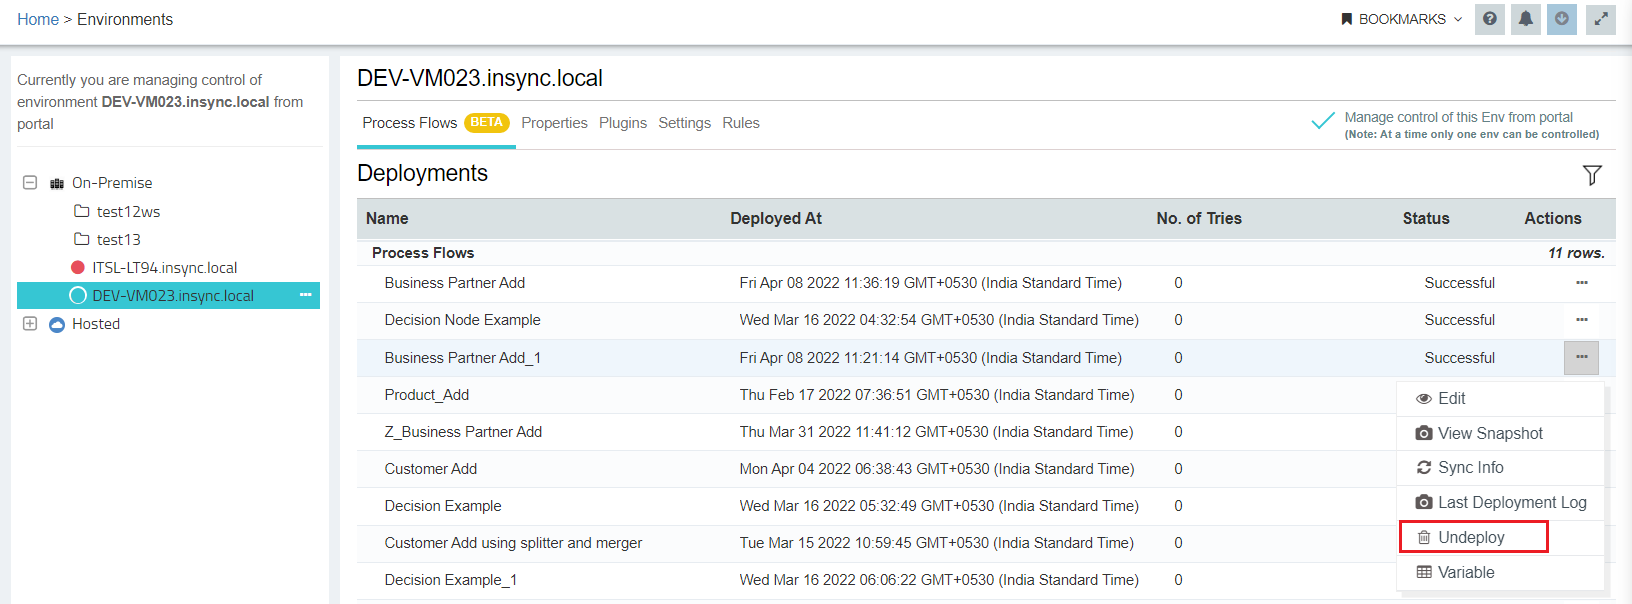
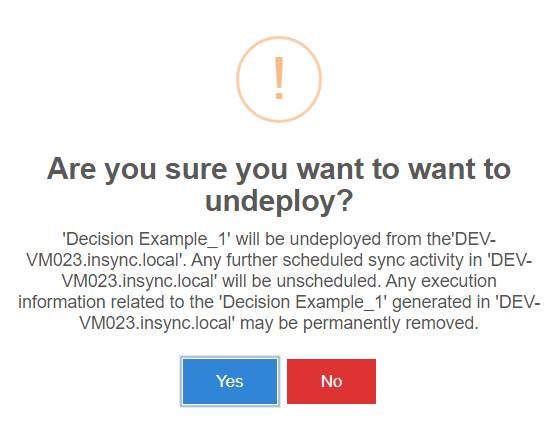
- You get a pop up message for undeploying processflow. Click
Yesand the deployed processflow automatically will gets undeployed and you can view the same in the portal. To cancel the step, clickNo.