
Create Swagger Documentation
Updated:
Swagger is an Open Source Framework for the documentation of API. Swagger is a tools which enables you to generate, visualize and maintain your API docs, so that your documentation stays up-to-date as your API evolves. APPSeCONNECT Swagger documentation in portal is an apt platform which helps in easy maintainance of API throughout the evolution of the API Process.
Follow these steps to create a Swagger Documentation of API with APPSeCONNECT
Prerequisites
As per requirement before you start creating a new swagger documentation for an API you need to make sure you meet all the prerequisites which is given in Create a Proxy API
The Proxy API section will guide the user to create a new API, Provide Basic Information of API, Versioning of API, Apply Policy, Specify the backend services (The backend needs to be configured correctly by specifying the Application, Schema, and Action), The outboud policies, and Response setup of the API.
Steps to Create Swagger Documentation
- Navigate to Manage > API.
- Inside API ManagementSection you can see
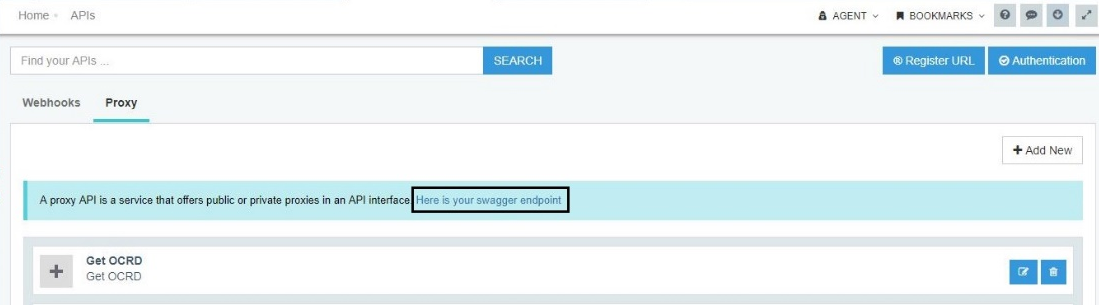
WebhooksandProxy.By default, Webhook section will be shown and you can see all your connections listed here. Click on Proxy. Here you can view the list of Proxy API created or you if you are a first time user, you can create a New Proxy API.Add Newbutton enables to create a new Proxy API. Refer Create a Proxy API - Select the Proxy API for which you want to create swagger documentation.
- Now click Here is your swagger endpoint to open the swagger portal. The Swagger window appears as shown below.
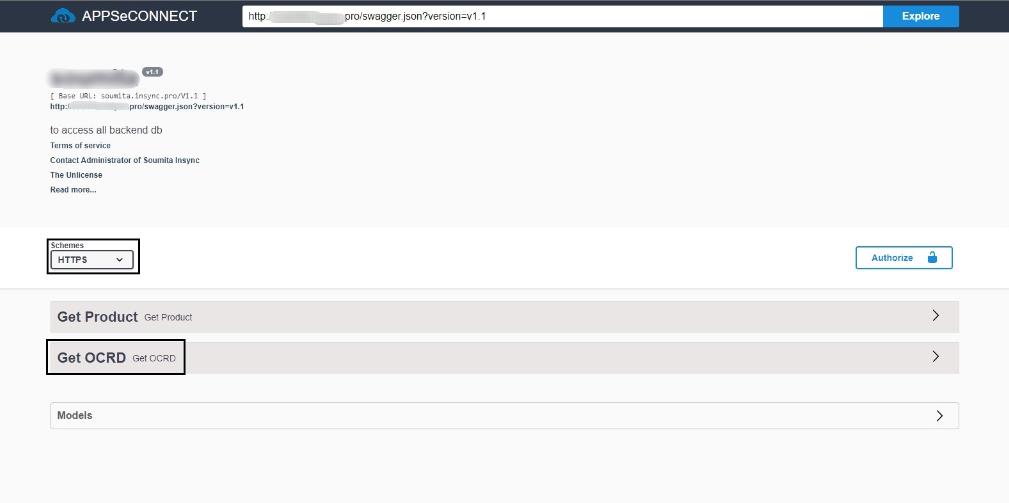
Here you will view the Organization Information, Base URL, Proxy API URL, Schema selection option, and the Proxy API Created.
- Select the Schema as HTTP from the drop down list and now you have to activate the
Authorizebutton. for Authorizing the SWAGGER which asks for a Username and Password. - Go to APPSeCONNECT Portal> Manage > API> Proxy> Click on the
AUTHENTICATIONbutton(Top Right Corner) on the APPSeCONNECT Cloud Portal.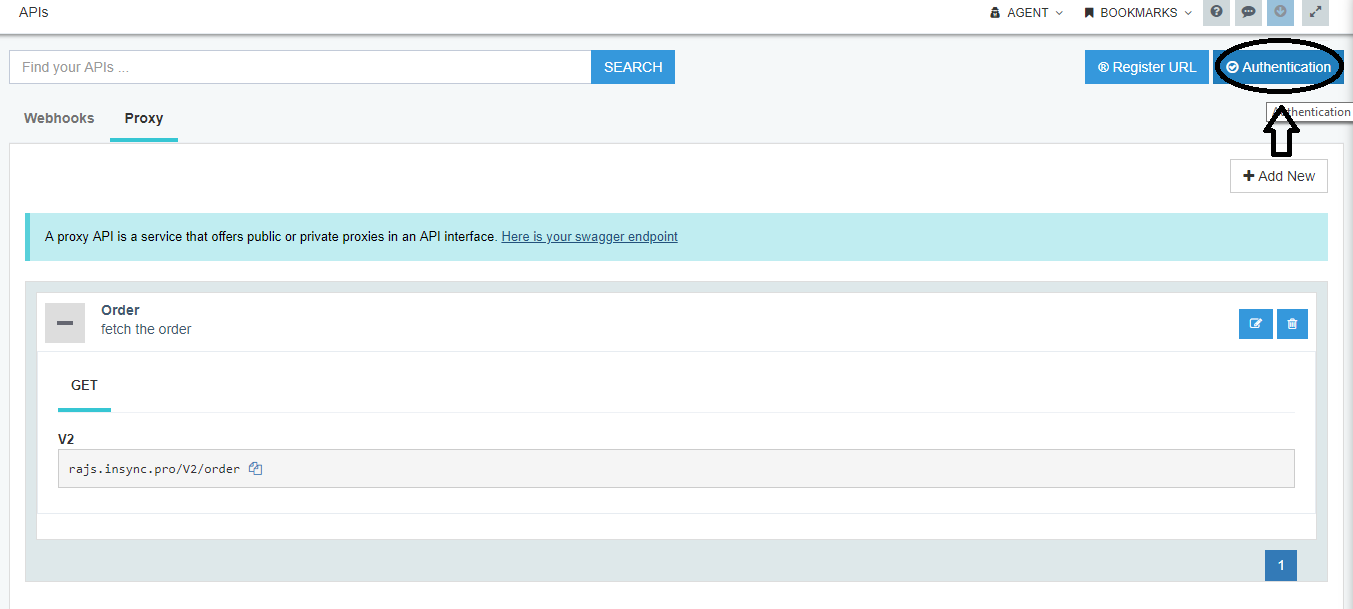
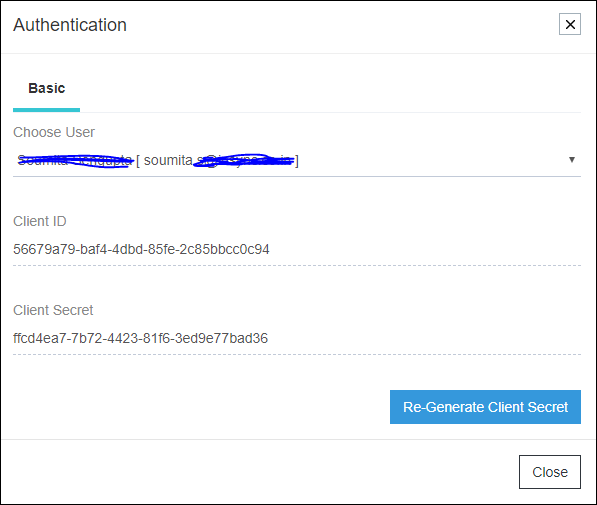
- The following screen appears. Select your User Organisation from the drop-down menu and it will automatically generate the
Username and Password. Click on the Re-generate button to regenerate the authentication details as and when required.
- Click
Authorizebutton in the swagger screen. Enter the basic authorization details and click on authorize. You will get a confirmation messageAUTHENTICATEDin the same window as shown below.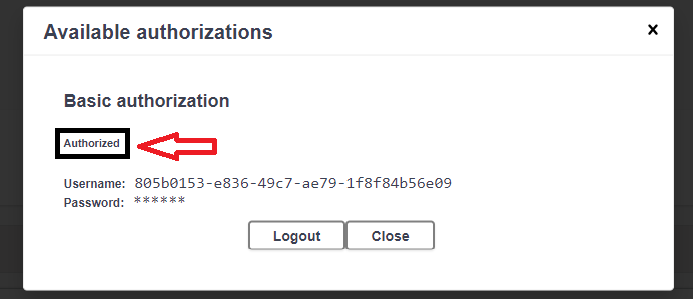
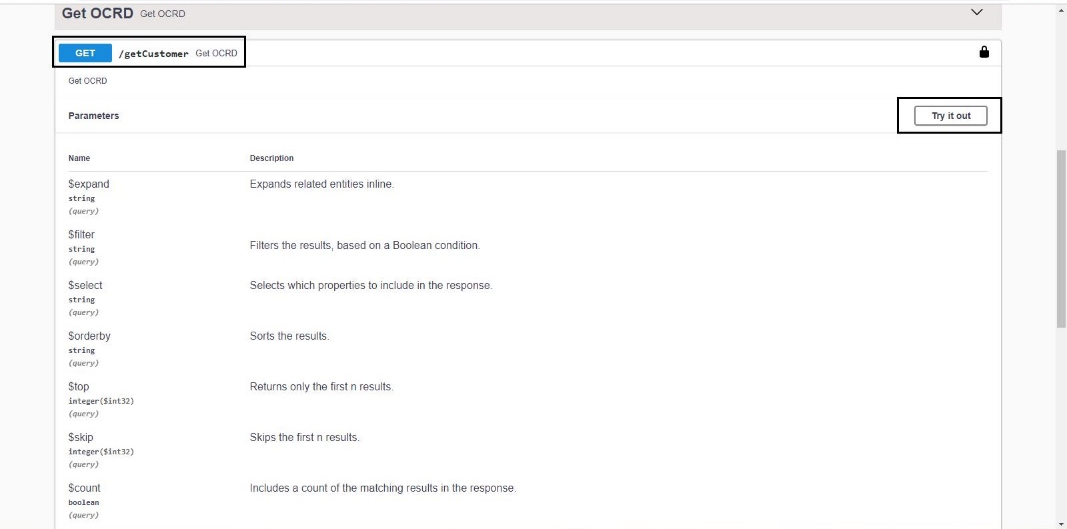
- Now the authorization is complete, Click on GET for expanding the Parameters section.
Once the Parameter Section gets expanded, Click TRY IT OUT to execute the parameters.
- After clicking on
TRY IT OUTyou will find an EXECUTE button below. Click on it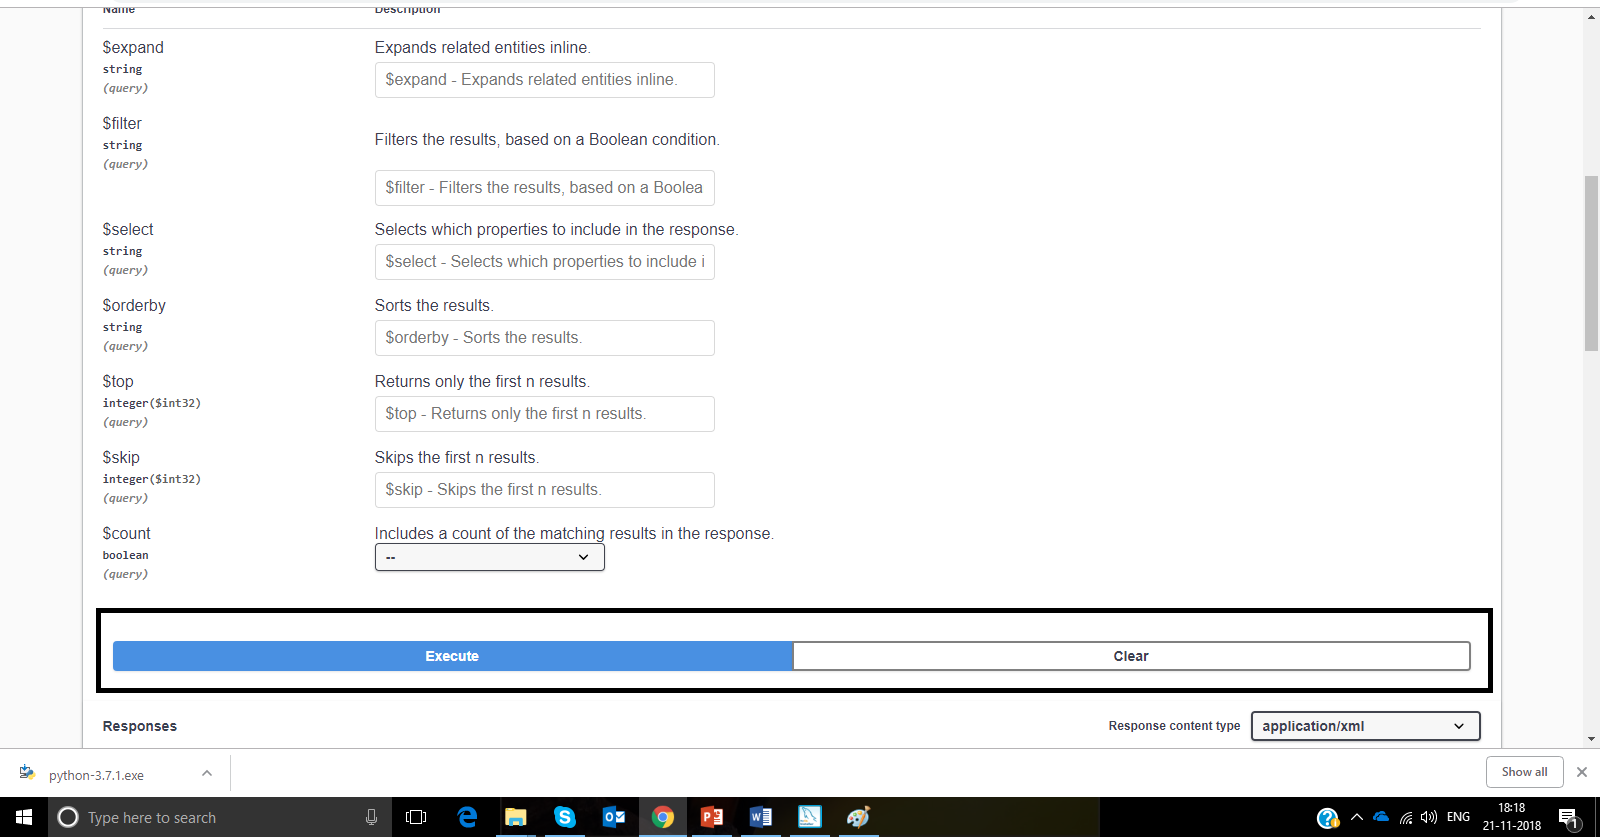
- Now you can see the result given below, along with the HTTP Response code for success (200).
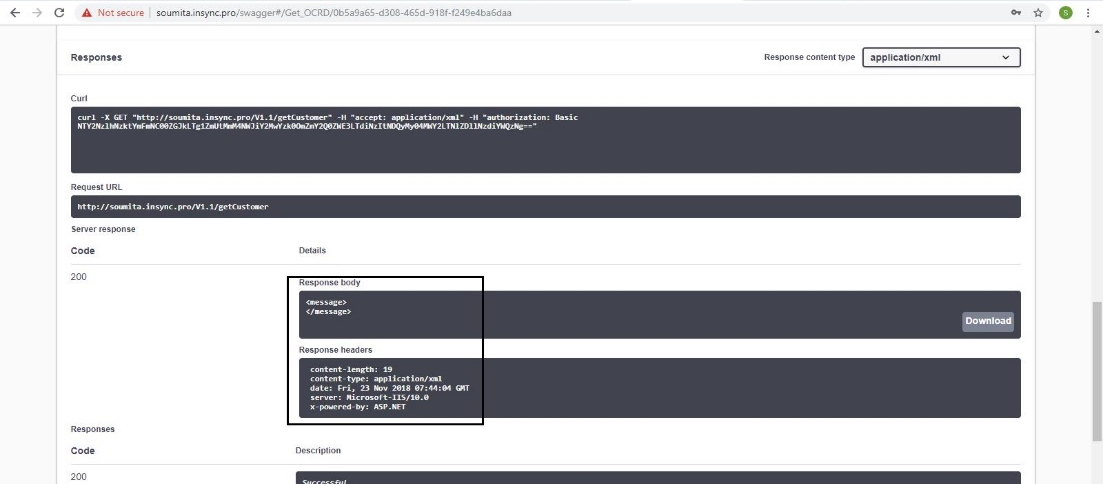
Note: 1) Every-time, you open the SWAGGER window, you need to re-generate the username and password.
2) Every-time, you execute the Proxy API in Swagger endpoint you can view both success and failure messages.
e.g: The HTTP Response code for success/failure will come like 200 OK, 202 Accepted,
302 Moved Temporarily, 204 No Content, 206 Partial Content etc.

